2NM/2NX/2NY/2NZ/2P0/2P6
1-5-46
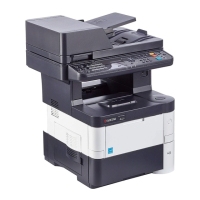
7. Remove the connector cover B by
releasing the hook.
8. Remove the screw of connector cover
C.
9. Remove the connector cover C by
releasing the hook.
10. Pull two connectors out.
Figure 1-5-76
[50/60 ppm model]
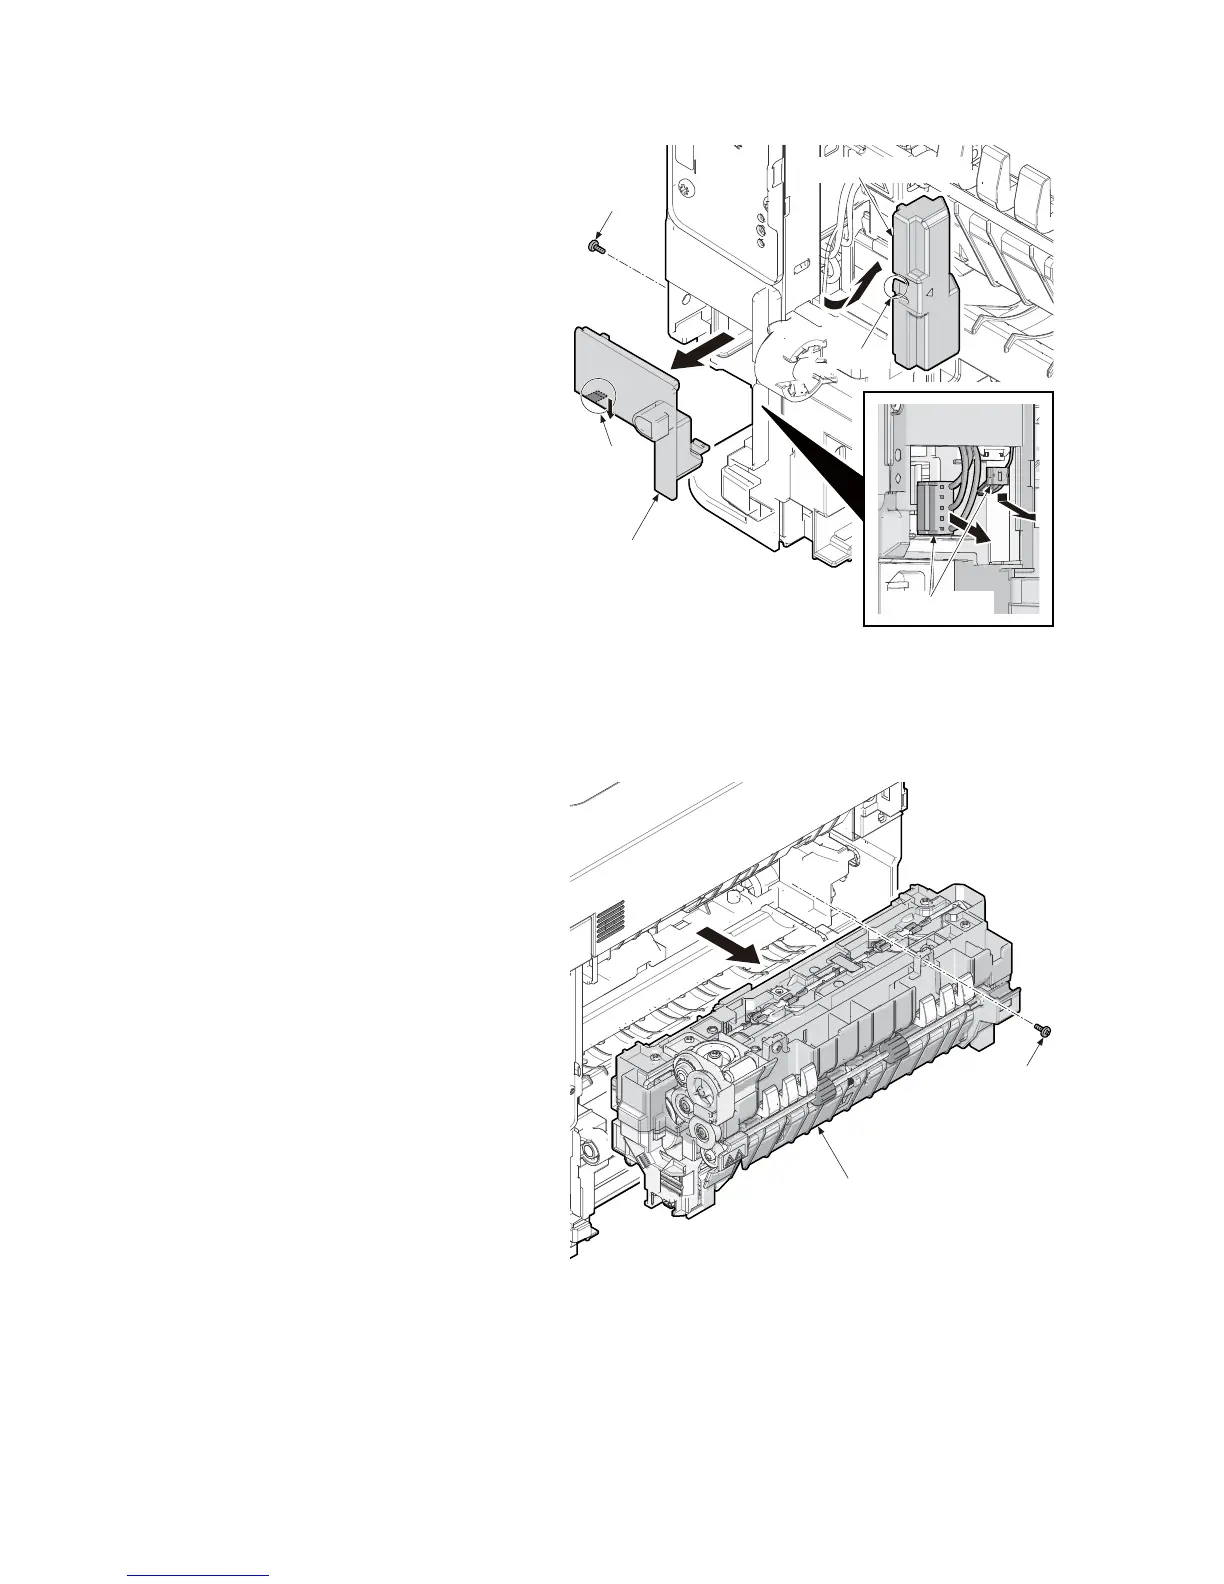
11. Remove the screw and then remove the
fuser unit forward.
12. Check or replace the fuser unit and refit
all the removed parts.
Caution: when refitting the fuser unit, per-
form the following procedures.
(1)Turn on the power switch while opening
the rear cover after removing the fuser
unit.
(2)Turn off the power switch after 5-second
or more progress. (release state of fixing
pressure)
(3)Refit the fuser unit.
Figure 1-5-77
Screw
Connector cover C
Hook
Connectors
Hook
Connector cover B
Fuser unit
Screw
 Loading...