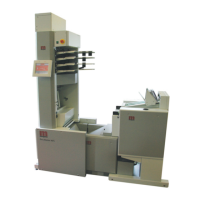
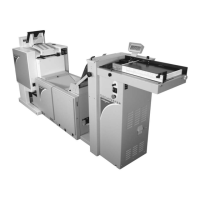
Morgana DocuMaster MFC - Service Manual 171
4. Service Procedures - Replace Components - Gathering Area
Before you start:
• Remove the LH side covers (See Section 4.2.6)
• Remover the GUI panel (See Section 4.7.4)
• Disconnect the ioniser bar cable from the high voltage transformer (See Section
4.7.8)
• Remove the A4 pinch drive (See Section 4.3.4.1).
Step Action Information
1 Remove the two nuts that attach
the ioniser bar to the mounting
brackets.
(See Figure 4.184).
2 Remove the LH ioniser bar
mounting bracket.
• Remove the two screws that
attach the mounting bracket to
the side-plate (see Figure 4.184).
• Lift the mounting bracket off the
ioniser bar mounting bolt.
3 Remove the ioniser bar.
• Move the ioniser bar away from
the RH mounting bracket and
paper guide bracket.
• Pull the bar towards you while
you put the cable through the
gathering area side plate.
4 Push off the end cap from the RH
(non-cable)
end of the ioniser bar.
5 Remove the ioniser bar mounting
bolt
s from the ioniser bar.
• Move the bolt along the channel
in the ioniser bar.
6 Push off the end cap from the
replacement ioniser bar.
7 Install the mounting bolts and
replace the
end cap.
8 Install the ioniser bar. Tidy the excess cable into neat coils
and use cable-ties to secure
it to the
tensioner plate (see Figure 4.182).
4.11.5 Replace the Base Control PCB
The base control PCB has two functions:
• It controls the tampers and the paper stop latch in the gathering area,
• It is an interface between the online bookletmaker and MFC's CPU.
Like the feed bin control PCBs, the base control PCB
has its own address so that it can
communicate with the MFC's CPU. The base control PCB does not need to be
manually addressed - this is a fixed address. However, it will not function correctly if
the CPU has not been configured to function as a MFC.