1
Basic scanning 1-15
Basic scan functions
Scanning to an Evernote address
You can save a scanned document to Evernote, and then access to Evernote using your
smartphone or other devices and see the data.
NOTE
•To use this feature, you need to have an Evernote account. Access to the Evernote
webside to create an account.
•This feature uses e-mai addresses of Evernote that are registered in the address
book or found using the LDAP server. Register the e-mail address in the address
book (page 7-2) or set up the LDAP server in advance. For details on how to set up
LDAP server, see chapter 2, “Registering LDAP servers” in “Specifying the network
settings” in the Administrator’s Guide.
1
Load the document.
2
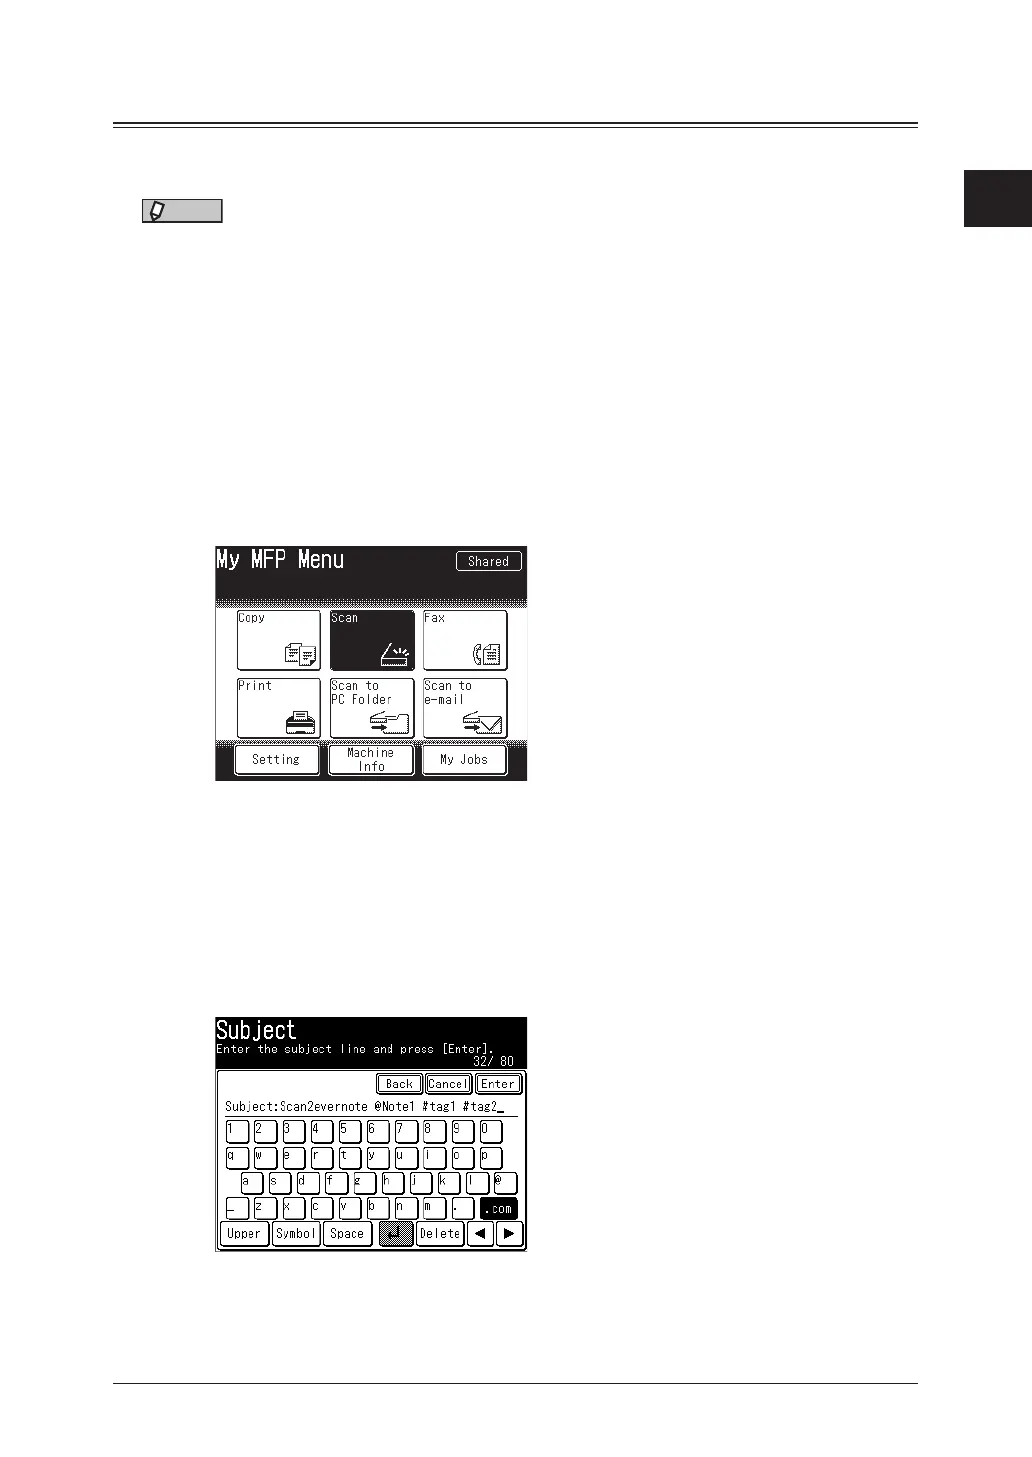
Press [Scan] on My MFP Menu screen.
If My MFP Menu screen is not displayed, press <Mode> repeatedly until “Scan Ready” screen
is displayed.
3
Set the resolution and document type, as necessary.
For details, see “Resolution” (page 1-17) and “Color” (page 1-18).
4
To specify a notebook or apply tags, edit the e-mail subject.
•For details on editing the e-mail subject, see “e-mail subject” (page 2-22).
•To specify a notebook, enter a space, then “@” and enter the notebook name at the subject.
•To apply tags, enter a space, then “#” and enter the tag at the subject.
•Notebookandtagcanbeenteredupto20charactersincludingspacesandsymbols.