Section 7 System Settings 7-1 Settings
NS-Designer Operation Manual
No. Setting Details
1 Serial Port A Select None, PLC, Bar-Code Reader, Temperature Controller, Memory Link, or Modem for
Data Transfer for the communications destination.
One bar code can be set for each project.
Serial Port B Select None, PLC, Bar-Code Reader, Temperature Controller, Memory Link, or Modem for
Data Transfer for the communications destination.
One bar code can be set for each project.
2
Communicate with
an expansion
interface
Select this option when using an Expansion Interface for serial communications (NS5 only).
This option is for future expansion only. Do not normally select it.
3 Ethernet Select whether Ethernet will be used.
Disabled: Ethernet communications not used.
Enabled: Ethernet communications used.
4 Controller Link Select whether Controller Link will be used.
Disabled: Controller Link communications not used.
Enabled: Controller Link communications used.
5 Comm. Time Out Sets the time for the timeout error when a response is not received from the host. The time-
out monitor time can be set to between 1 and 10 (unit: s).
6 Retry Counts Set the number of communications retries before an error screen will be displayed when a
communications error occurs while communicating with the host. If communications are
unsuccessful after the number of communications retries specified in this setting have been
executed, processing set for communications auto-recovery under Comm. Auto-return will
be executed.
The number of retries can be set to between 0 and 255 times.
7 Routing Table Setting
Click the Routing Table Setting Button to display the Routing Table Setting Dialog Box.
8 Comm. Auto-return Select whether or not to use communications auto-recovery.
Yes: Retries communications when a communications error occurs, without displaying the
Error Message Dialog Box.
No: Displays the Error Message Dialog Box when a communications error occurs. Click the
OK Button in the Error Message Dialog Box to retry communications.
9 Comm. Details Button Click this button to display a dialog box for making advanced communications settings.
Reference
♦ To change the communications port setting, the screen data must be changed.
Example: Changing from using serial port A only to serial port B.
1. Click the Comm-All Tab in the System Setting Dialog Box, and change None to PLC for serial
port B (leave the serial port A set to PLC).
The host is registered automatically under these conditions. (The default host name is Serial B.)
2. When creating functional objects that will communicate with the PLC connected to serial port B,
set the host name to Serial B and set the address.
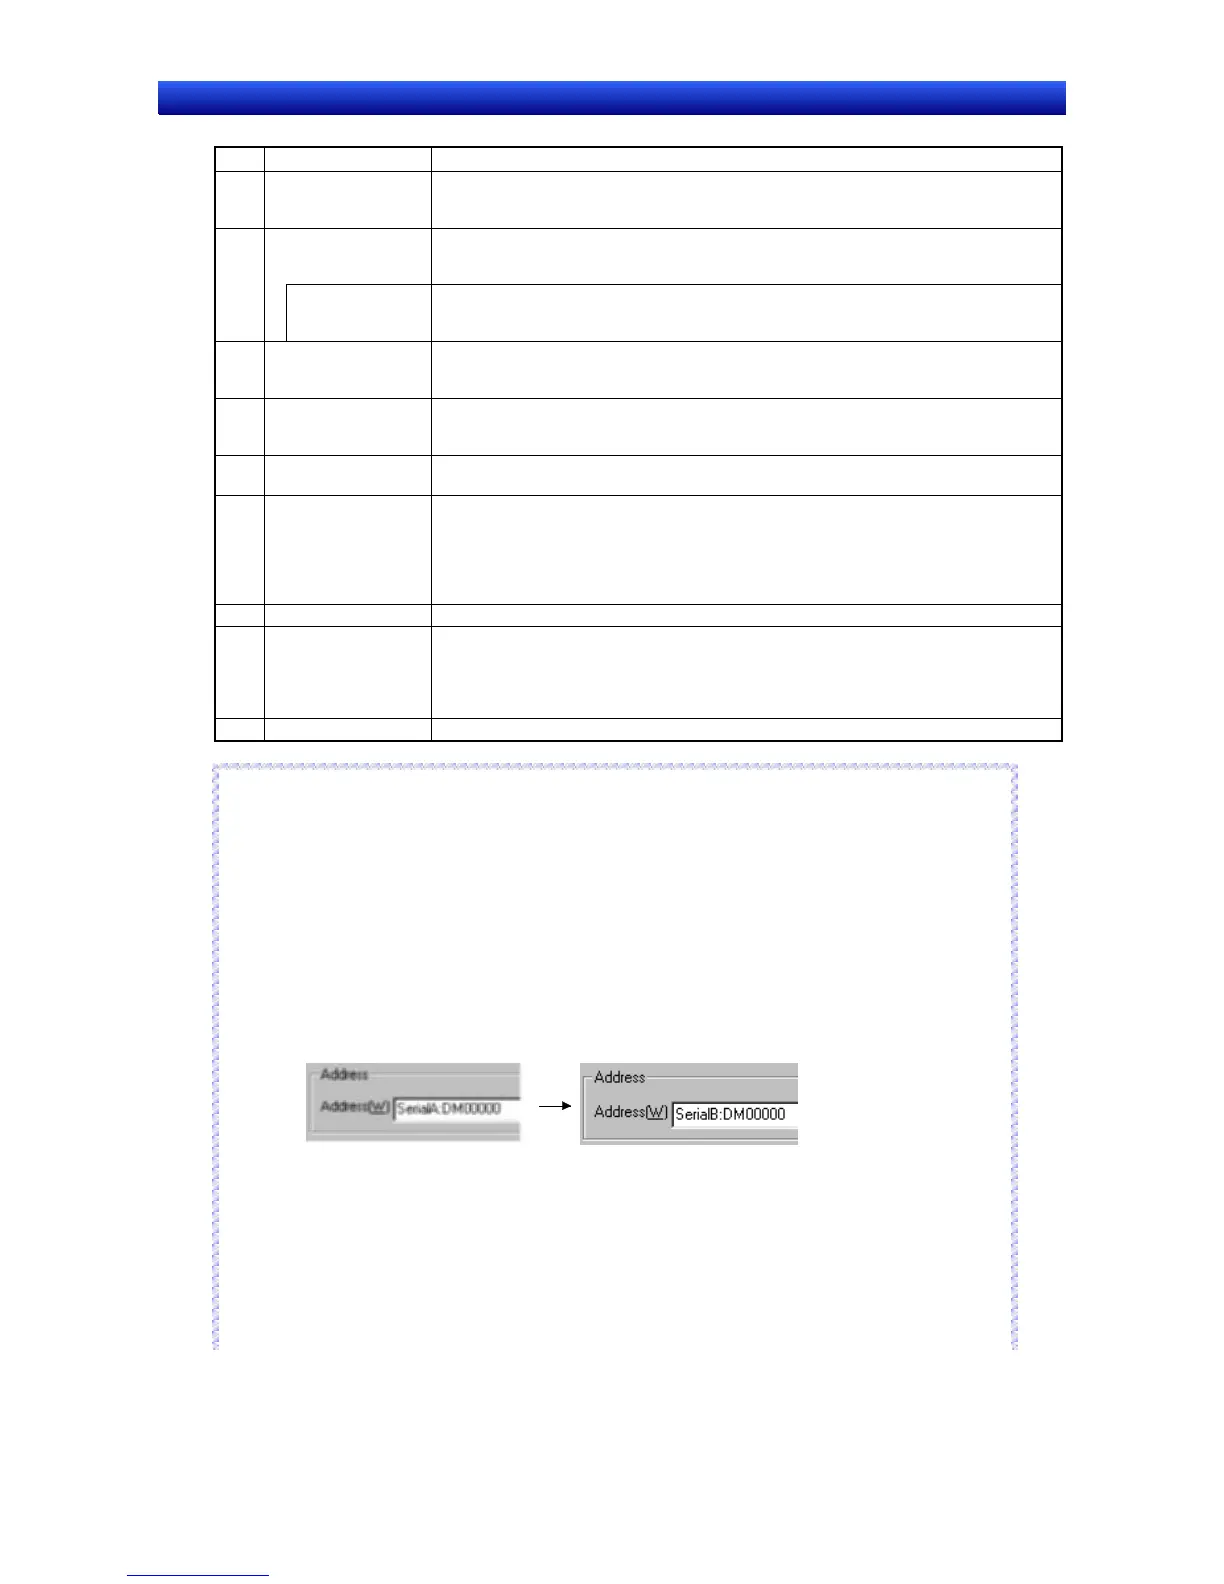
When changing the communications destination of the existing functional objects to the PLC
connected to serial port B, change the host name from Serial A (default host name when using
serial port A) to Serial B.
Functions such as Replace (refer to 5-4 Editing) and Change Settings at Once (refer to 5-10
Batch Settings) are useful here. Settings can be changed efficiently by using the Import CSV File
and Export CSV File functions (refer to Section 12 Importing/Exporting CSV Files).
When the Import/Export CSV File functions are used, the whole file is exported to a CSV file, af-
ter which the exported file can be opened and functions such as Replace can be used to change
Serial A to Serial B. (Indirect addresses and other data are not included in the CSV file. The
allocations for these data must be changed separately using the NS-Designer.)
3. When serial port A is not used, click the Comm-All Tab in the System Setting Dialog Box, and
change the serial port A setting from PLC to None.
R
R
e
e
f
f
e
e
r
r
e
e
n
n
c
c
e
e
7-6