Verify the Hard Drive
86 SPARC T5-8 Server Service Manual • November 2015
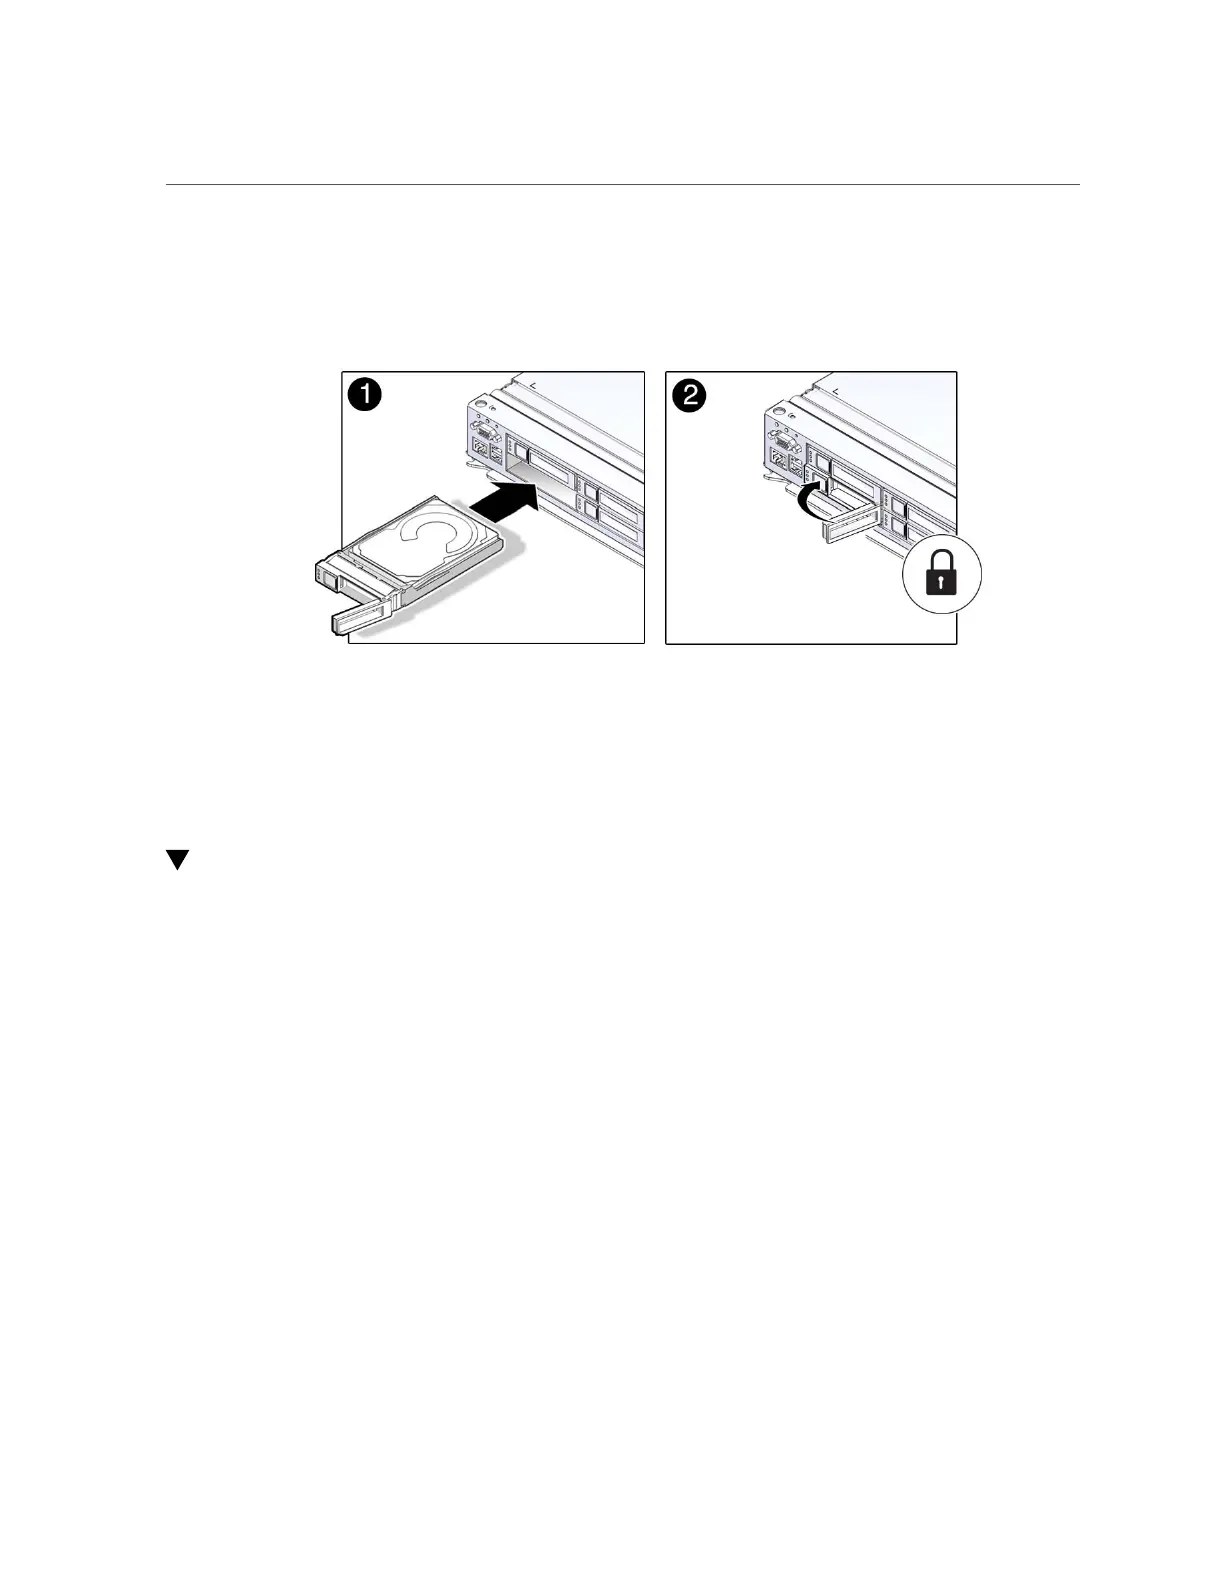
Drives are physically addressed according to the slot in which they are installed. If you are
replacing a drive, install the replacement drive in the same slot as the drive that was removed.
2.
Close the latch to lock the drive in place.
3.
Verify the installation.
See “Verify the Hard Drive” on page 86.
Verify the Hard Drive
1.
Determine if you replaced or installed a hard drive in a running server or not.
■
If you replaced or installed a hard drive in a server that is running (if you hot-plugged the
hard drive), then no further action is necessary. The Oracle Solaris OS will automatically
configure the hard drive.
■
If you replaced or installed a hard drive in a powered-down server, then continue with these
steps to configure the hard drive.
2.
If the OS is shut down, and the drive you replaced was not the boot device, boot
the OS.
Depending on the nature of the replaced drive, you might need to perform administrative tasks
to reinstall software before the server can boot. Refer to the Oracle Solaris OS administration
documentation for more information.
3.
At the Oracle Solaris prompt, type the cfgadm -al command to list all drives in the
device tree, including any drives that are not configured:
# cfgadm -al
 Loading...


