Chapter 3
Device Management
RUGGEDCOM RSG2488
User Guide
80 Adding an RMON History Control
Section 3.11.1.2
Adding an RMON History Control
To add an RMON history control, do the following:
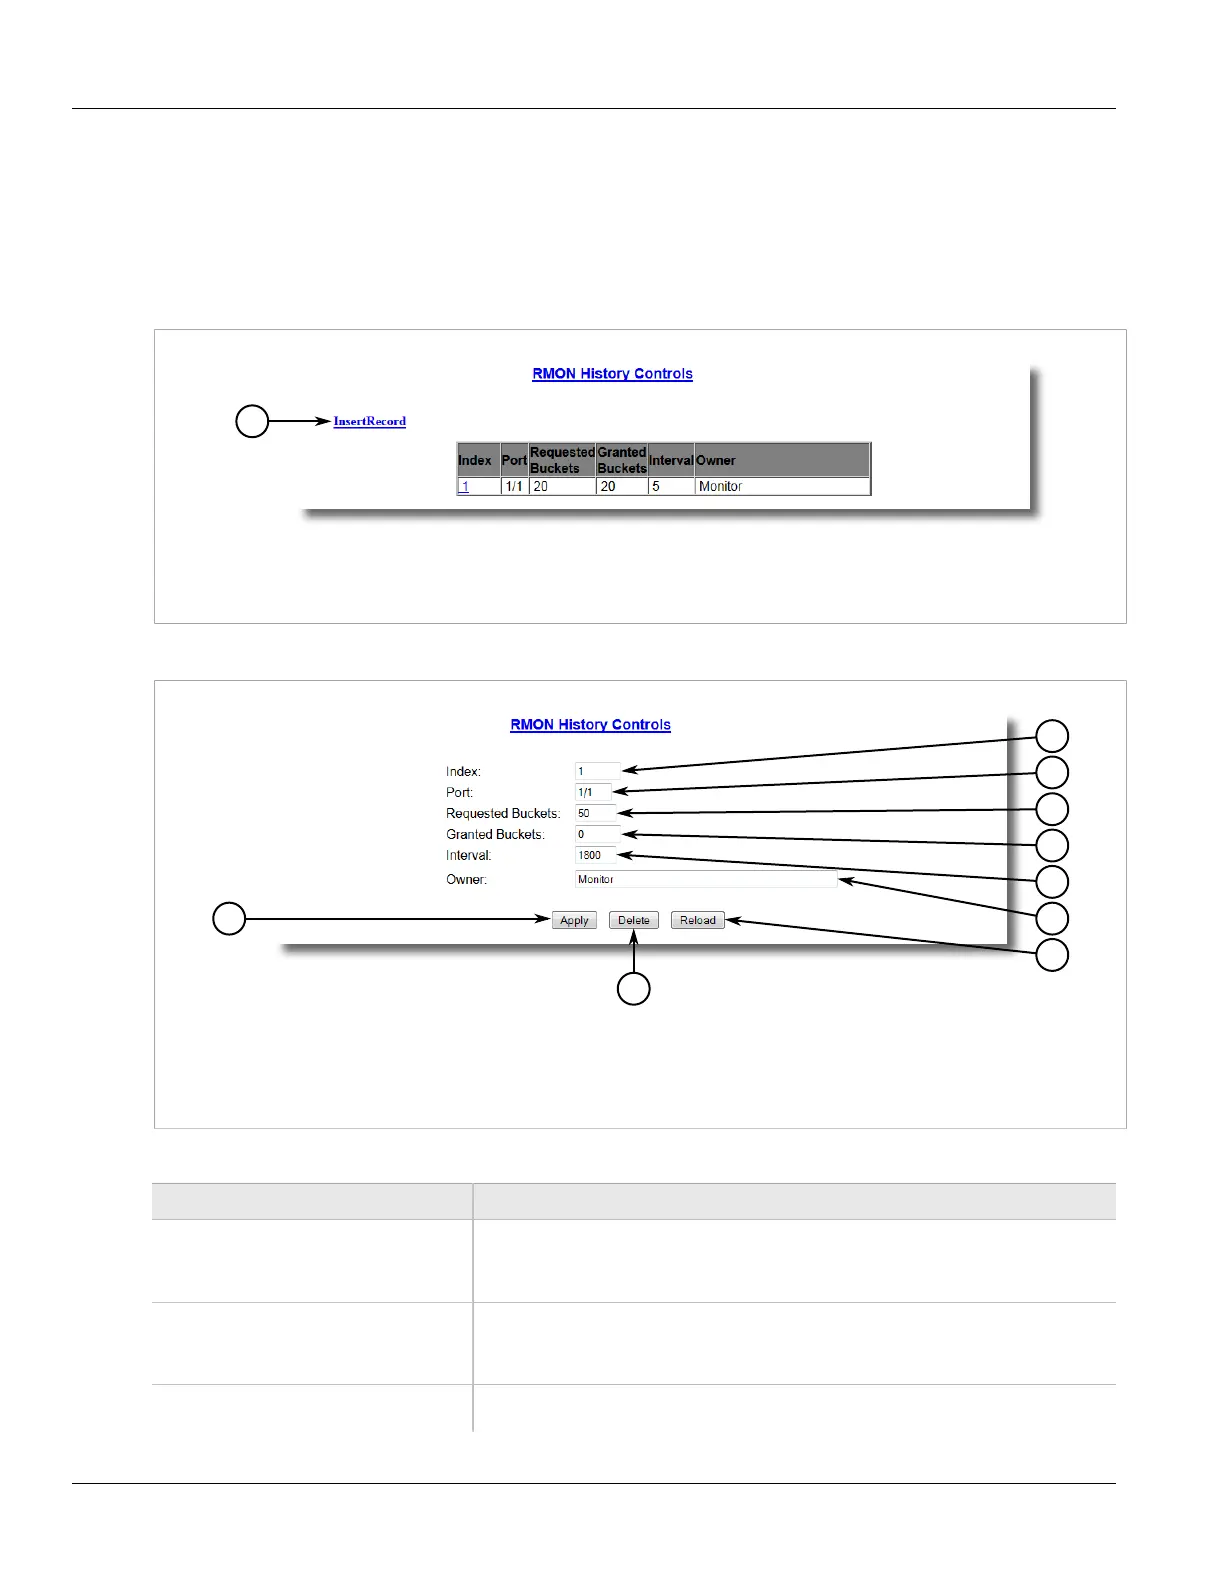
1. Navigate to Ethernet Stats > Configure RMON History Controls. The RMON History Controls table appears.
Figure 45: RMON History Controls Table
1. InsertRecord
2. Click InsertRecord. The RMON History Controls form appears.
Figure 46: RMON History Controls Form
1. Index Box 2. Port Box 3. Requested Buckets Box 4. Granted Buckets Box 5. Interval Box 6. Owner Box 7. Apply
Button 8. Delete Button 9. Reload Button
3. Configure the following parameter(s) as required:
Parameter Description
Index Synopsis: 1 to 65535
Default: 1
The index of this RMON History Contol record.
Port Synopsis: 1/1 to 8/2
Default: 1/1
The port number as seen on the front plate silkscreen of the switch.
Requested Buckets Synopsis: 1 to 4000
Default: 50