Confidential 3. Installing the Product
English 8/2019. Rev 0.0 35
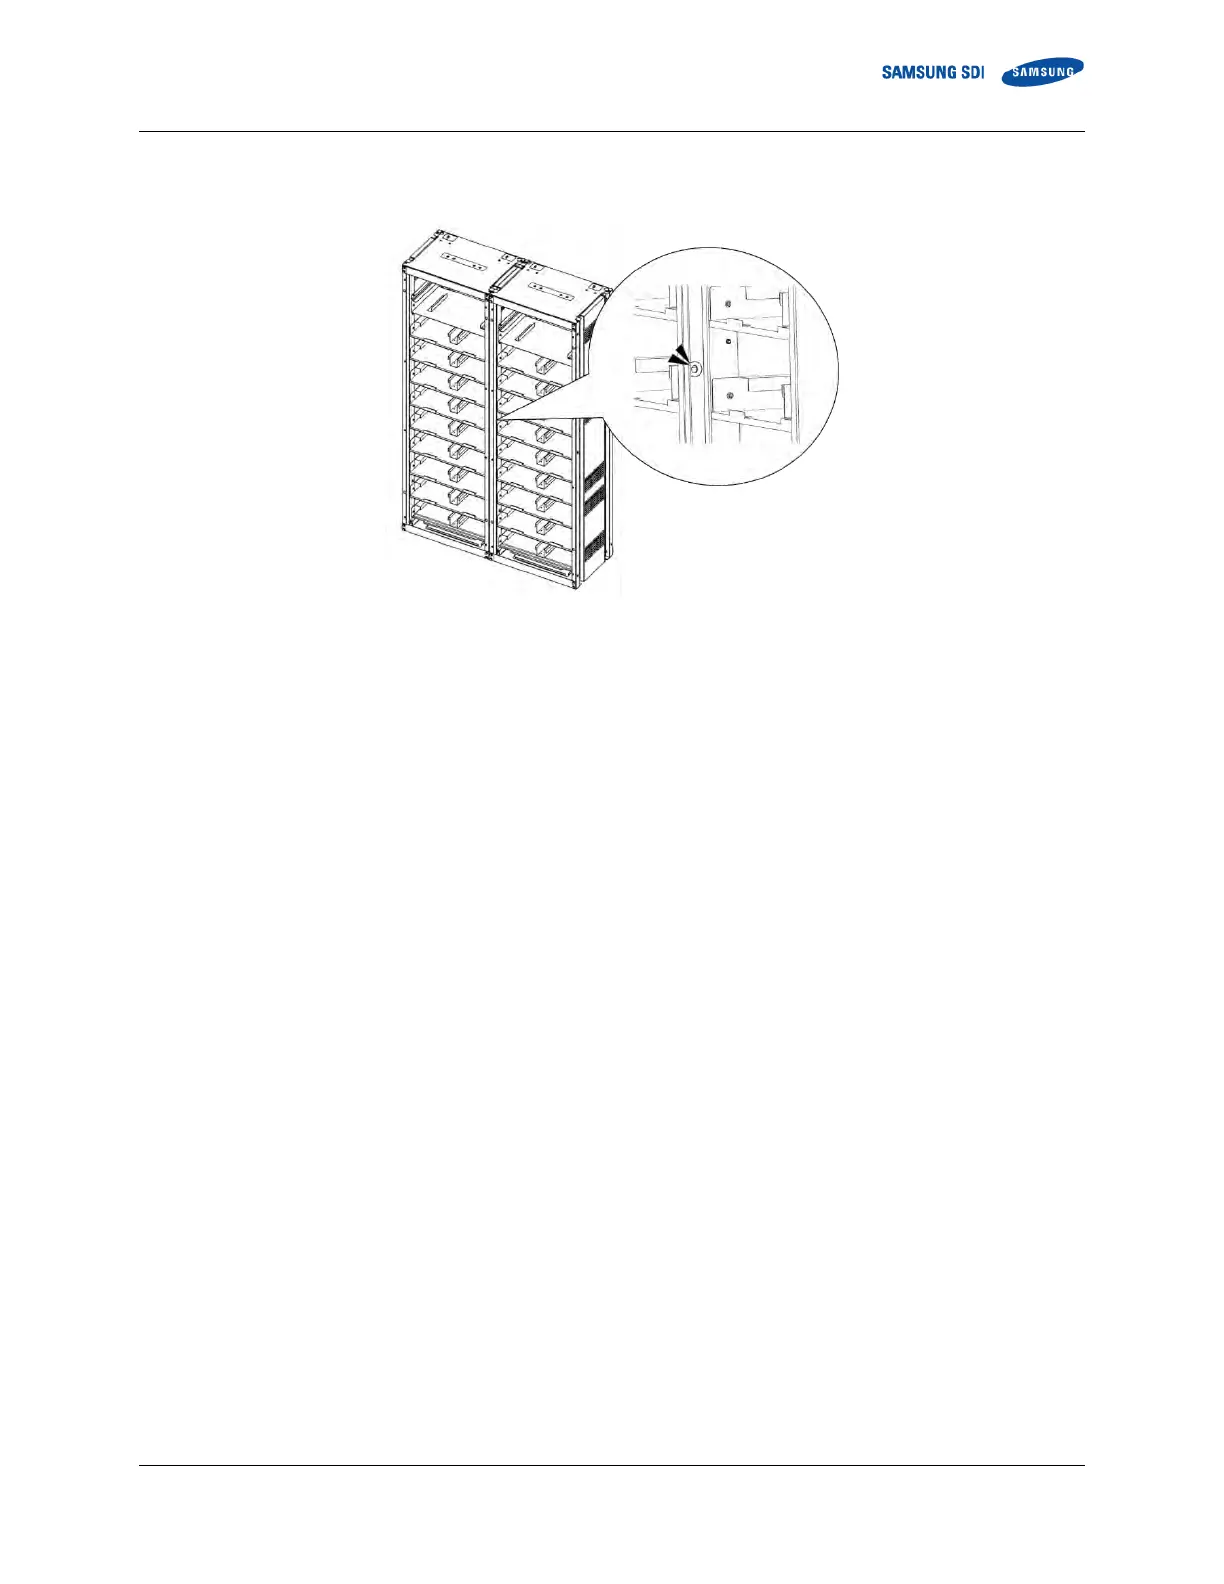
5. Connect the racks together using M10 hardware through holes in the sides (“SCREW M10 X 25,” “M10 FLAT WASHER” and
“NUT M10”). Torque the bolts to 30Nm (300kgf cm).
Figure 3-12: Holes on the sides of the rack (six)
6. Optional step: After all the rack frames are anchored and connected, reattach the side panels to the outermost rack frames
using the provided M5 Screws for each side panel. Fasten the screws using torque of 5.1–6.1 Nm (50–60 kgf/cm). Make sure
all the hooks are inserted to the slot and the panel is flush with the rack frame before screwing.