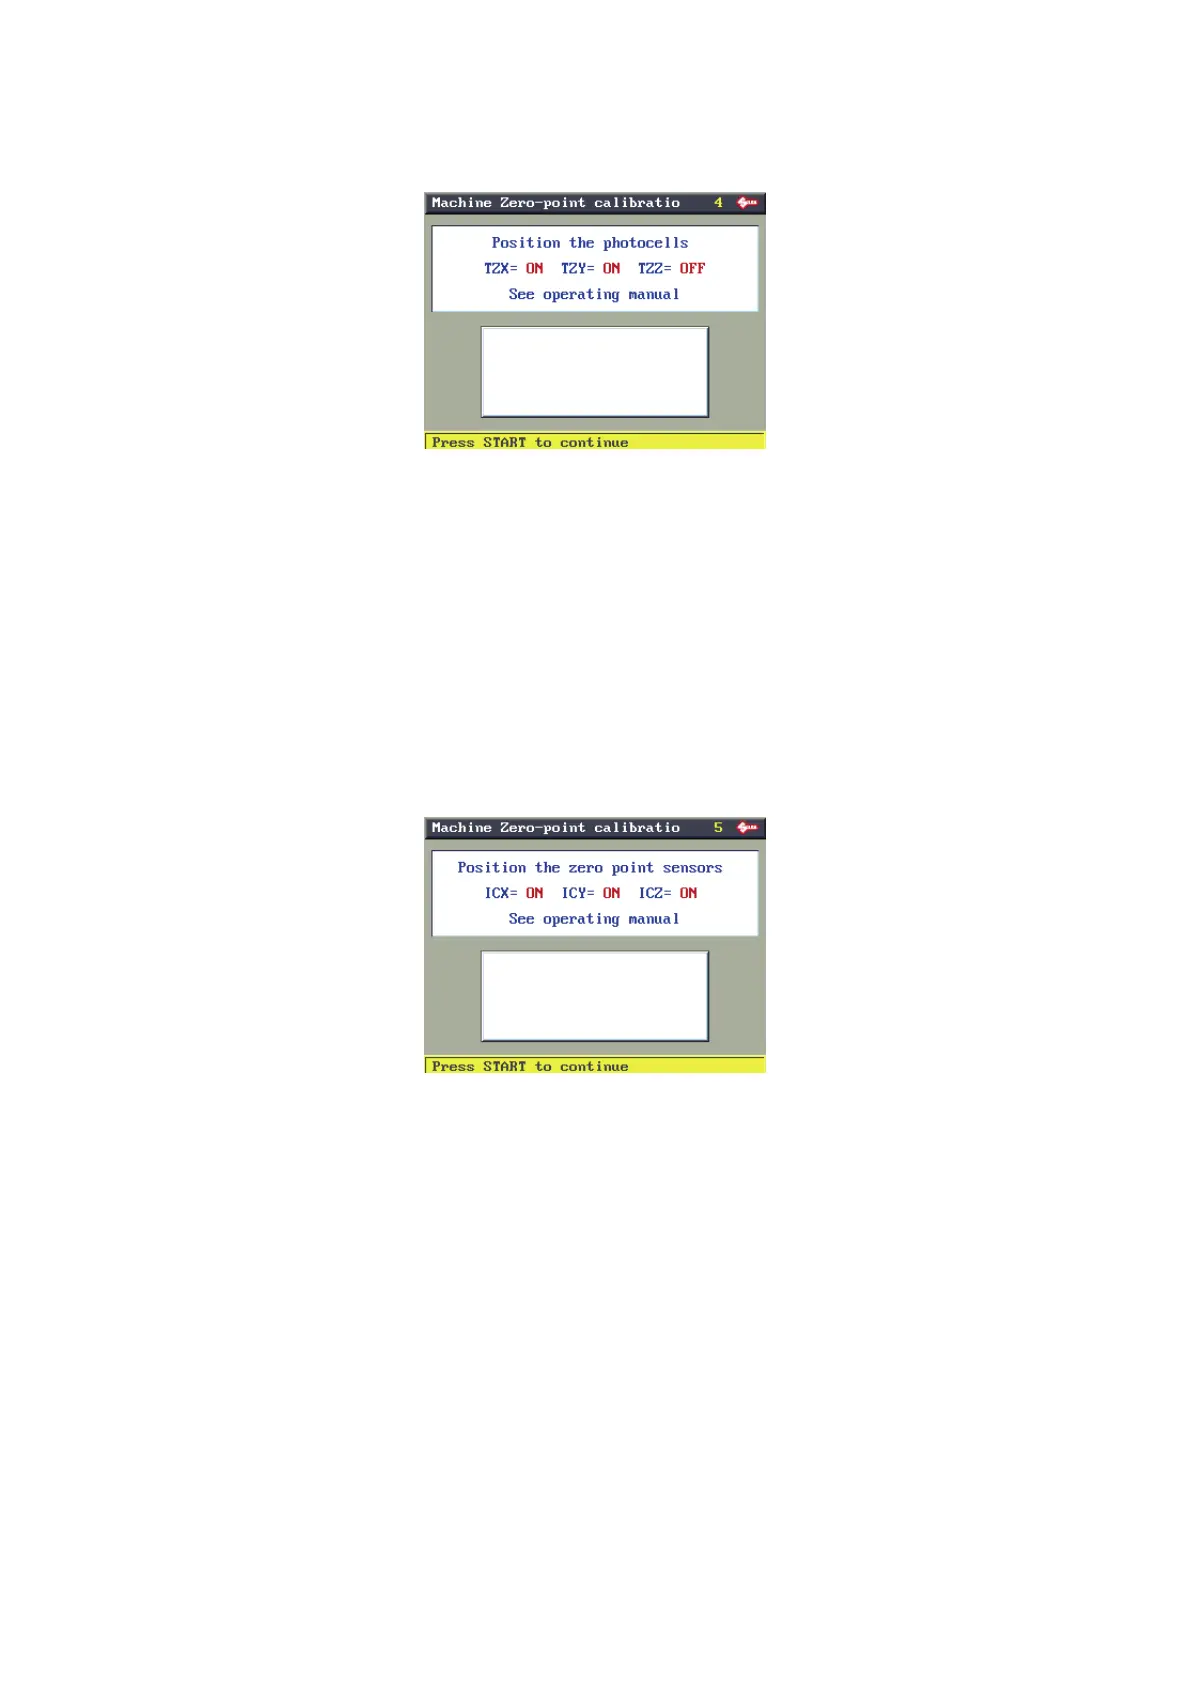
PHOTOCELLS
(**) If the template is not properly positioned an ERROR message will appear.
Photocells ON, press START to proceed.
Photocells OFF, regulate as follows:
• upper carriage (X) photocell: turn the X axis disk manually until the TZX description on the display goes from
OFF to ON.
• lower carriage (Y) photocell: turn the Y axis disk manually until the TZY description on the display goes from
OFF to ON.
• Vertical carriage (Z) photocell: turn the Z axis disk manually until the TZZ description on the display goes from
OFF to .
To view and work on photocells (see Ch.8.11)
SENSORS
Sensors ON, press START to proceed.
Sensors OFF, regulate as follows:
• Upper carriage (X) sensor: raise the safety shield and use the hex key to loosen the grub screw (H7); slowly
move the rod (H6) manually in both directions until you nd the point at which it goes from OFF to ON. Secure
the rod by tightening the grub screw (H7).
• Lower carriage (Y) sensor: tip the machine onto its side. Loosen the sensor plate xing screw (E4) and move
the plate manually until the description on the display goes from OFF to ON. Fix the plate by tightening the
screw (E4), or loosen the nut (E3) and turn the sensor until the description on the display goes from OFF to
ON. Tighten the nut (E3). Reposition the machine on the work bench and lower the safety shield.
• Vertical carriage (Z) sensor: loosen the nut locking the rod sensor and turn the rod manually until the description
on the display goes from OFF to ON. Tighten the nut; lower the safety shield.
• The “Machine zero” values are read by electric contact.
To view and work on the sensors (see Ch.8.10)
Operating manual TRIAX PRO
Copyright Silca 2016
66