Basic Job Build Tasks Before a Build
Page 110
© Copyright 2020 Stratasys. All rights reserved.
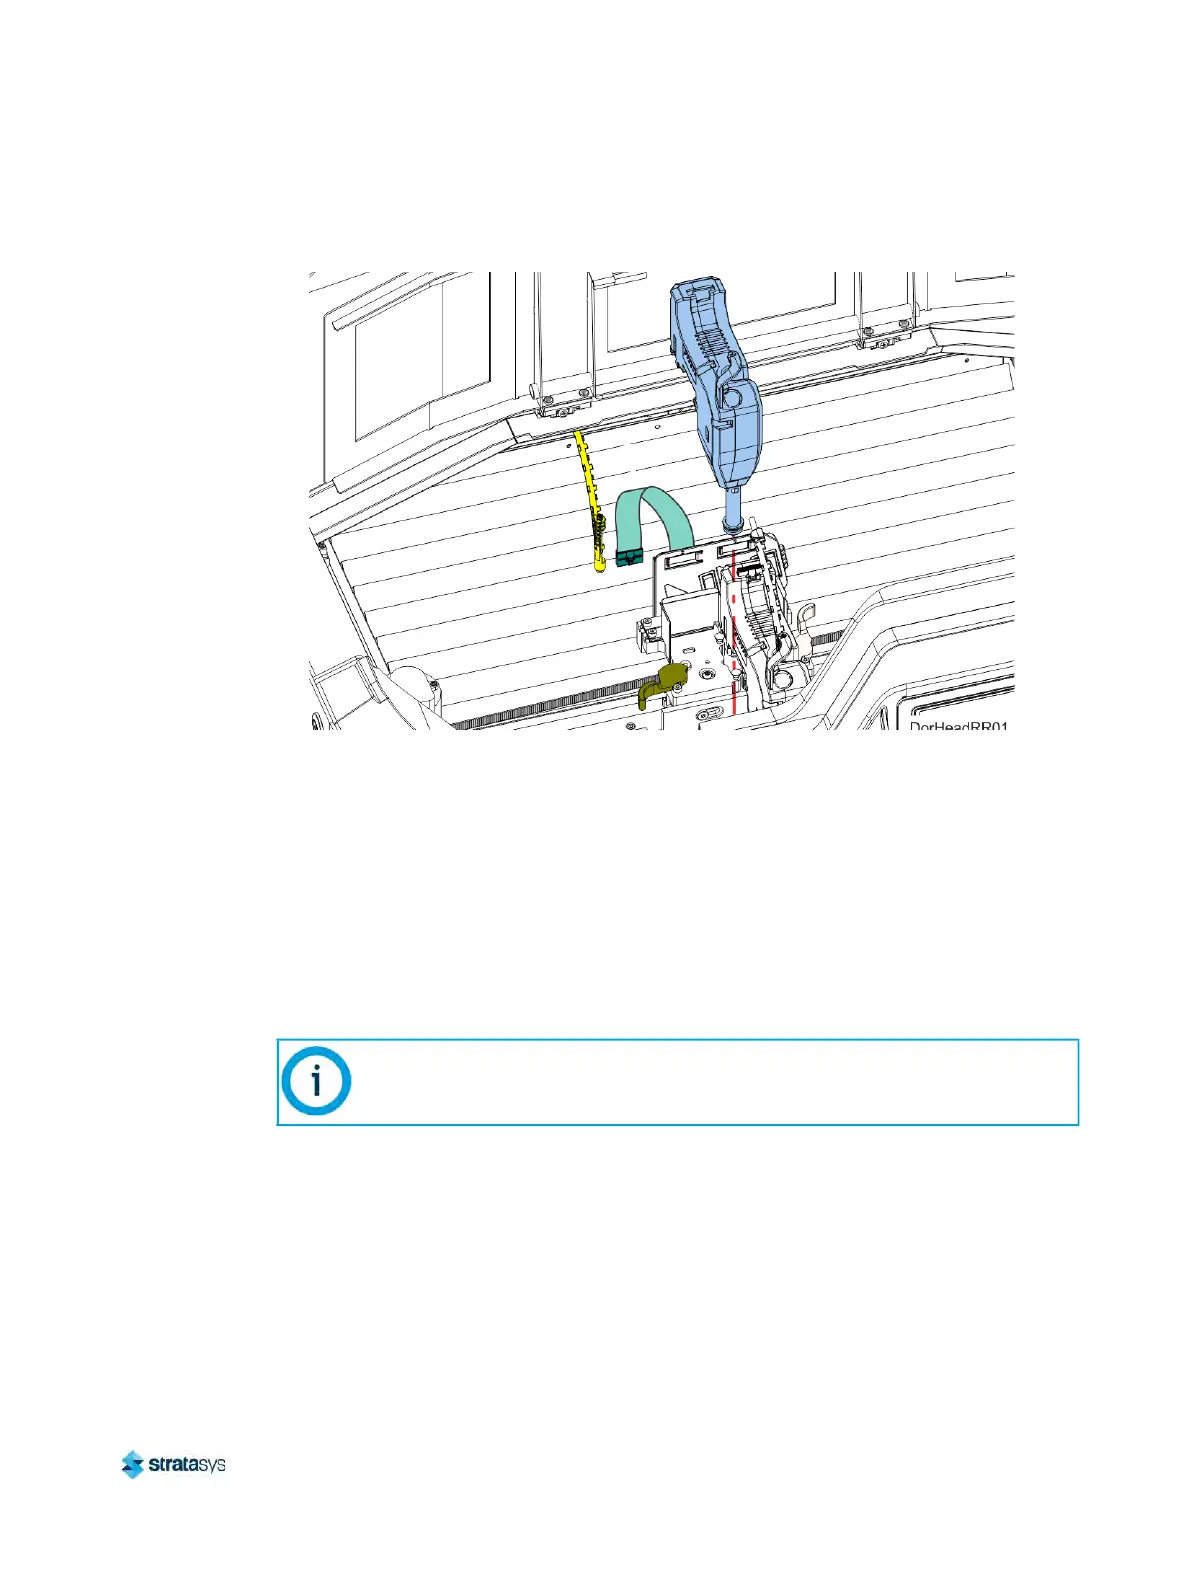
6. Pull the head assembly out of its position within the gantry and remove it from the printer.
Figure 17: Remove Head
7. Insert a new head assembly into the vacant location within the printer.
8
. Lock the head into place using the head release lever. Press the lever securely closed to
e
nsure that the head is properly seated.
9. Connect the material tube to the new head assembly.
1
0. Insert the head ribbon cable connector into the new head assembly ensuring it is fully
s
eated in the head and the connector retention latch engages.
11. Close the top cover.
1
2. An Automatic Tip Calibration will automatically be performed prior to the start of the next
b
uild following a head replacement, see “Automatic Tip Calibration” (page 130) for details.
Please note that the printer must be powered ON before calibration can occur.
Basic Job Build Tasks
Before a Build
To build a job, you must first download job files to the printer and then load individual job files to
the Job Queue using one of two methods:
If a head was replaced while the printer was powered OFF, an Automatic Tip
Calibration does not occur after closing the top cover, you must manually initiate
the calibration. See
“Automatic Tip Calibration” (page 130) for instructions.