Changing Printer Defaults Part Build Location
Page 121
© Copyright 2020 Stratasys. All rights reserved.
Part Build Location
The Part Placement setting determines whether or not you can select a job’s placement on a
substrate prior to starting the build (see “Part Placement” (page 74)).
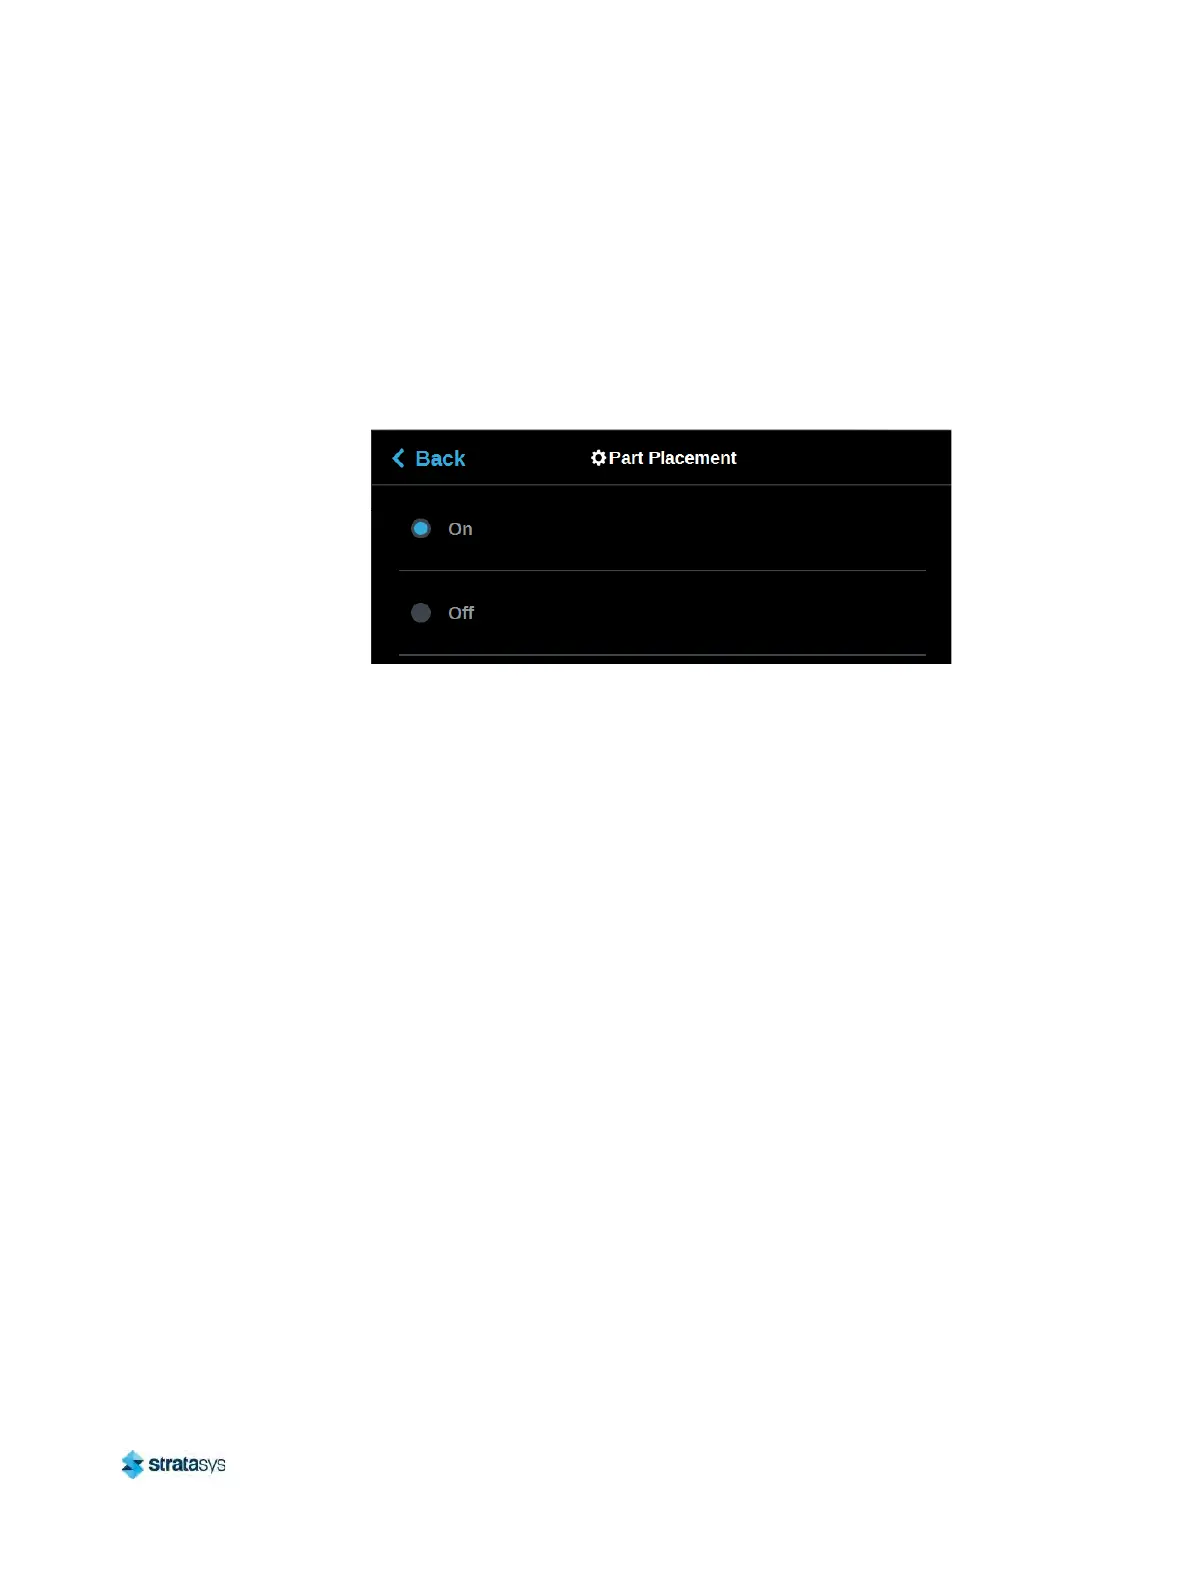
To configure this setting, press anywhere within the Part Placement row; the Part Placement
pa
ge will be displayed. Use the radio buttons within this page to turn the setting On and Off as
needed.
Figure 25: Configure Part Placement
By default this setting is set to On, meaning you will be able to select a job’s location on the
su
bstrate prior to starting the build (see “Selecting a Job to Build” (page 112)). At the start of a
build the Part Placement dialog will be displayed asking you to select the part’s build location
(s
ee Figure 26 (page 122)). The dialog will contain a graphic representing your printer’s platen
as well as a blue bounding box graphic (the imaginary box surrounding the part). You can
se
lect the part’s build location by dragging and dropping the bounding box on the touchscreen;
the bounding box cannot be placed outside the limits of the platen. Pressing the Print button
will confirm your selected placement and start a build.
"Ghost box" graphics are also displayed; a "ghost box" represents the location where a part
wa
s built previously. Pressing the Clear History button will clear the display, removing all
"ghost box" items.