Basic Setup Welcome Kit Contents
Page 8
© Copyright 2020 Stratasys. All rights reserved.
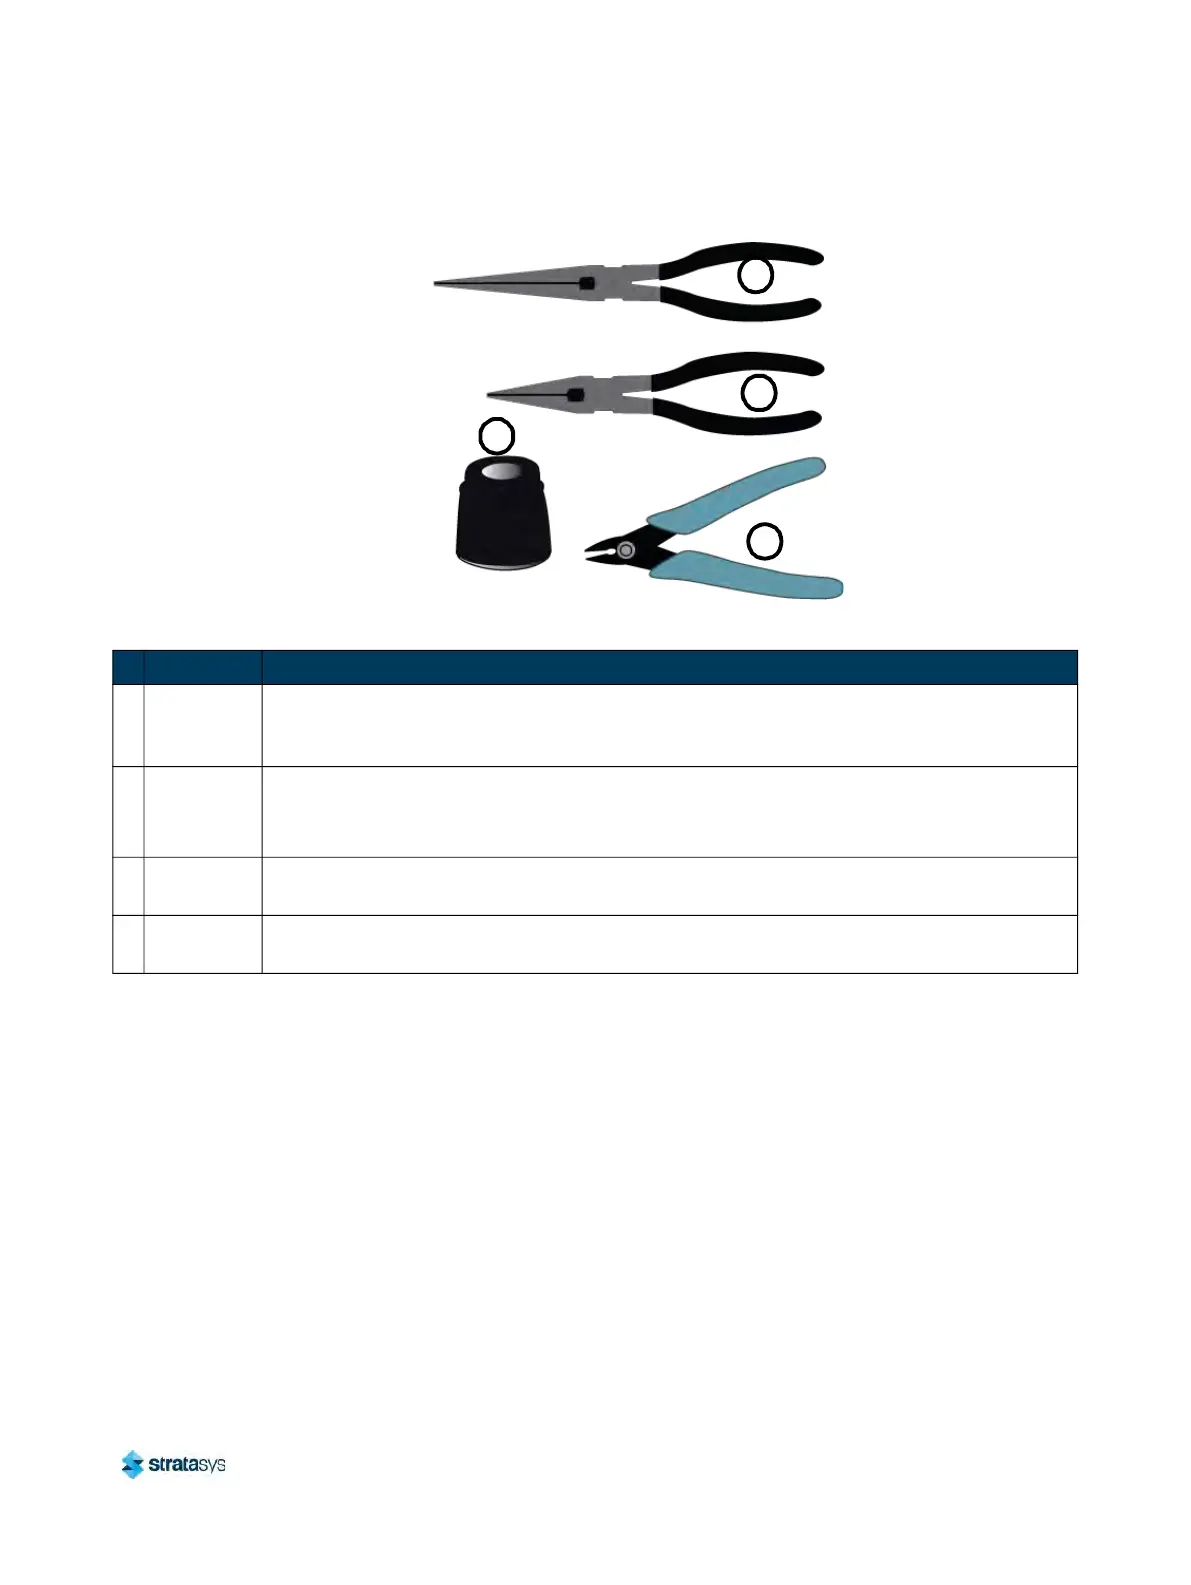
Figure 2: Welcome Kit Contents - Tools
Basic Setup
Follow the Site Preparation Guide to ensure that your facility is effectively and safely prepared
for printer installation. Do not proceed with the following sections until the “Unpacking the
Printer” section of the Site Preparation Guide has been completed. When installation is
complete, perform the following setup tasks.
• Open the top cover and ensure that the orange clip has been removed from the X belt, and
t
he orange tie wrap has been removed from the X motor. If not, remove the orange clip
and/or orange tie wrap securing these components.
1
2
3
4
Table 2: Key for Figure 2
# Item Description
1
Needle
No
se Pliers
(extra slim)
Occasionally, you may need to use pliers to aid in the clearing of debris which have
accumulated on the head and/or tips (see “Clean/Inspect Tip Wipe Assemblies” (page 154)).
2
Needle
No
se Pliers
(7
1
/
8
”)
Occasionally, you may need to use pliers to aid in the clearing of debris which have
ac
cumulated on the head and/or tips (see “Clean/Inspect Tip Wipe Assemblies” (page 154)).
3 5” Cutter
These are used to cut a material coil box’s filament when unloading and removing materials
fr
om the printer. See “Unloading Material” (page 105).
4
Loupe
Ma
gnifier
This tool is included to aid you with performing a Manual Tip Calibration which requires you
to view small toolpath relationships. See “Manual Tip Calibration” (page 133).