124
S
6. Once the two front M6-40 screws have been re-
moved and the rear two M6-40 screws have been
completely loosened, the raceway should be free
to remove. A small at head screwdriver may be
needed to gently li the rear M6-40 screws to allow
the raceway to become free. e raceway consists
of two halves. Place the two halves in a safe place
for later reassembly.
7. With the raceway removed, remove the brake blad-
der by depressing the quick-connect tting while
pulling the brake line.
8. With the brake line removed, the bladder can now
be inspected/replaced.
To replace the brake bladder, do the following:
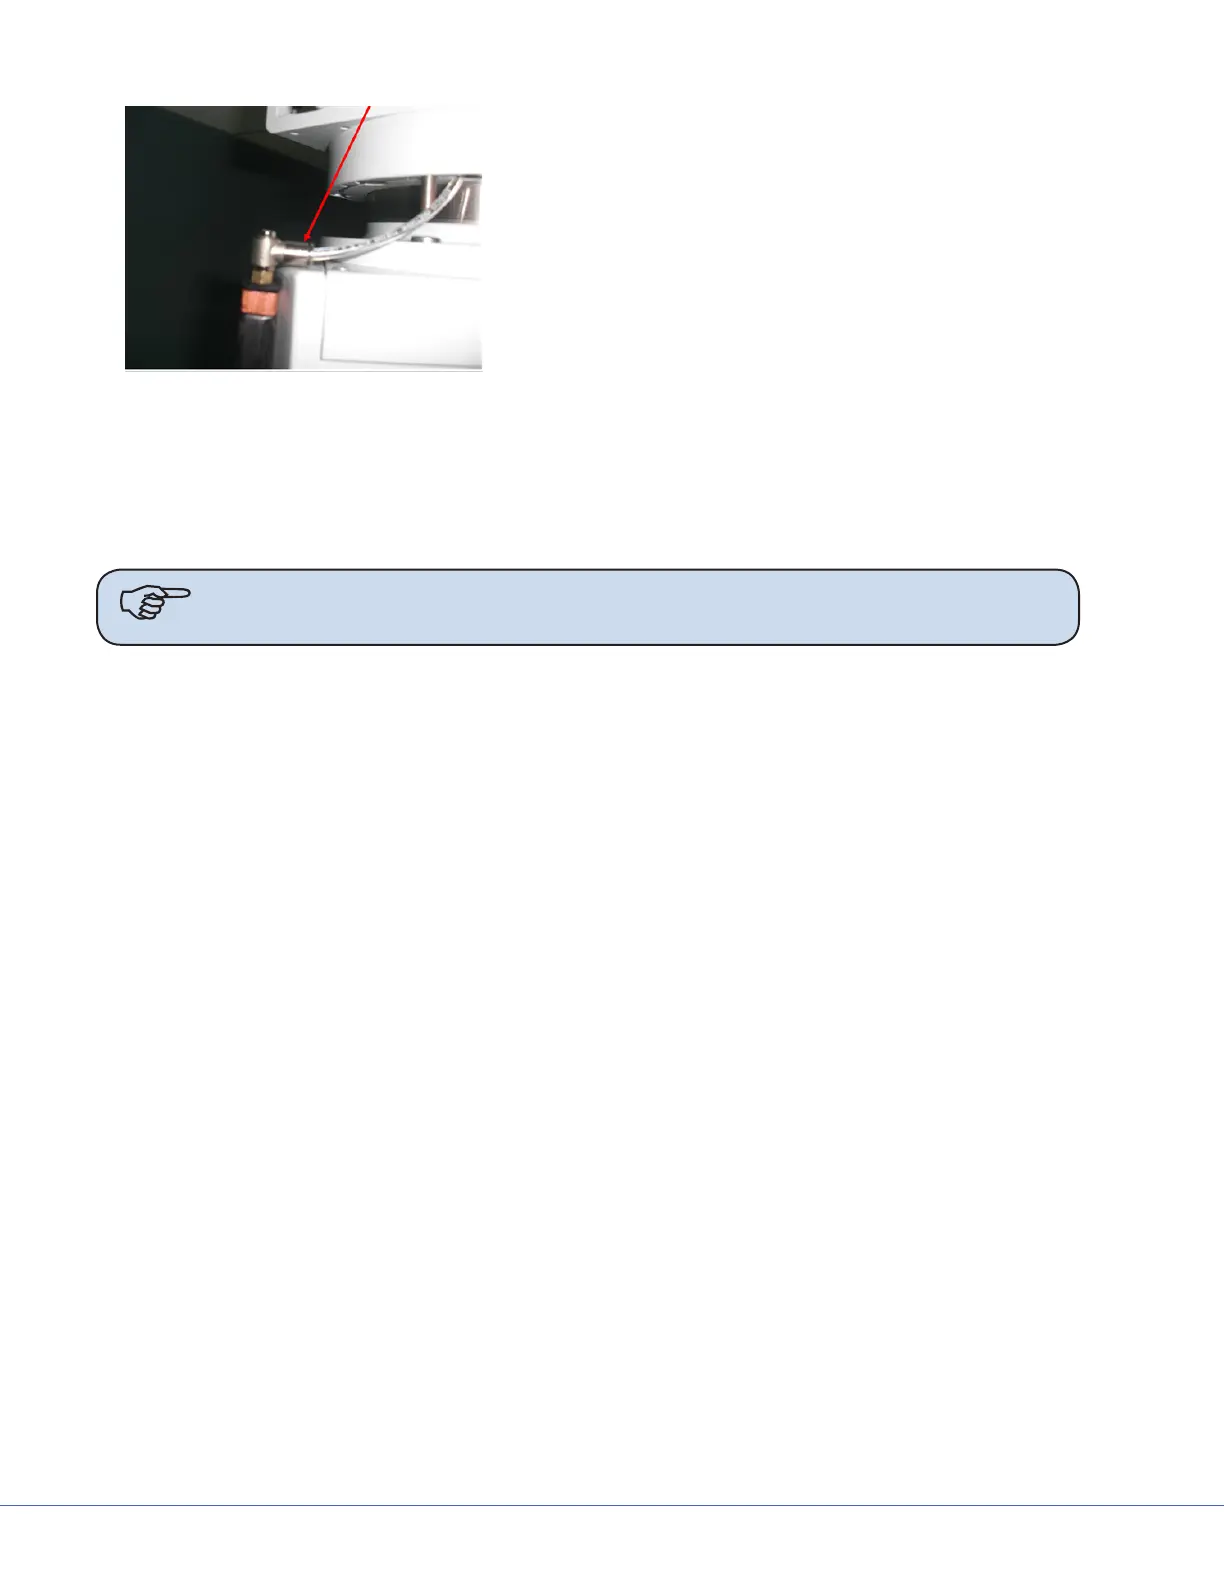
1. Insert brake line back into quick-connect tting on brake bladder
Note Ensure brake line is inserted fully into tting and that hose has a 90° edge and not
a hose that has been cut at an angle.
2. Ensure bladder is tted around bearing in proper orientation. Using the diagrams below, route
the bladder with the shorter at edge against the bearing surface and the 14mm side up.