S CLASS™ 2 cutter User’s Manual
OPOS 3-17
3.5.2 Differences in calibrating OPOS CAM vs OPOS sensor
3.5.2.1 OPOS calibration
The OPOS calibration of a cutter with the OPOS CAM option is very similar to the OPOS
calibration of a cutter with an OPOS sensor.
1. Switch the cutter on and load black vinyl with white backing. Make sure Summa Cutter
Control is running on the computer that is connected to the cutter.
NOTE: Black vinyl with white backing MUST be used when calibrating OPOS.
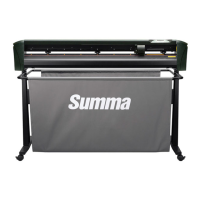
Press Settings
Press More
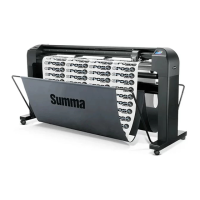
Press OPOS.
The cutter will cut out two
squares, a little one inside a
big one. Afterwards it will
feed the media forwards.
“Weed out Rectangle” will
appear on the display.
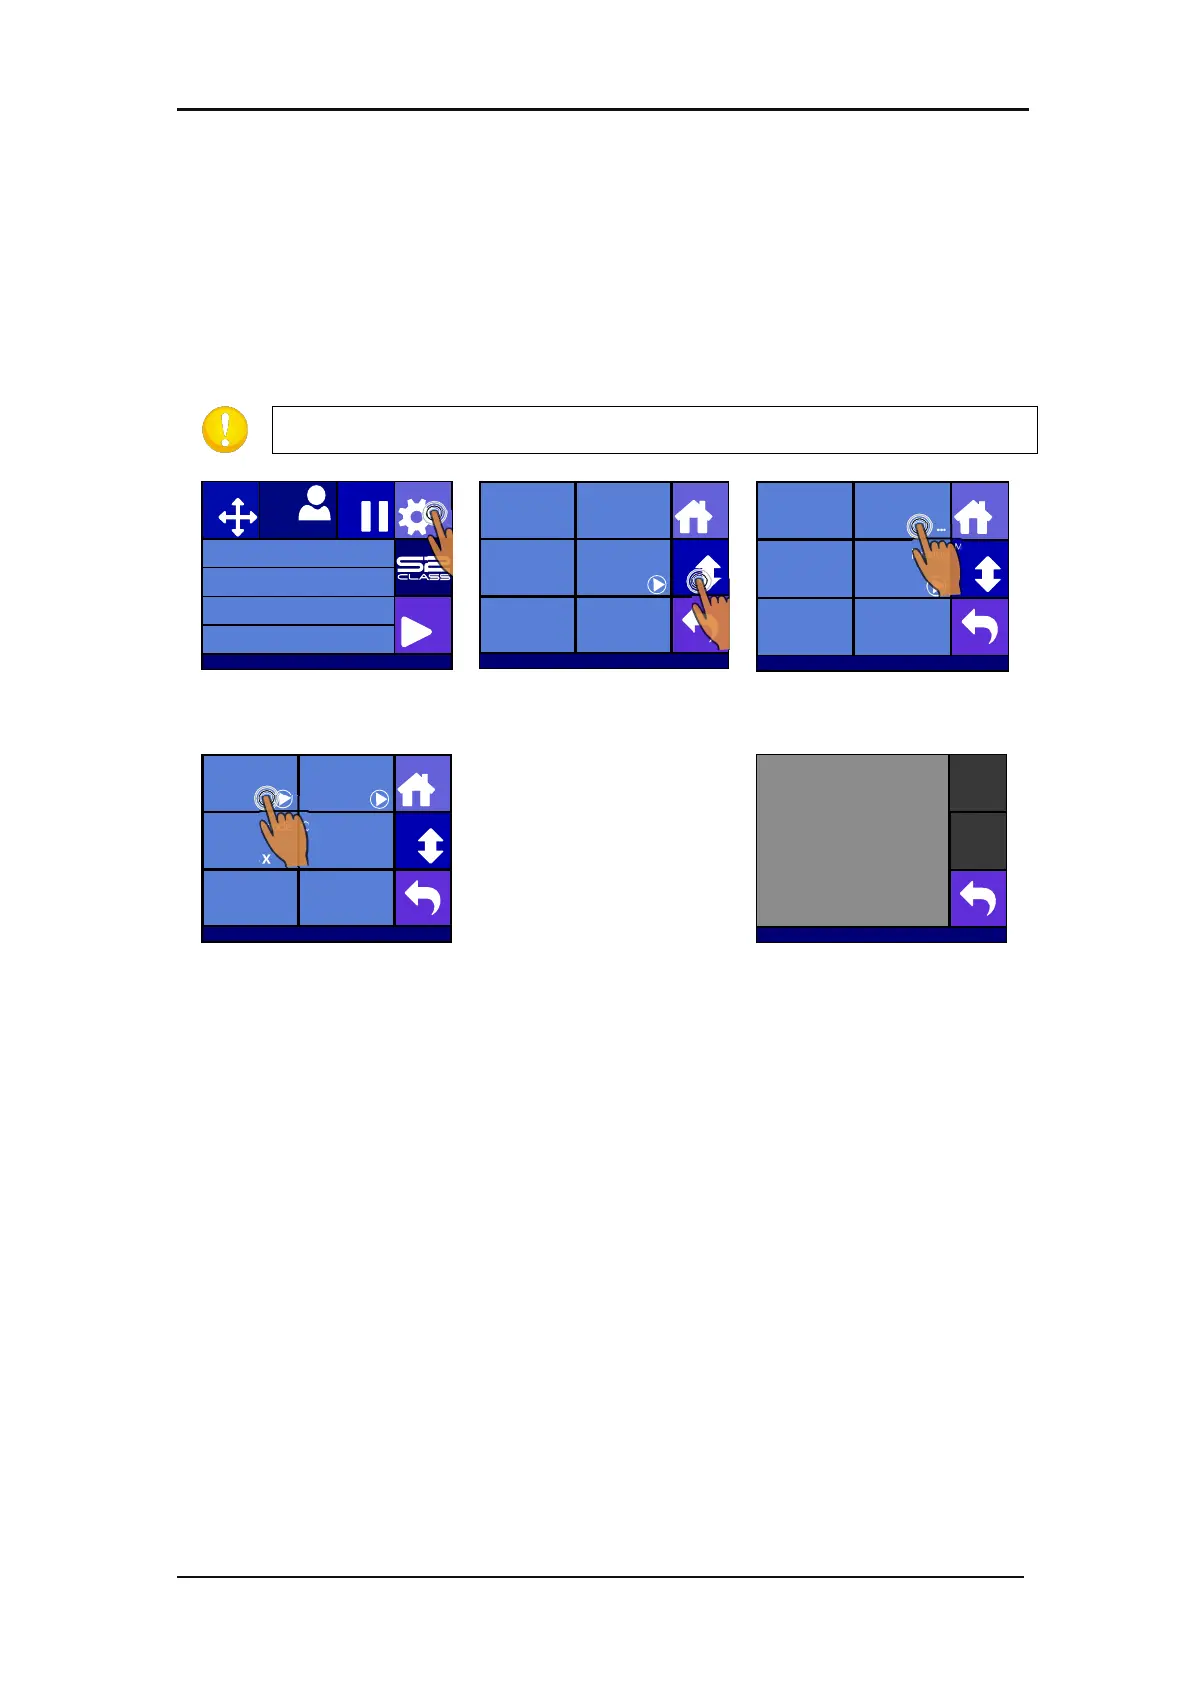
Press Calibrate OPOS
Carefully weed the
rectangle, making sure the
small square stays on its
place. Press Back.
OPOS will register the position of the little square and calibrate itself accordingly.
3.5.2.2 OPOS media calibration
This option is not available in the menu on the cutter. The camera has to be calibrated with the
program Cutter Control. The cutter tools manual describes how to do this.
Knife pressure 95 gr
Velocity 800 mm/s
Tool Tangential knife
Media size 50000 x 718 mm
Actions
Settings
Configuration 1
PauseOrigin
USB port 1
Settings
More
Home
Tool
Tangential knife
Velocity
800 mm/s
Knife pressure
95 gr
Calibrate Knife
FlexCut
...
Advanced cutting
...
Settings
More
Home
General
OPOS
Communication Length Calibration
Coil setup
...
Factory defaults
...
... ...
...
Settings | OPOS
More
Home
Calibrate OPOS
Calibrate media
(OPOS)
Alignment mode
OPOS X
OPOS sheet mode
Off
OPOS panelling
Mark
OPOS origin
Off