10-22 4262930-Rev A
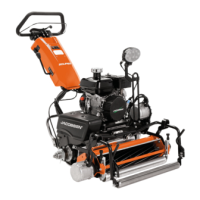
ACCESSORIES
10
27. Remove screw (68), washer (69), spacer (70), and
remove components (64–67) as an assembly.
28. Remove screw (81), lock washer (80), and spacer
(79).
29. Remove guide wheel (78).
30. Remove nut (77) and two washers (76) from groomer
roller (56).
31. Remove screw (83) and lock washer (82).
32. Remove groomer blade assembly (29).
33. Remove nut (63) and carriage bolt (84).
34. Remove screw (87), lock washer (86), and flat
washer (85).
35. Remove screw (62), nut (71), and spacer (72).
36. Remove driven assembly (73), spacer (75), and side
spacer (74).
37. Remove adjustment knob (61), and grease fitting
(60) as an assembly.
Assembly Notes
• Inspect parts for wear or damage and replace as
necessary.
• Install turf groomer by reversing the order of removal.
• Use new V-ring seal (8).
• Lubricate grease fittings (59 and 60) with grease that
meets or exceeds NLGI Grade 2 LB specifications.
Clean grease fittings before lubricating and apply
grease to the fittings with a hand grease gun only.
Pump the gun slowly until a slight amount of
pressure is felt, then stop—do not over-grease. Do
not use compressed air gun.
• Adjust bearing. (See “Bearing Adjustment” on
page 10-5.)
• Align blades to roller. (See “Blade-to-Roller
Alignment” on page 10-7.)
• Adjust height-of-cut. (See “Height-of-Cut Adjustment”
on page 10-4.)
• Adjust belt (20) tension. (See “Belt Adjustment” on
page 10-6.)