Chapter 3
25
UM10372_PCNC440_Manual_0221A
iNSTAllATiON
3.1.3 Initial Uncrating
CAUTION! Sharp Objects: Be sure to wear
gloves when uncrang mill. Failure to do so
could result in serious injury.
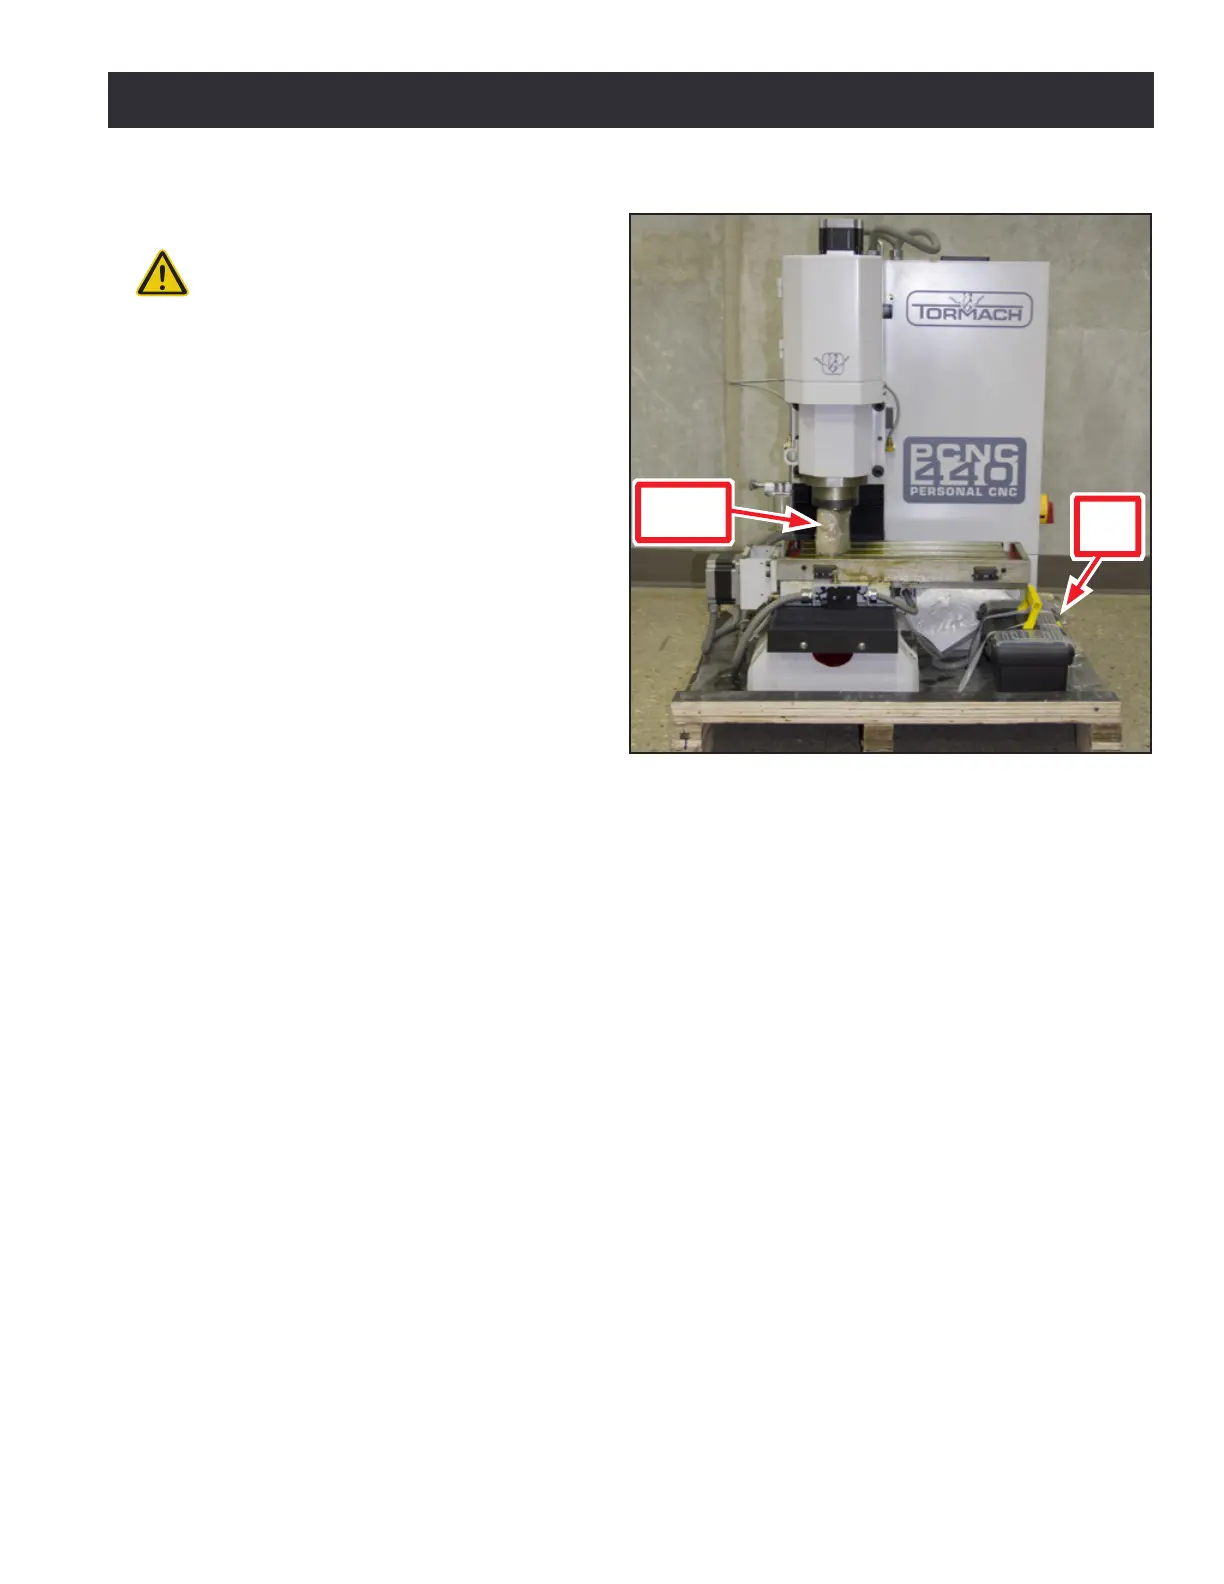
Using a pry bar, open and disassemble
shipping crate by removing the top of crate
rst, followed by four sides. Be careful
with nails. Figure 3.2 shows the mill with
the shipping crate removed.
3.1.4 Shipping Damage or Shortages
Once received, inspect and note any
shipping damage that may have occurred
during transit. Check received goods
against packing list; any damage claims or
shortages must be addressed within 30
days of receipt.
3.2 Installation Sequence
If the mill was purchased with addional accessories or oponal kits, the following installaon
sequence is recommended:
1. Basic installaon (see Basic Installaon Procedure later in this chapter)
2. Installaon validaon (see Validate Basic Installaon later in this chapter)
3. Power Drawbar
4. Automac Tool Changer (ATC)
5. Full Enclosure
NOTE: For items 3-5, refer to documentaon that ships with the product.
3.3 Basic Installation Procedure
Follow the steps in this secon to complete basic mill installaon.
3.3.1 Stand Assembly
If purchased, the PCNC 440 Stand (PN 35671) should be assembled rst. Refer to documentaon
that ships with the stand for informaon on assembly.
Figure 3.2
Tool
Box
Shipping
Block