Chapter 5
48
UM10372_PCNC440_Manual_0221A
iNTRO TO PATHPilOT
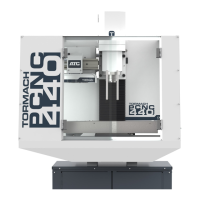
3. On the Osets tab, enter 0.0 in
the touch DRO and click the Touch
Z buon (see Figure 5.8). If you
were not touching on the top of
the workpiece, but instead using
a feeler gauge or piece of paper
between the workpiece and the
tool, you could enter the thickness
of the gauge or paper in the touch
DRO before clicking Touch Z to
account for the gauge thickness.
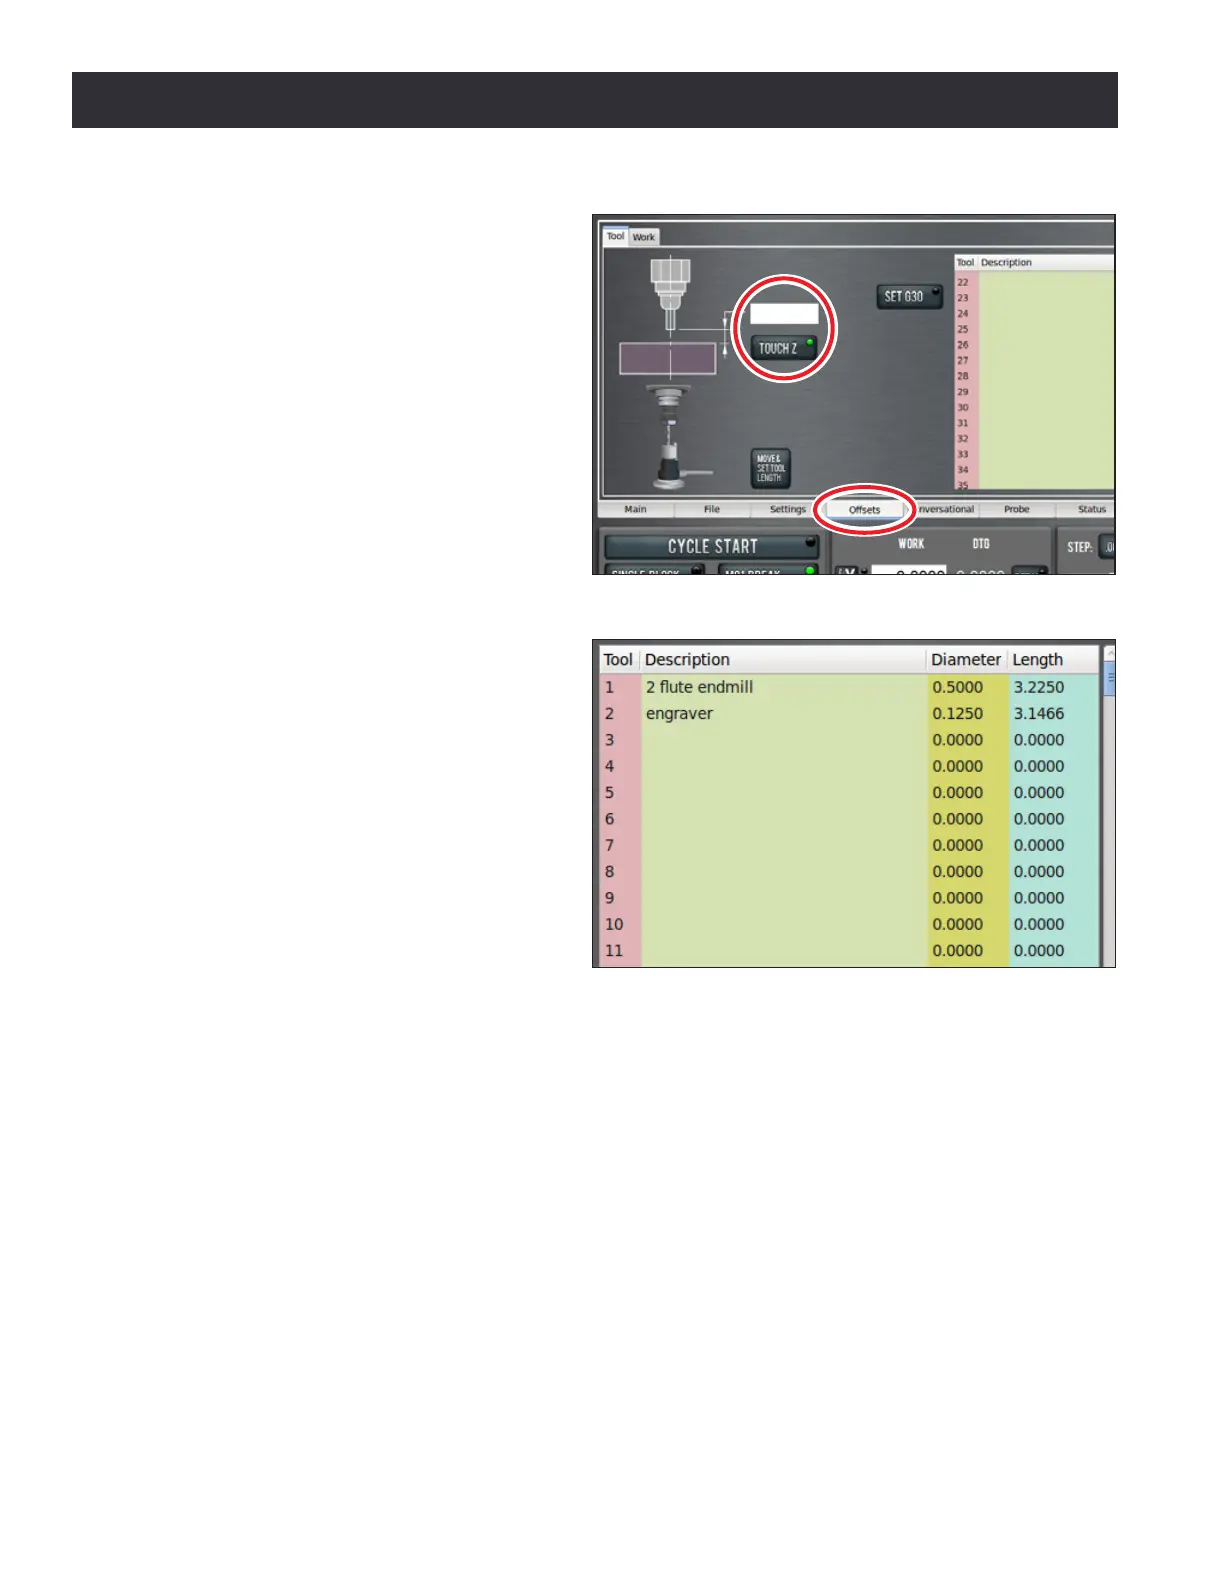
4. Look at the length value in the tool
table for Tool 1. Verify that it is
correct by measuring the length of
the tool from the spindle nose to
the tool p with a ruler or calipers.
5. Enter the diameter of the tool in the
tool table (see Figure 5.9) and press
Enter.
NOTE: Fracons entered in these entry elds are
converted to their decimal equivalents.
6. Put the 1/8” end mill tool holder
into the spindle.
7. Type 2 in the tool DRO and click the
M6 G43 buon (see Figure 5.5).
8. Repeat steps 3-6 to measure the
tool length for Tool 2.
5.1.8 Write the G-code
Now use Conversaonal programming capabilies of the PathPilot Interface to generate G-code to
produce our part (see Figure 5.1). This will be broken down into two operaons:
1. Mill a 0.100” deep, 3.25” diameter pocket in the face of the workpiece.
2. Engrave leers PCNC in the pocket.
Figure 5.8
Figure 5.9