6. To level the sensor, turn the leveling screws. Use the screw nearest to the spirit level
first.
When the sensor is straight according to the spirit level, the thermopile is horizontal
within 0.05 °. This causes a maximum azimuthal variation of ±0.5 % at a solar elevation
of 10 °.
7. Secure the pyranometer tightly with the two screws. Make sure that the pyranometer
maintains its leveled position.
8. Route the sensor cable along the sensor support arm and secure it with cable ties.
9. Connect the sensor cable.
More Information
‣
Connecting Sensor and Device Cables (page 218)
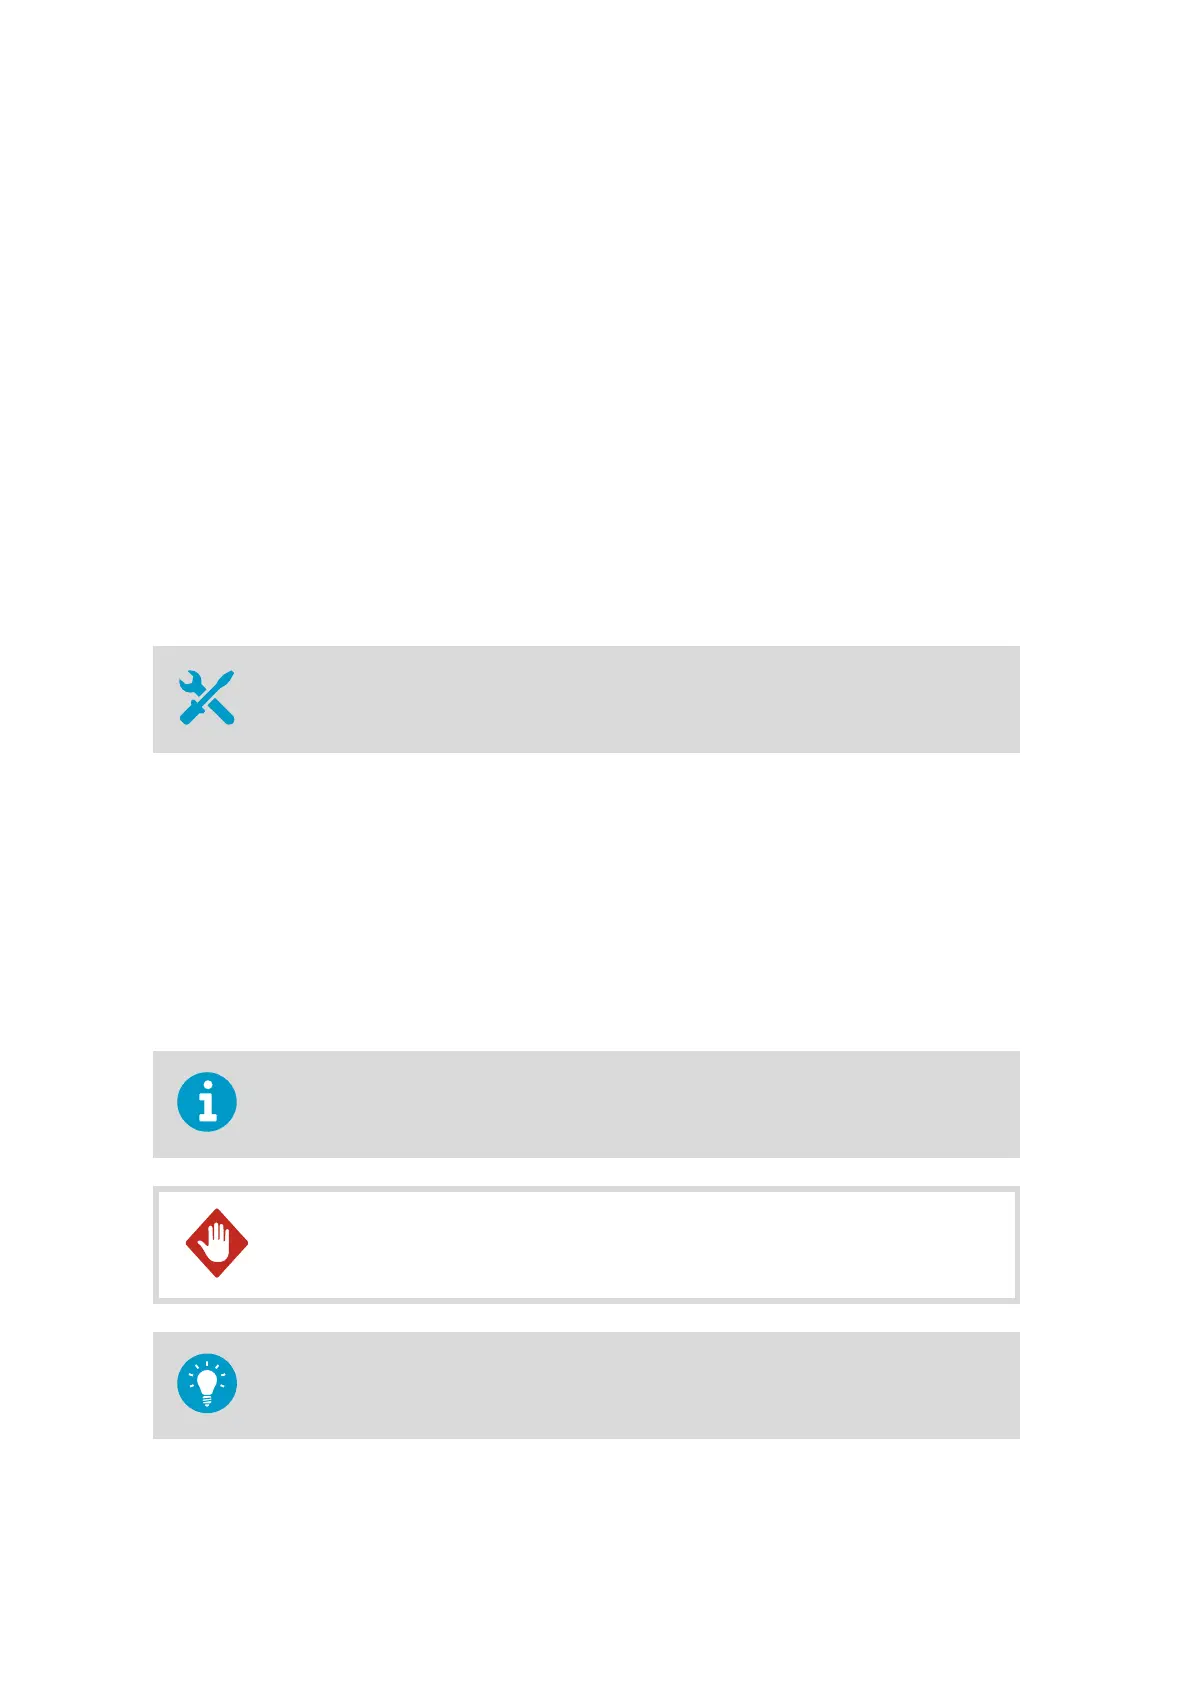
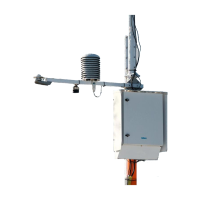
11.5 Installing SP Lite2
• 5‑mm Allen key
• Slothead screwdriver
For the most reliable measurements:
• Make sure that nothing obstructs the sensor during the day. Check the height of the
nearest obstruction, and leave at least 10 times that distance between the obstruction
and the pyranometer. For example, if the nearest obstruction is a 5-meter (16 ft 5 in)
tree, leave at least 50 meters (164 ft) between the tree and the pyranometer.
• Install the pyranometer on a mounting plate. Temperature
fluctuations of the
pyranometer body can produce oset signals. The non-conducting materials of the
mounting plate thermally isolate the sensor from its
fixtures.
• Make sure that the sensor is level.
The manufacturer recommends that you point the cable towards the nearest pole (South
Pole or North Pole).
Do not perform installation or maintenance procedures when there is a
risk of thunderstorm or lightning activity in the area.
WARNING!
To prevent corrosion and oxidation, use copper paste or equivalent on screws and
connector threads.
AWS310/AWS310-SITE Installation Manual M211584EN-F
126