15.5.4 Installing DRS511 Using Cold Filling Material
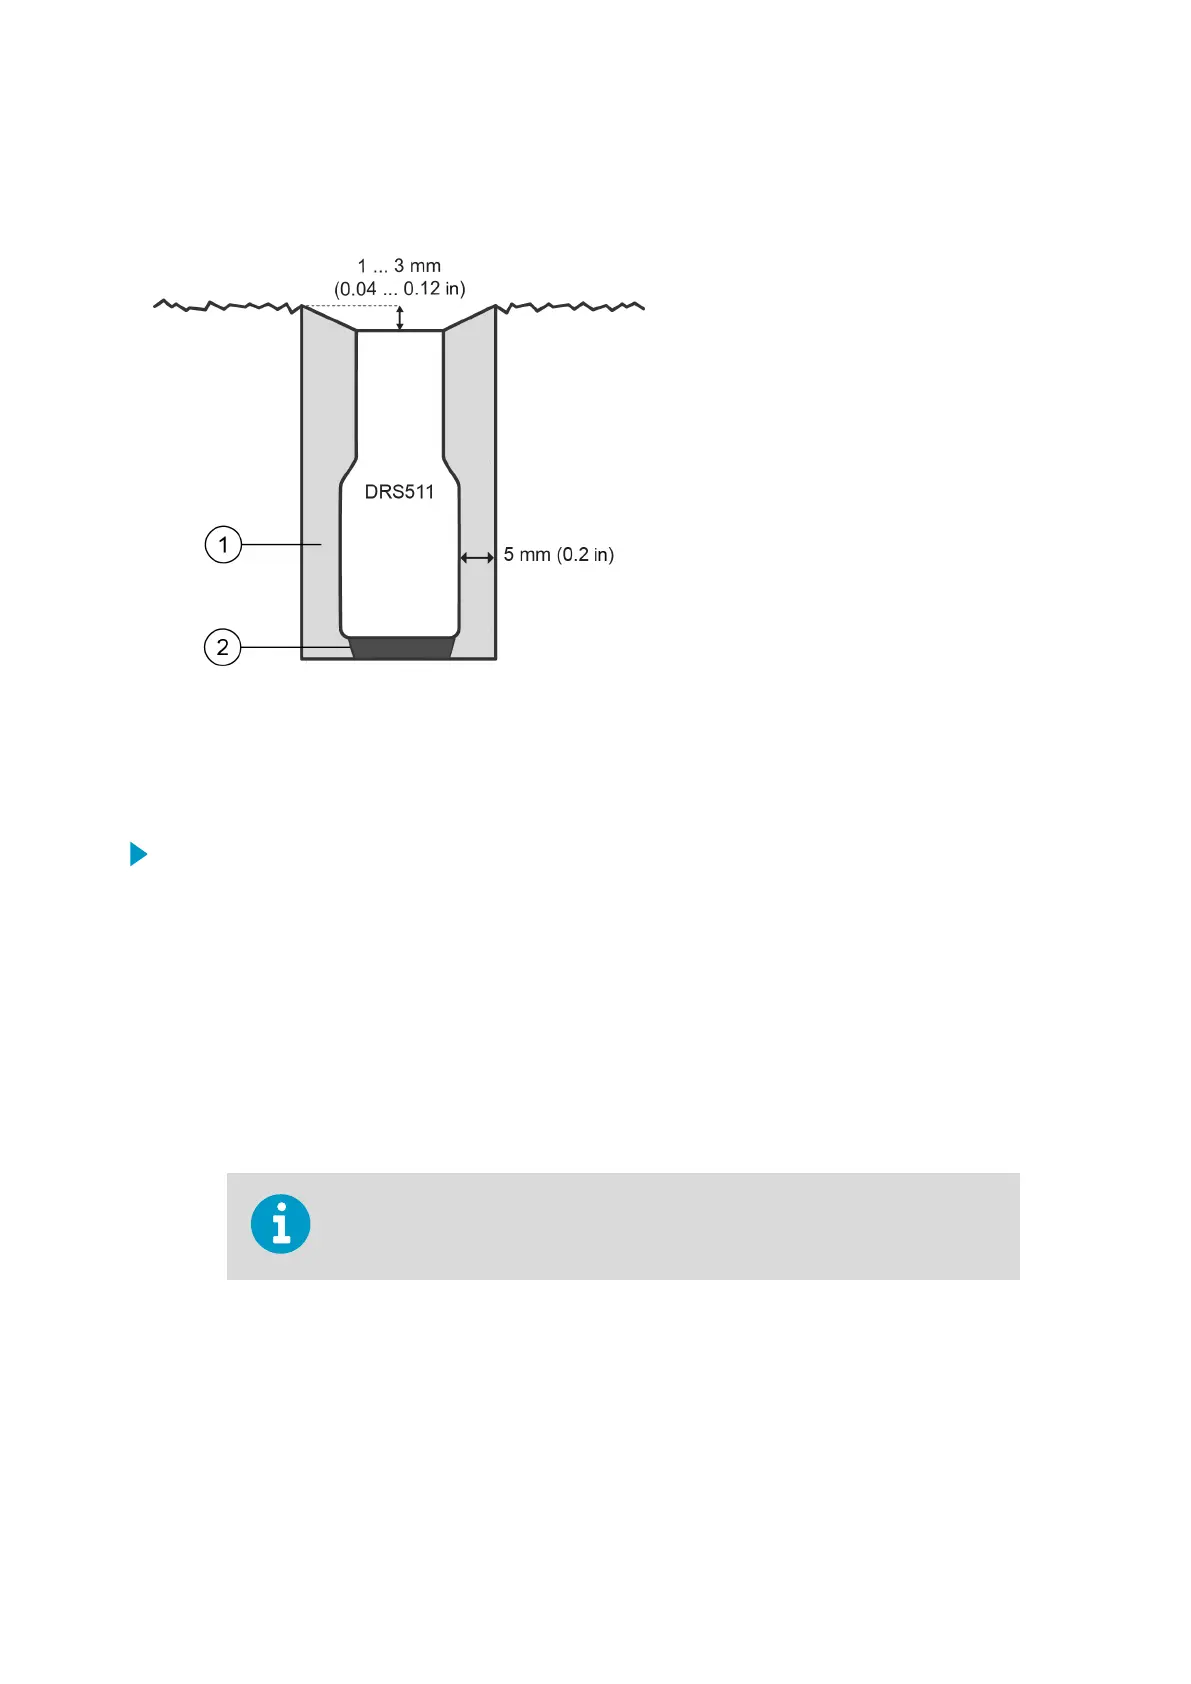
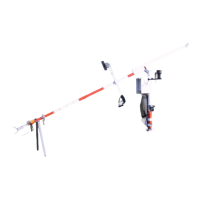
Figure 62 DRS511 Positioning (Cold Filling Material)
1 Epoxy/Polyester grout
2 Putty
1. (Optional) Lay foam packing strips on the base of the slot.
2. Uncoil the sensor cables and place them in the slot.
3. Insert the putty to the bottom of the slot.
a. Take a generous lump of hard-setting putty (approximately ⅓ of the size of DRS511)
and roll this in your hands until it becomes soft.
b. Shape the piece into a cone and place it at the bottom of the slot.
c. Leave the piece to harden for a few minutes.
d. Insert the sensor on top of the putty and, in a see-saw motion, rock the sensor until
it lies 1 … 3 mm (0.04 … 0.12 in) below the road or runway surface.
Make sure that the sensor lies in line with the road or runway and that no side is
more than 3 mm (0.12 in) below the road or runway surface.
4. Use a steel stick or similar to gently push the sensor cable along the base of the slot.
5. Place the measured grout mix in a suitable container and mix properly.
Consult the grout manufacturer
specifications for the suitable hardener/resin mixing
ratio. The
final texture of the grout should be pourable, but not flowing.
6. Check the sensor positioning again. See step 3.d.
AWS310/AWS310-SITE Installation Manual M211584EN-F
192