Do not perform installation or maintenance procedures when there is a
risk of thunderstorm or lightning activity in the area.
WARNING!
To prevent corrosion and oxidation, use copper paste or equivalent on screws and
connector threads.
More Information
‣
Unpacking OTT Pluvio2 L (page 208)
‣
Mounting OTT Pluvio2 L (page 208)
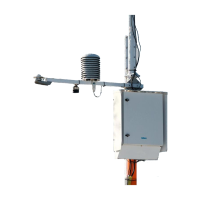
16.4.1
Unpacking OTT Pluvio
2
L
Transport OTT Pluvio
2
L carefully to the installation location upright in the transport box.
1. Turn the OTT Pluvio
2
L transport box upside down.
2. Open the transport box and remove the upper foam insert.
3. Remove the box and the installation materials.
4. Unscrew the 3 knurled screws on the pipe housing.
5. Remove the base plate from the transport box.
For the OTT Pluvio
2
L that has
orifice rim heating, follow the sheet included to take the base
plate out of the pipe housing. For now, leave the collecting bucket and pipe housing in the
transport box.
16.4.2
Mounting OTT Pluvio
2
L
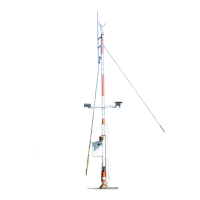
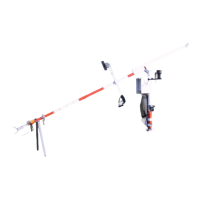
For illustrations of OTT Pluvio
2
L installation, see manufacturer documentation.
Using the default pedestal (PLUVIOINST400‑2), the orifice of the gauge is at the height of
1.5 m (4 ft 11 in) above ground level.
1. Attach the pedestal to the concrete base using suitable bolts and plugs.
The diameter of the hole in the bottom plate is 16 mm (0.63 in). Make sure that the
pedestal is fully vertical.
2. Pull the sensor cable into the empty conduit pipe.
3. Place the base plate of the gauge on a level surface.
4. Remove the 4 outside cross-head bolts (transportation lock) in the bucket overlay.
Save the cross-head bolts for future transportation or shipping.
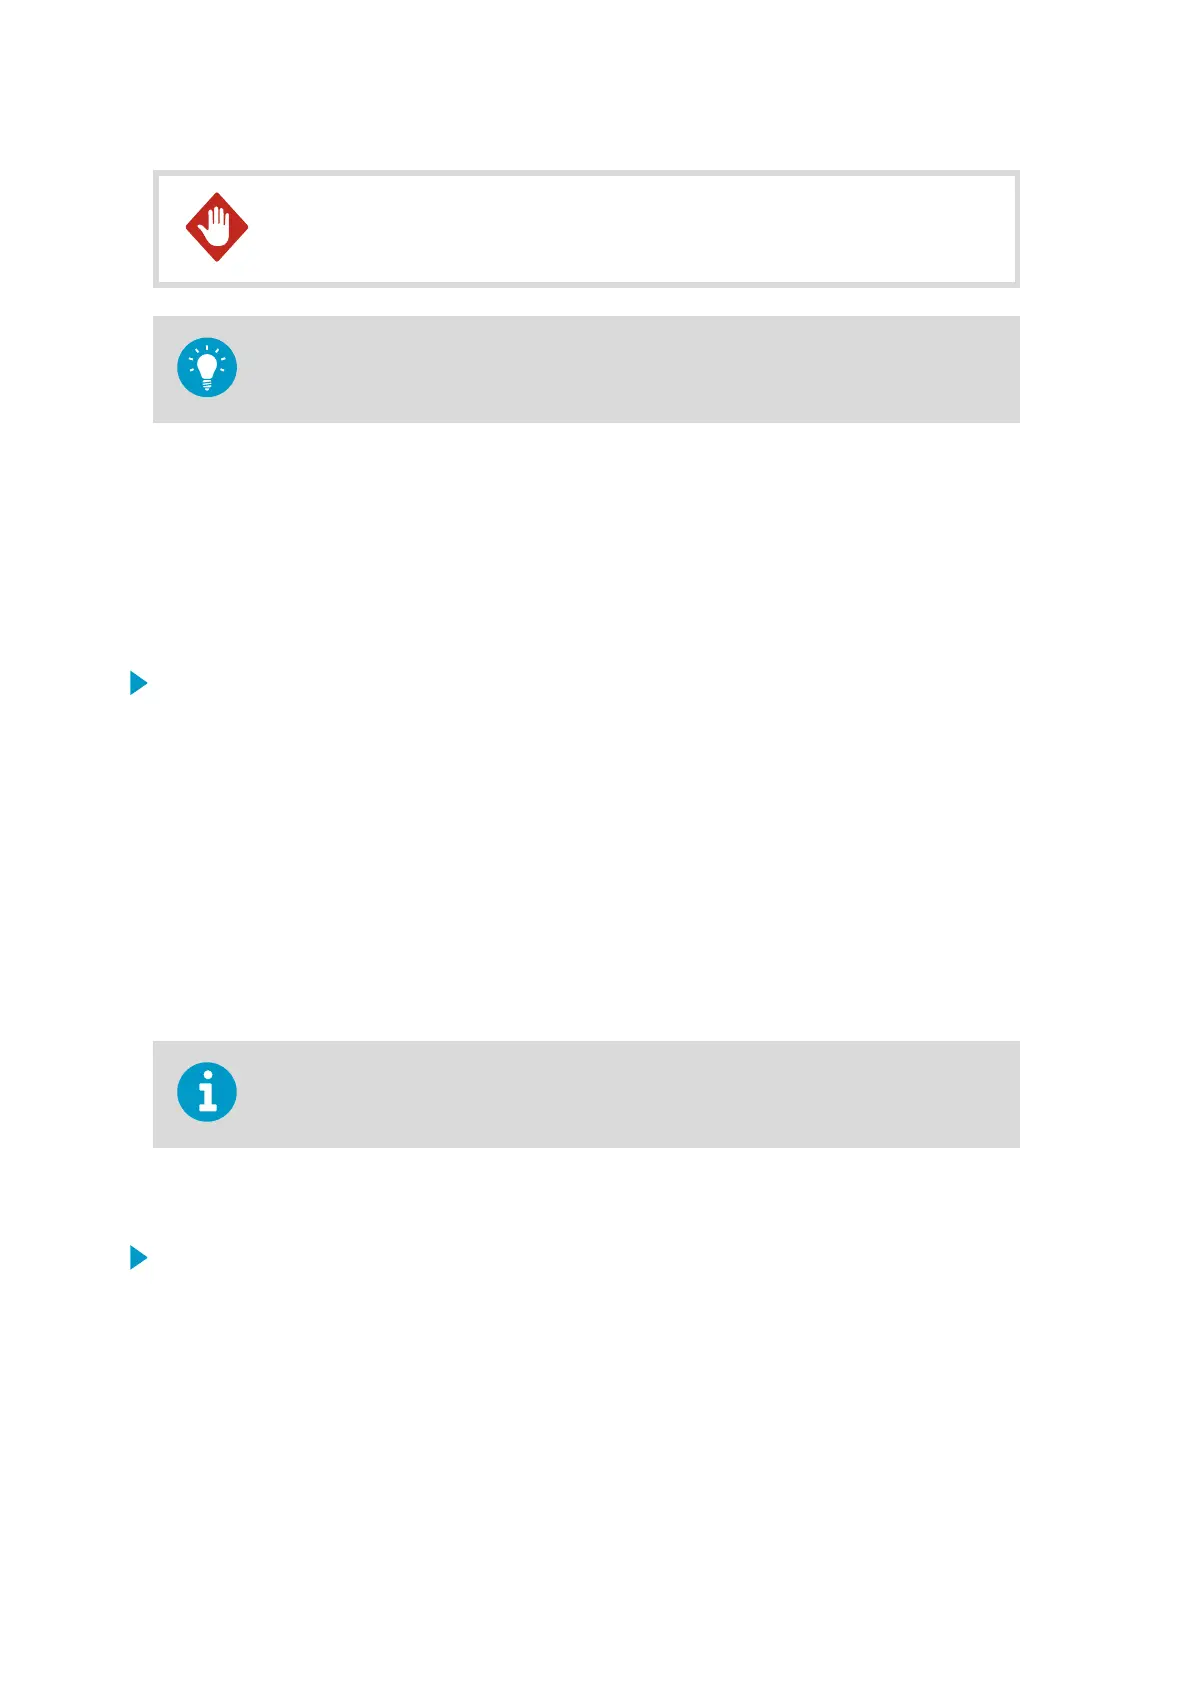
AWS310/AWS310-SITE Installation Manual M211584EN-F
208