Machine maintenance and cleaning
25
Original instructions: N4 Impression
Document version: H – 05/2019
Wear parts
Exchanging wear parts Average useful life Procedure / Utensils Illustration spare part
Replacingthecoarseltermat
(
chapter 6.9, page 29)
100 operating hours* NewCoarseltermat
Exchanging the tool magazine inserts
( chapter 6.15, page 34)
500 operating hours* Replacement inserts,
drill for drilling the tool
positions, screwdriver
Exchanging the collet chuck 1000 operating hours*
Exchanging the pump
(
chapter 6.10, page 30)
250 operating hours*
Exchanging the spindle bearings
(requires spindle exchange by service
technician)
2000 operating hours* or every
2 years*
Performed by service
technician
* These are recommendations as a guidance. Depending on the processing material and pollution of the machine these values
candier.
6.3 Inspection
We recommend having a service technician perform an in-
spection regularly.
h In addition, have an inspection carried out whenever the
machine is being repaired.
6.4 Cleaning the working chamber and measuring
key
Damaging of the linear guides or the spindle
when cleaning with compressed air
If you clean the working chamber with compressed air, mate-
rial chips can reach the linear guides or the spindle bearings.
h Clean the interior of the machine exclusively with a wet
vacuum cleaner, a brush and a cloth and never with
compressed air.
M1. Have ready:
A wet vacuum cleaner
A wet cloth
A mild cleaner (optional)
A wet brush
M2. Turn on the machine.
S3. Start DentalCNC.
S4.
Activate the sealing air by clicking on the de-
picted icon.
The sealing air is audibly blown into the working cham-
ber.
M5.
Open the working chamber door.
M6. Suck up the coarse dirt in the working chamber with
the wet vacuum cleaner.
M7. Clean the whole interior thoroughly with the wet cloth.
Use a mild cleaner if necessary.
M8. Thoroughly clean the blank holder including all screws,
pins and clamping mechanisms as well as all openings
from the processing dust.
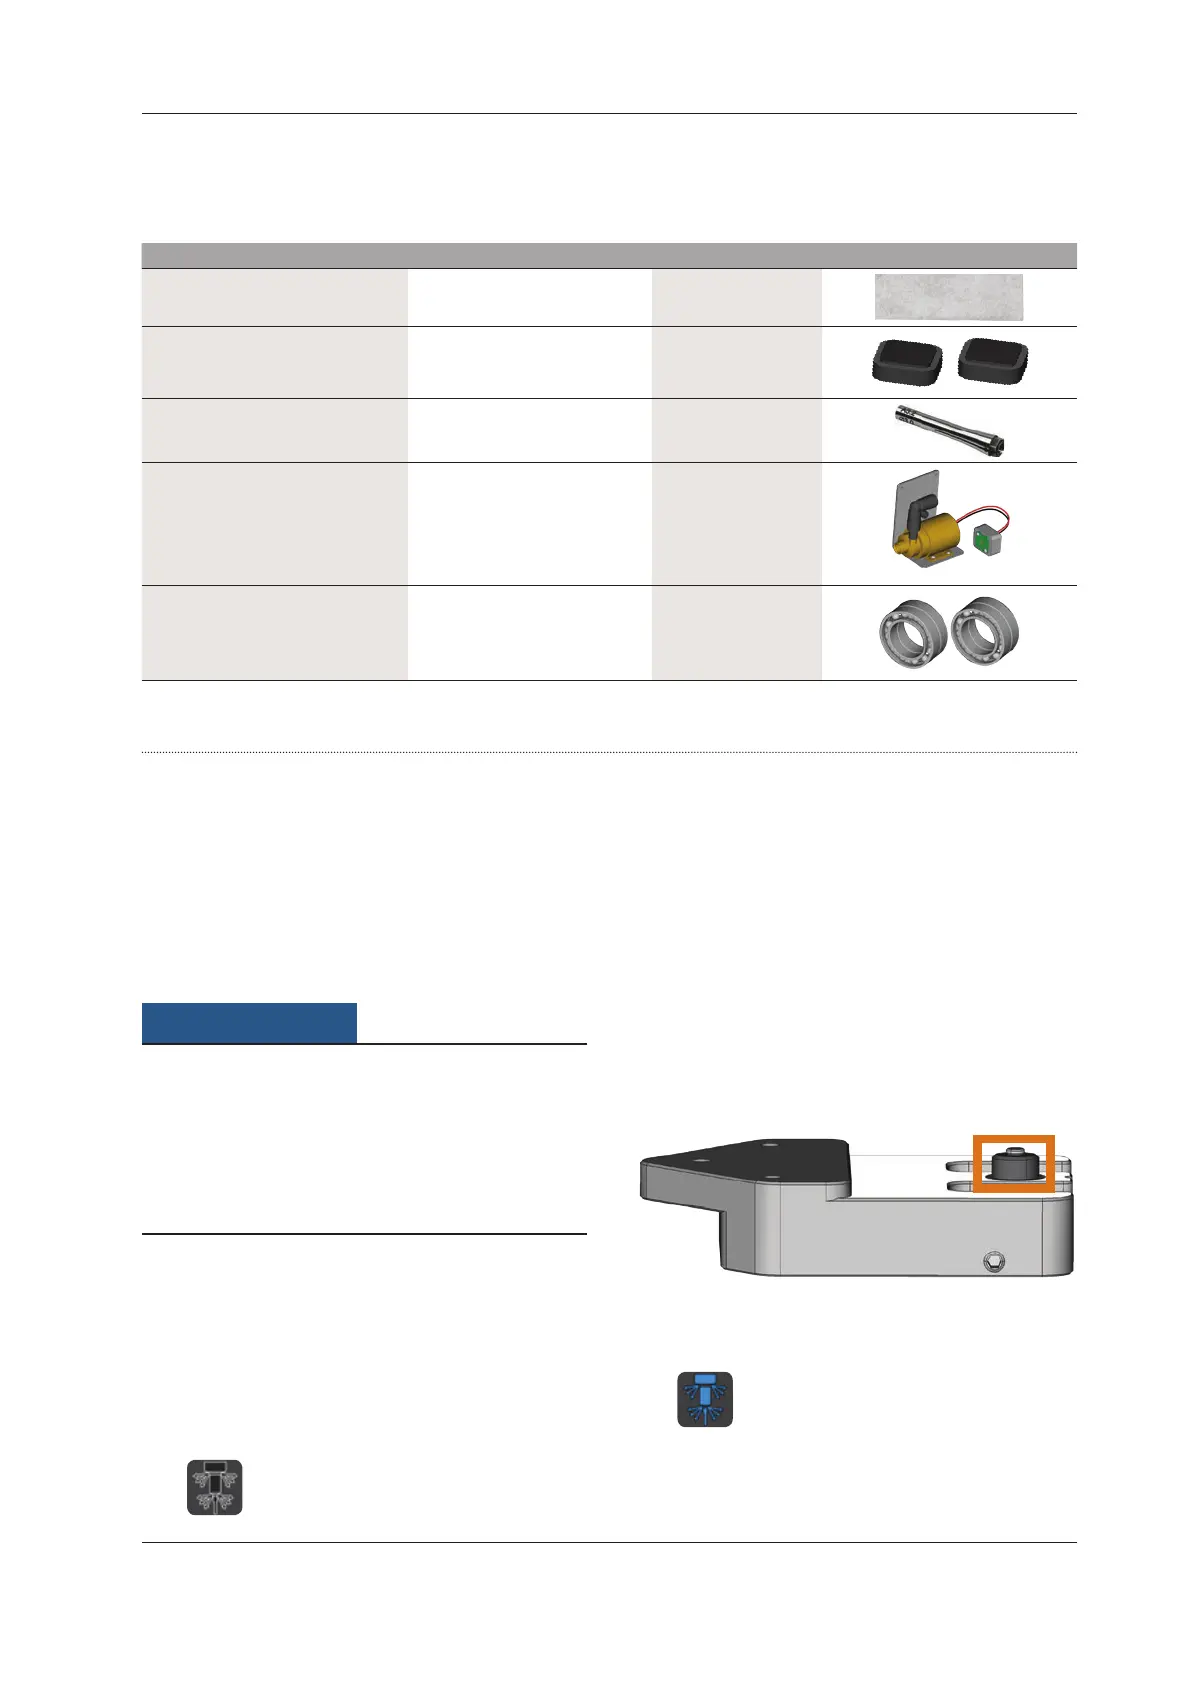
M9. Clean the measuring key between the tool magazines
with a brush.
Fig. 25: Measuring key between the tool magazines (marked orange)
M10. Close the working chamber door.
S11.
Deactivate the sealing air by clicking on the
depicted icon.
The sound caused by the sealing air subsides.