4-49 2000-OSM, F1
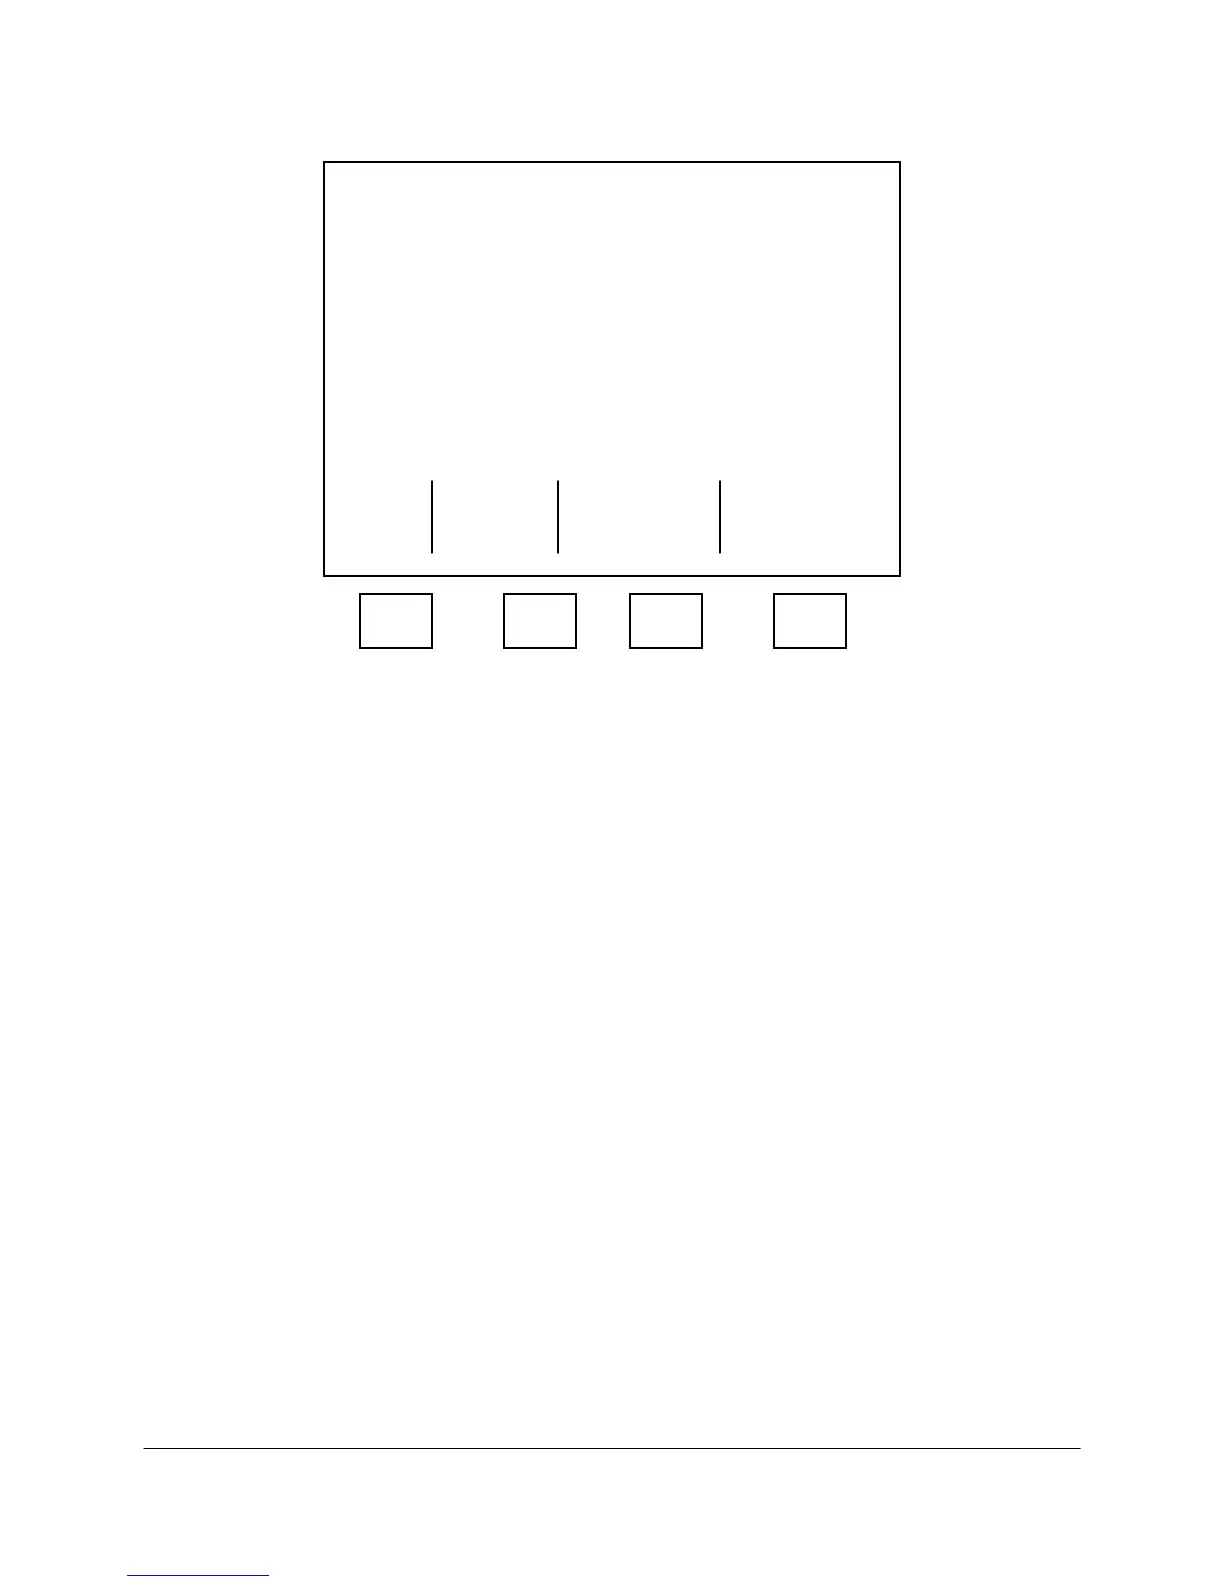
4. On the Temp Config Table screen (see Figure 4-45), select the desired field using the cursor
keys.
**** Temp Config Table ****
Remove Heat On
Num Config Sensor Air Loss
1 ISO Probe Yes
2 ISO Probe Yes
3 INACT Probe No
4 INACT Probe No
5 ISO TC Yes
Exit
F1 F2 F3 F4
Figure 4-45. TEMP CONFIG TABLE SCREEN
5. In the Config field, you can change the temperature configuration by scrolling through the list of
titles and selecting the appropriate one for this zone, then cursor to another field. The five
Temperature Zone configuration choices are:
INACT Inactive
SWITCH Isothermal Controlled by toggle switch on Temp. Control PCB
ISO Isothermal Regular
PROG Programmable
PROG/C Programmable with Vortex Cooler
NOTE
SWITCH, displayed in the Config column, indicates an isothermal zone that is not
intended to be changed.
If a change in the zone configuration becomes necessary, the pushbutton switch on the DTC
Backplane PCB confirms the change. Refer to "Configuring SWITCH," steps 8 and 9.
6. In the Sensor field, you can toggle between Probe and TC. Refer to the Data Package to ensure
you select the appropriate sensor type.
7. In the Remove Heat On Air Loss field you can toggle between Yes and No. Refer to the Data
Package to ensure you make the appropriate selections.
8. After you have completed and verified the changes, press the F1 (Exit) soft key.
9. On the next screen, press the F2 (Exit And Update) soft key to save the changes, or press the F1
(Escape) soft key to retain the original values.