2000-OSM, F1 5-9
4. On the Commands screen, cursor to STORAGE & CONFIG and then press the F4 (Update
Digital Config) soft key.
5. On the first Digital Configuration screen, enter RESETDIGIO as the password and then press the
F2 (Accept Entered Password) soft key.
6. On the second Digital Configuration screen, cursor to the board whose configuration you want to
verify and then follow the steps in the paragraph pertaining to that board.
The final steps for saving configuration changes are described in "Final Steps."
Chroma Board 1 Input Table
1. After you cursor to Chroma Board 1 on the second Digital Configuration screen, press the F2
(Edit The Input Table) soft key.
2. On the first Chroma Board 1 Digital Input screen, cursor to VistaII and press the F1 (Continue)
soft key.
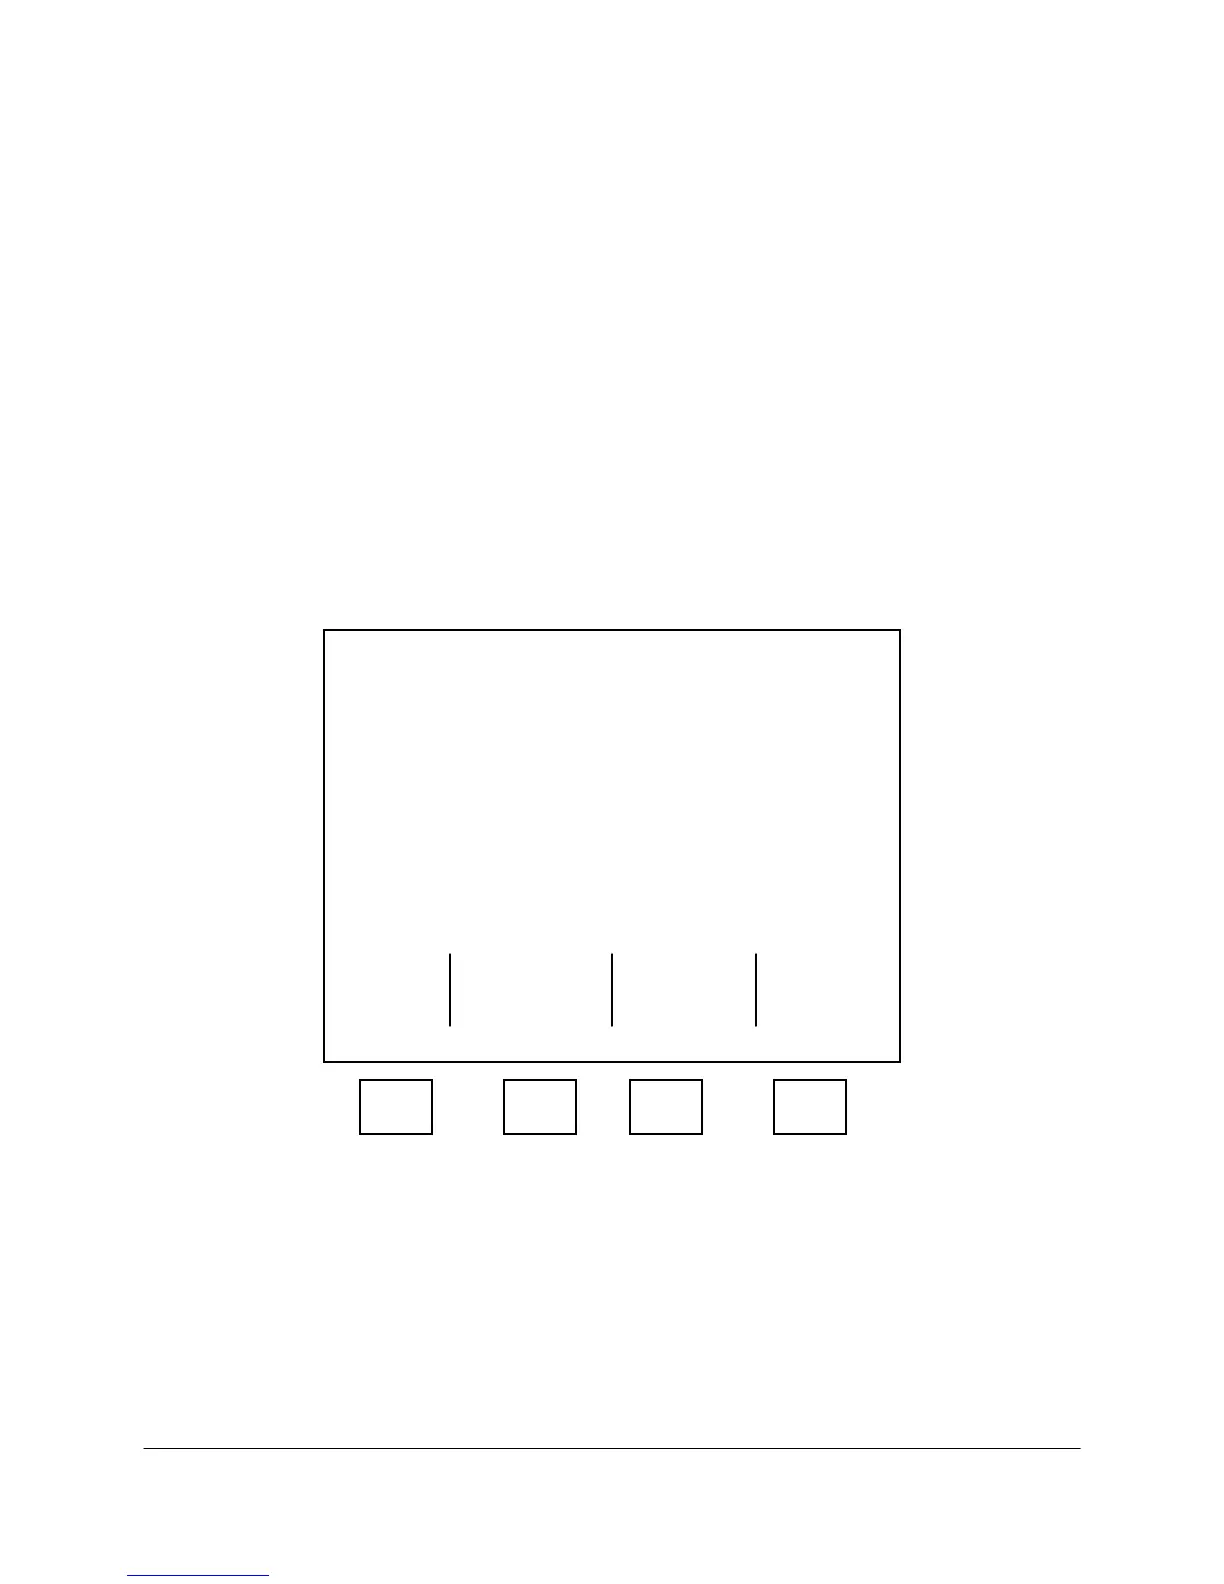
3. On the second Chroma Board 1 Digital Input screen (see Figure 5-8), verify each pin and
function.
***** Chroma Board 1 Digital Input *****
Pin Function Number State
J13A-5 Flameout N/A NC
J23A-1 Carrier N/A NC
J89-1 Purge N/A NC
J23B-1 Unused N/A NC
J23C-1 Unused N/A NC
J23D-1 Low Std Samp N/A NC
J23E-1 Low Samp N/A NC
J23F-1 H2/N2 Press N/A NC
Exit
F1 F2 F3 F4
Figure 5-8. CHROMA BOARD DIGITAL INPUT SCREEN #2
4. If all entries are correct, press the F1 (Escape) soft key to return to the second Digital
Configuration screen. If there are any errors on this screen, correct the errors and then press the
F2 (Exit and Update) soft key to save the corrected data and return to the second Digital
Configuration screen.
Chroma Board 1 Output Table
1. After you cursor to Chroma Board 1 on the second Digital Configuration screen, press the F3
(Edit The Output Table) soft key.