ptg
C H A P T E R T W E L V E Creating and Handling Forms
250
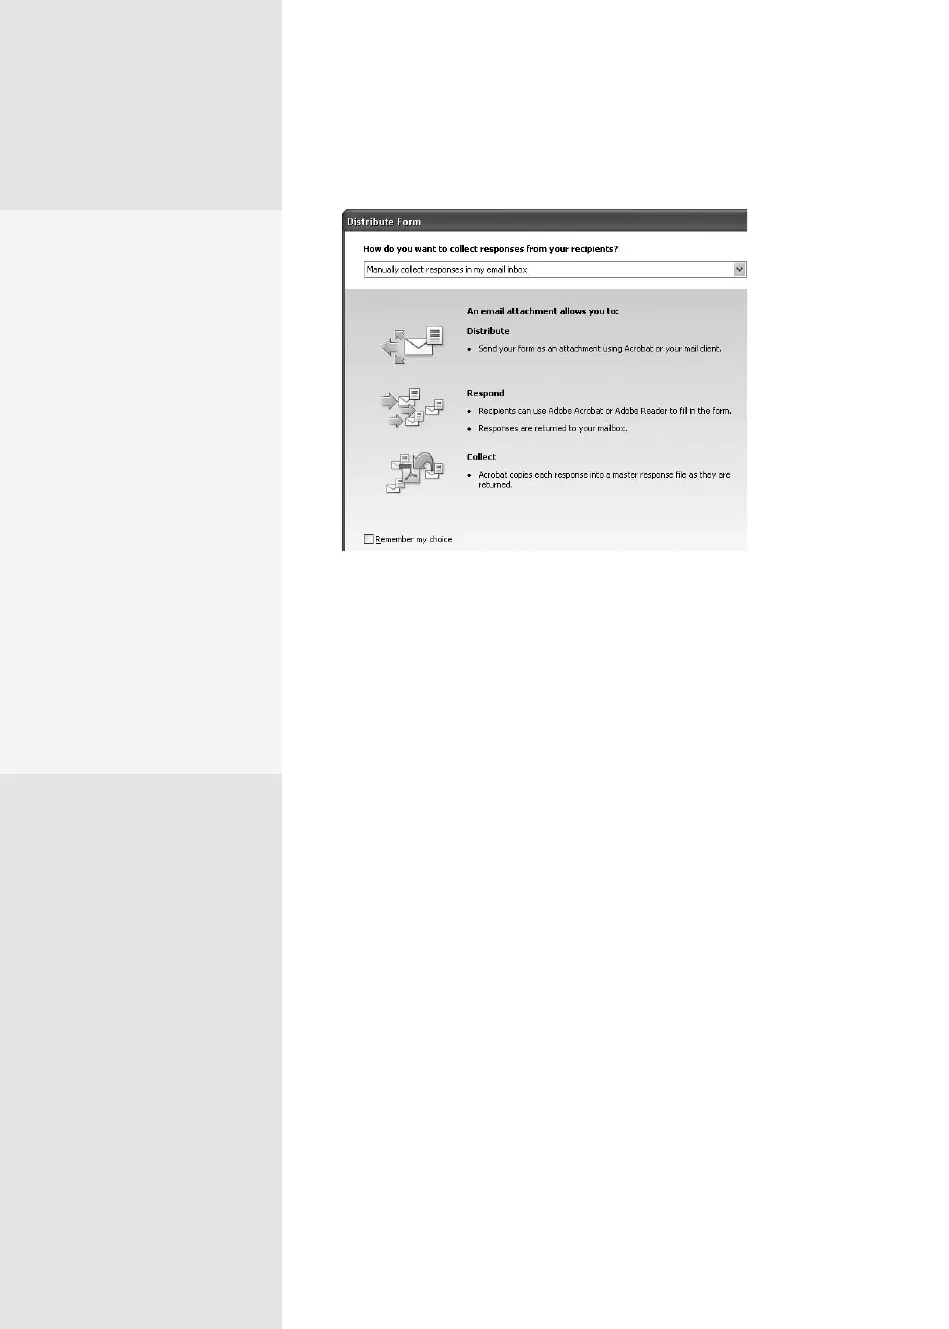
Figure 92a The wizard shows you a summary of the distribution
process.
2. Choose an option for distributing the form, either “Send it automati-
cally using Adobe Acrobat” or “Save a local copy and manually send it
later.” If you choose to save the form locally, click Browse to locate and
select a storage location. Click Next.
Tip
Choose the automatic option if you have an e-mail client congured to
work with Acrobat, and follow the wizard prompts to select recipients
and review the default text added to the outgoing e-mail message. If you
use an online e-mail client, save a local copy that you attach to an e-mail
and send at your convenience.
3. On the third and nal screen of the wizard, your delivery method is
listed at the top of the window as an active link. If you want to revise
the settings, click the link to return to the start of the wizard. Also,
select the “Collect name & email from recipients to provide optimal
tracking” check box at the bottom of the screen to help in your form
tracking.
4. Click Finish to close the wizard and save the le (if you are sending the
le manually), or Send (if you are sending the le automatically) to pass
the le to your e-mail client, depending on your choice in step 2.
•
“Show focus rectangle”
shows which form field
is currently active (or has
focus). This is a useful
preference in forms with
a great number of fields
on one page.
•
“Show text field over-
flow indicator” displays a
plus sign when you try to
type too much text into
a text field. The number
of characters allowed in
a field is defined by the
form’s designer.
•
When “Show field pre-
view when creating or
editing form fields” is
selected, you see the field
highlight under the field’s
name in Form Edit mode.
From the Library of Daniel Dadian