Chapter 5: Installing the Switch in an Equipment Rack
110
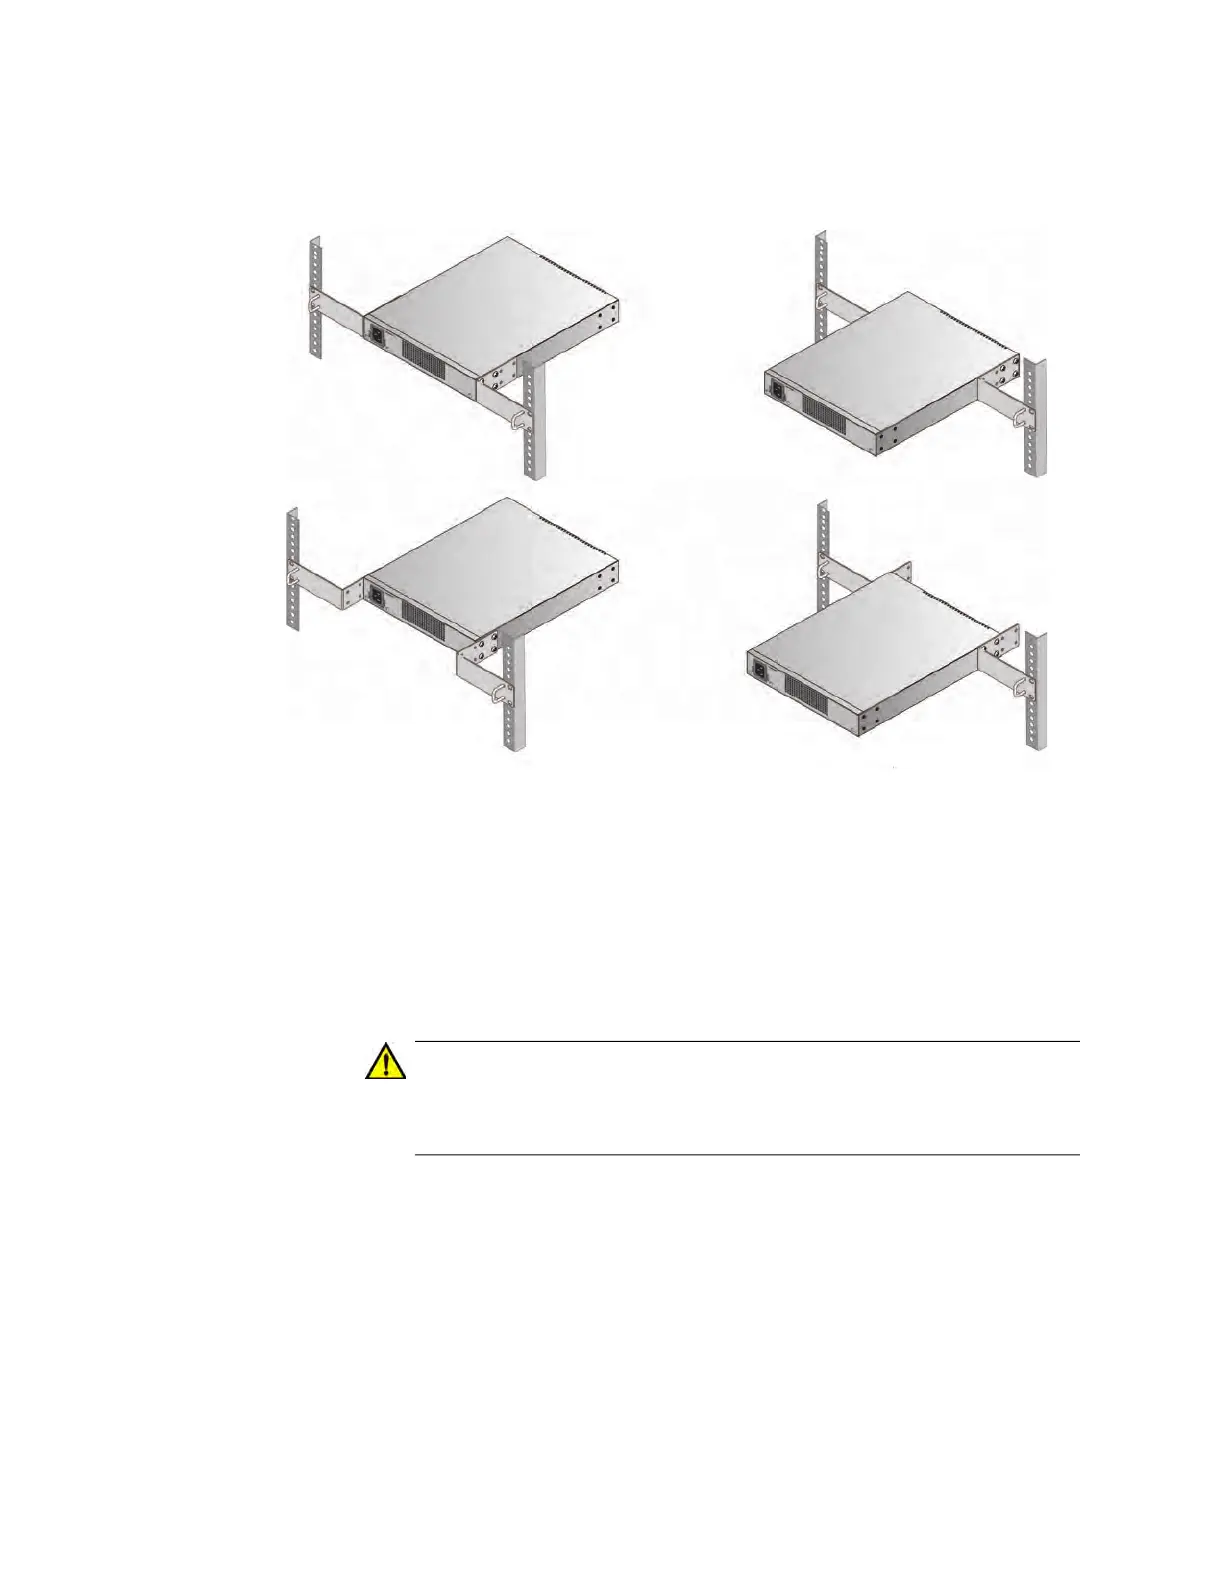
You can also orient the switch with the rear panel facing the front of the
equipment rack. Refer to Figure 53.
Figure 53. Switch Orientations with the Rear Panel Facing the Front of the
Equipment Rack
Installing the
Switch
If you have not chosen an orientation for the switch in the equipment rack,
review “Switch Orientations in the Equipment Rack” on page 108.
Please review the installation guidelines in “Choosing a Site for the
Switch” on page 93 before installing the switch in an equipment rack.
Caution
The chassis may be heavy and awkward to lift. Allied Telesis
recommends that you get assistance when mounting the chassis in
an equipment rack. E28
To install the switch in a 19-inch equipment rack with the RKMT-J14
Brackets, perform the following procedure:
1. Attach the two handles to the RKMT-J14 Brackets using the four
M3x6mm screws included with the switch. Refer to Figure 54 on page
111.

 Loading...


