Brake System
Argo Service Manual
Ontario Drive & Gear Limited www.odg.com
PH.(519)- 662-2840 FAX (519)- 662-2421
BR-11
5. Remove the caliper to a clean work area.
Hydraulic Brake Caliper Disassembly
Always wear eye protection when using compressed air. Caliper parts could fly
apart, causing serious injury.
5. Remove the socket head bolts that secure the caliper halves together. Photo BR-9
BR-8
BR-9
1. Perform the servicing procedure, Remove Hydraulic Brake Caliper.
2. Work on a CLEAN dry surface. Locate and remove the 2 cotter pins securing the
pads in the caliper and remove the brake pads.
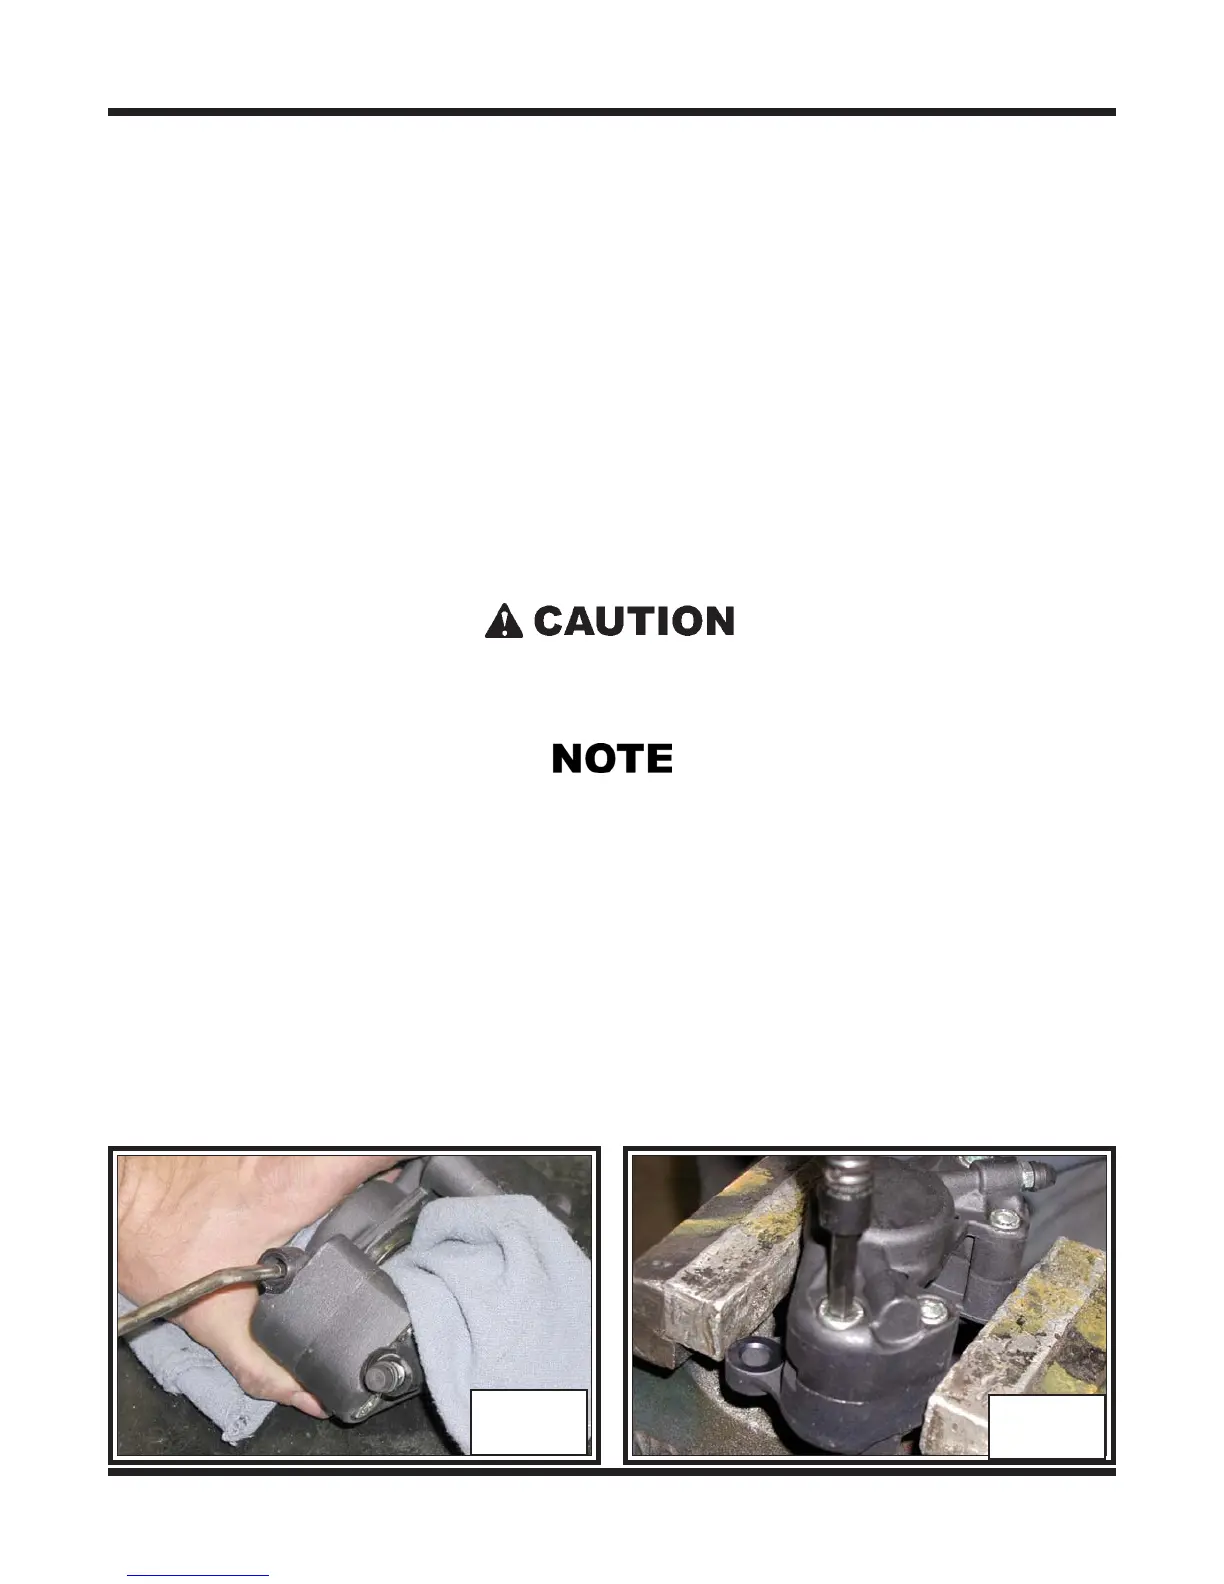
3. Remove the piston from each half by applying compressed air (Max. 20 psi or less),
to the hydraulic hose inlet. Place a rag in between the caliper to absorb the shock of
the piston when it pops from the caliper. Photo BR-8
4. Place the caliper into an aluminum jawed vise with the 4 hex head fasteners facing
up.
Depending on the manufacturing date of the vehicle being serviced, the caliper halves
may be secured together by either 2 or 4 mounting bolts. Vehicles manufactured prior to
S/N CB 12455, RB 12474 & SN 8285 utilize the 2 bolt configuration. The 4 bolt style is
fully exchangeable and replaces the 2 bolt pattern.
7. Lift the piston seals and the “O” ring from the caliper halves and discard.
Photo BR-11
6. Take the caliper assembly from the vise and separate the 2 halves. Photo
BR-10