Brake System Argo Service Manual
BR-44
Ontario Drive & Gear Limited www.odg.com
PH.(519)- 662-2840 FAX (519)- 662-2421
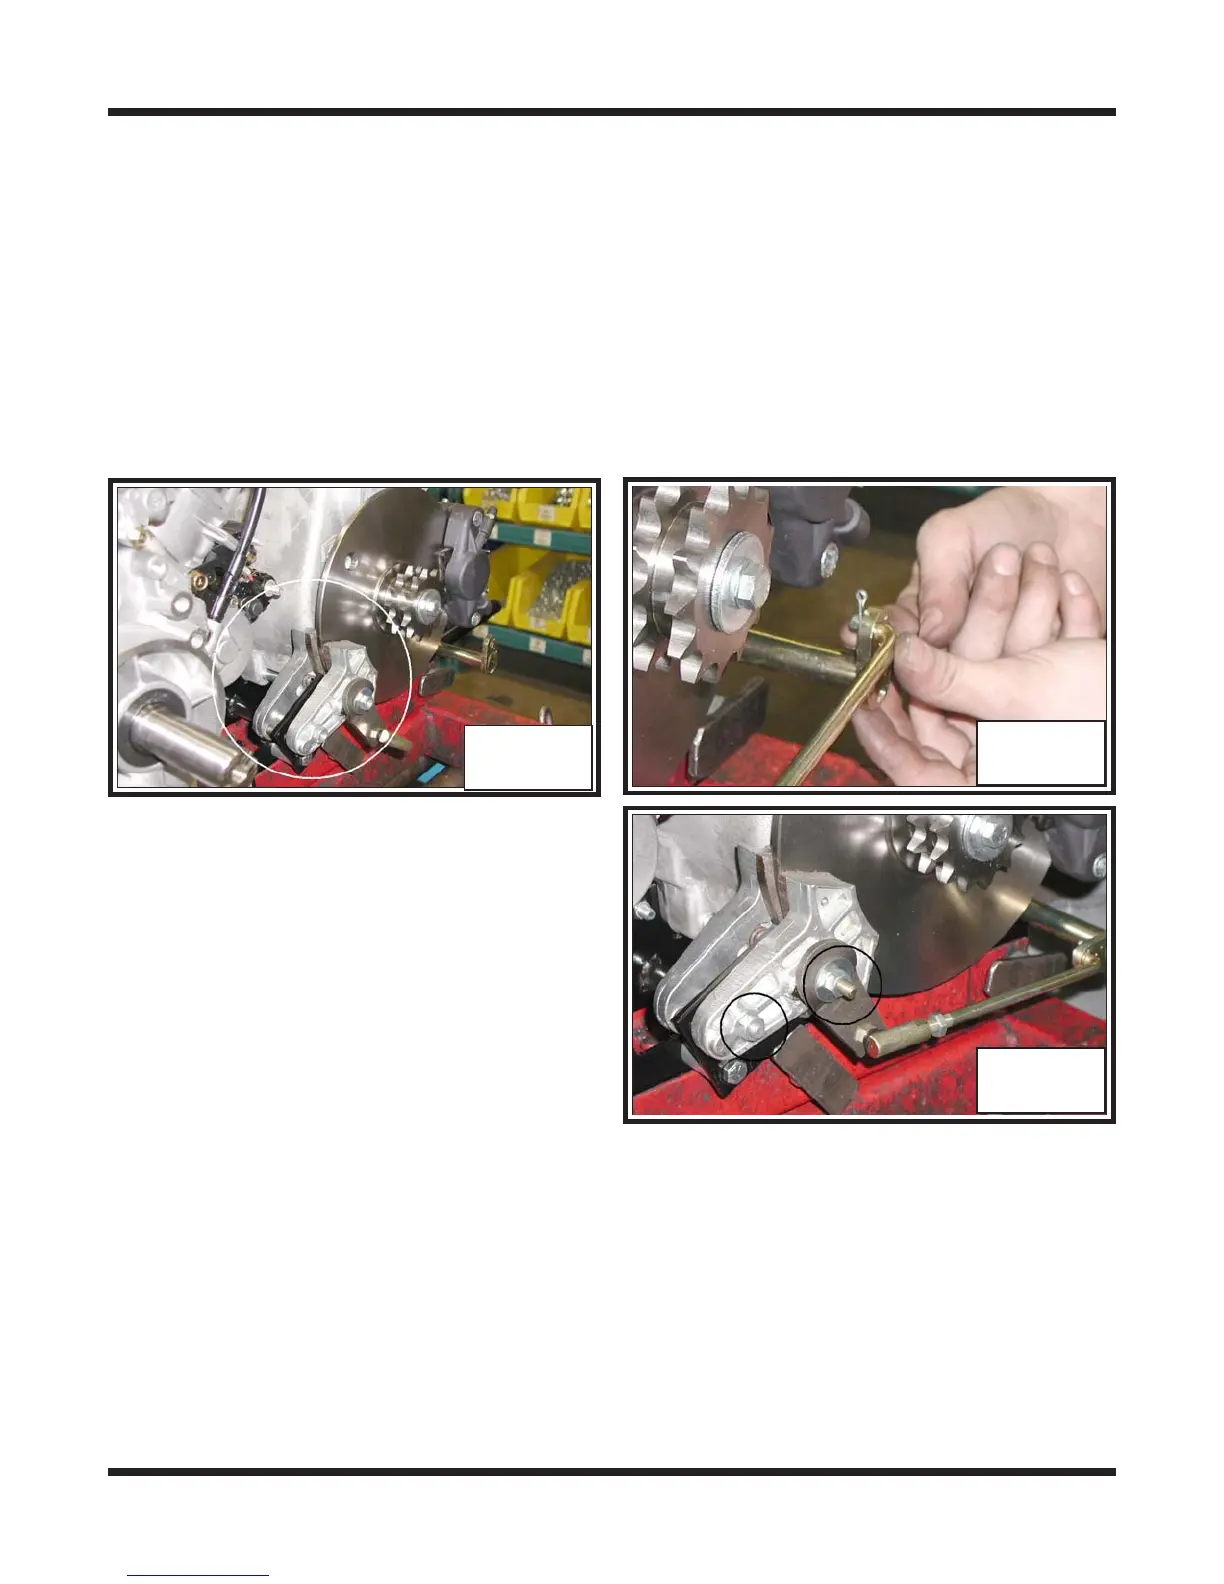
17. Place the previously assembled ball joint and cam to the longer of the two bolts. Slip
the flat washer on to the bolt at the cam first, then start the 2 way locknut to both
the front and rear caliper mounting bolts. Photo BR-85
18. Repeat this procedure for the right hand side caliper assembly. The inner caliper on
the right hand side assembly is not notched.
19. Thread the emergency/parking brake rods into each of the ball joints at the cam until
there is approximately ½” inch of thread exposed. Attach the other end of the rod
to the shaft assemblies and secure with a cotter pin. Photo BR-86
20. Tighten down both locknuts of the me-
chanical caliper system until the brake
pads are snug to the brake discs.
Photo BR-87
Adjusting the Caliper
21. Loosen the locknut of the rear caliper
bolt until it turns freely by hand.
22. Loosen the locknut of the caliper at the cam until the caliper is released from the
brake disc. There should now be movement in the caliper. Recheck the rear adjust-
ment bolt to see if it still turns by hand. If not, adjust as necessary until it does.
BR-85
BR-86
BR-87