Argo Service Manual Fuel System
Ontario Drive & Gear Limited www.odg.com
PH.(519)- 662-2840 FAX (519)- 662-2421
FS-4A
Removing the fuel Tank (Avenger)
4. Drill out the 11 rivets that secure the tool box to the seat frame and remove.
3. Remove the battery.
2. Remove the seat to expose the storage tray & battery.
1. Drain any fuel that may be present in the fuel tank.
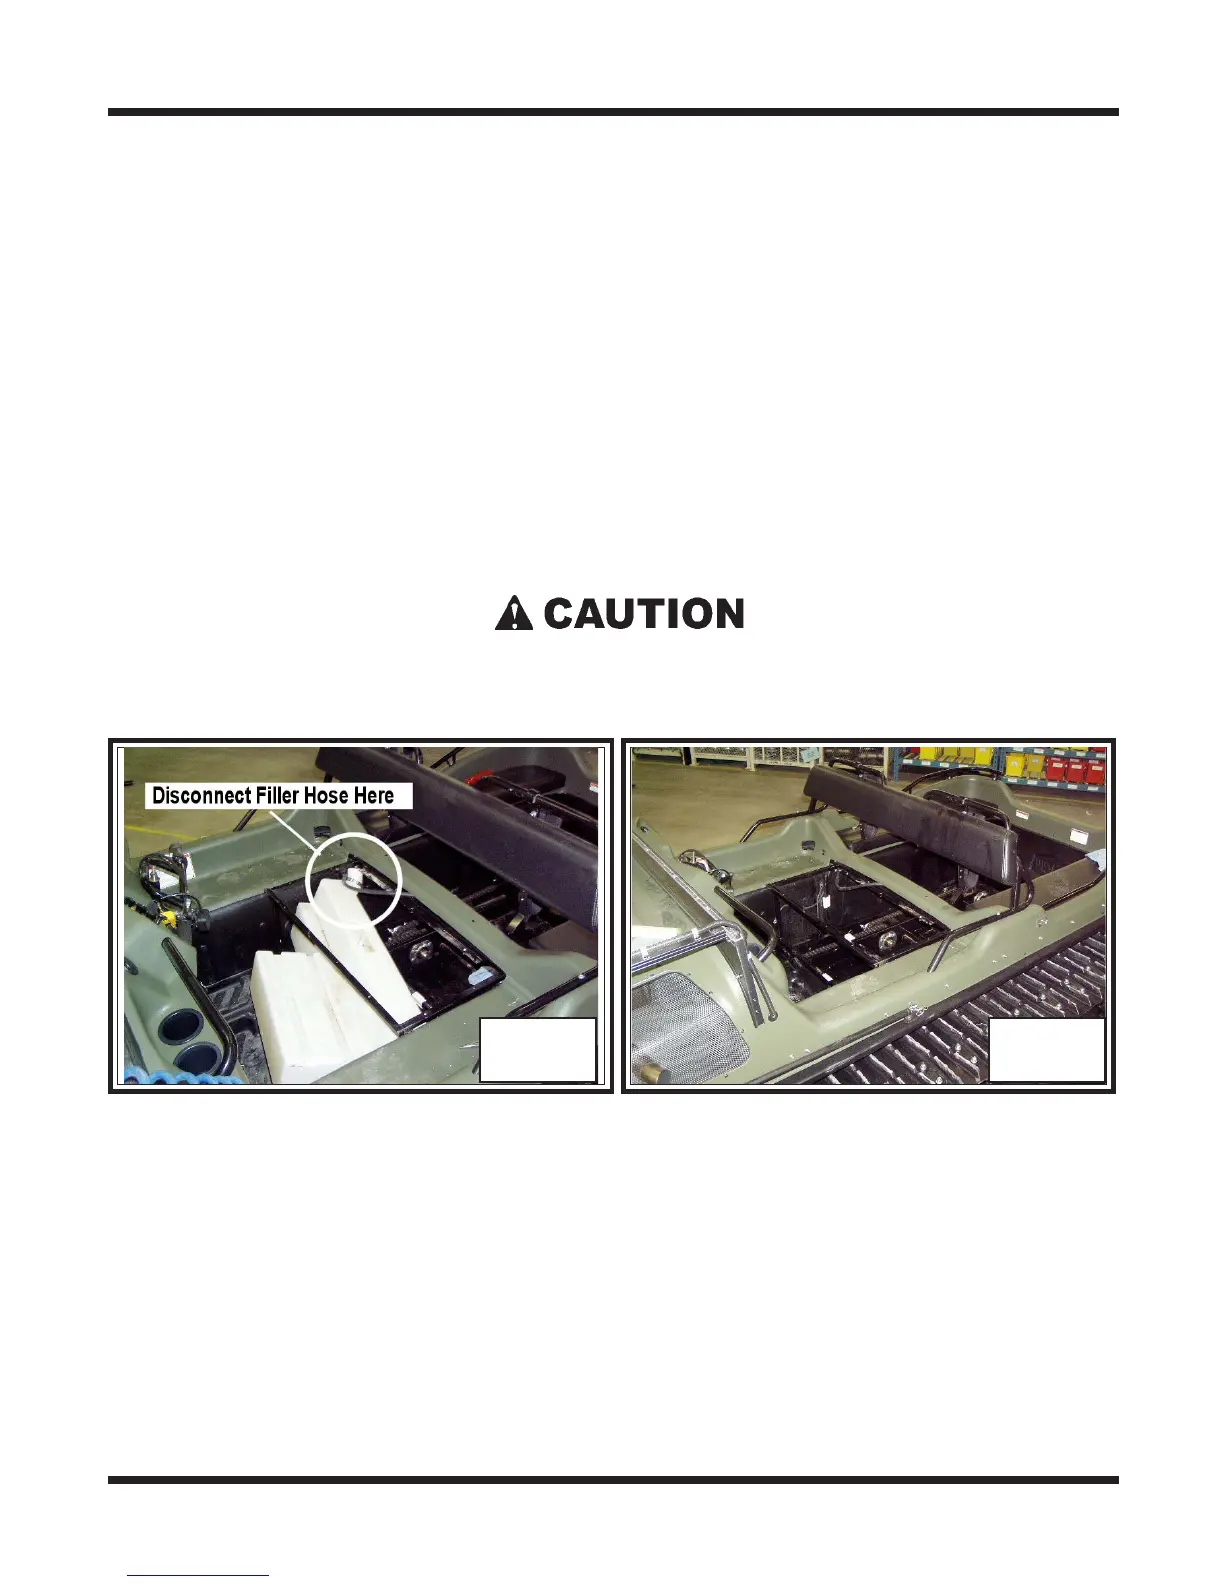
FS-1 FS-2
5. Disconnect the fuel line at the pickup tube on the fuel tank.
6. Undo the gear clamp securing the filler hose at the fuel tank neck and pull the filler
neck assembly free of the tank. Photo FS 1
7. Remove the tank from the vehicle. The tank will come forward into the drivers
compartment. Photo FS 1 & 2
Ensure that the vent tube does not pull out from the filler neck and that it is not
kinked in any way when the filler neck assembly is reassembled to the new tank.
9. Unthread the fuel pickup tube from the tank and discard.
Installing the Fuel Tank
1. Thread the new pickup tube into the top of the fuel tank. Position the outlet facing
towards the fuel neck side of the vehicle.
IMPORIMPOR
IMPORIMPOR
IMPOR
TT
TT
T
ANTANT
ANTANT
ANT
Be sure to replace any missing or damaged cushioning required on the fuel tank
frame assembly before installing the tank. All cushioning provides a secure fit for
the tank, and protects the tank from wear due to vibration. Photo FS-3