Brake System Argo Service Manual
BR-24
Ontario Drive & Gear Limited www.odg.com
PH.(519)- 662-2840 FAX (519)- 662-2421
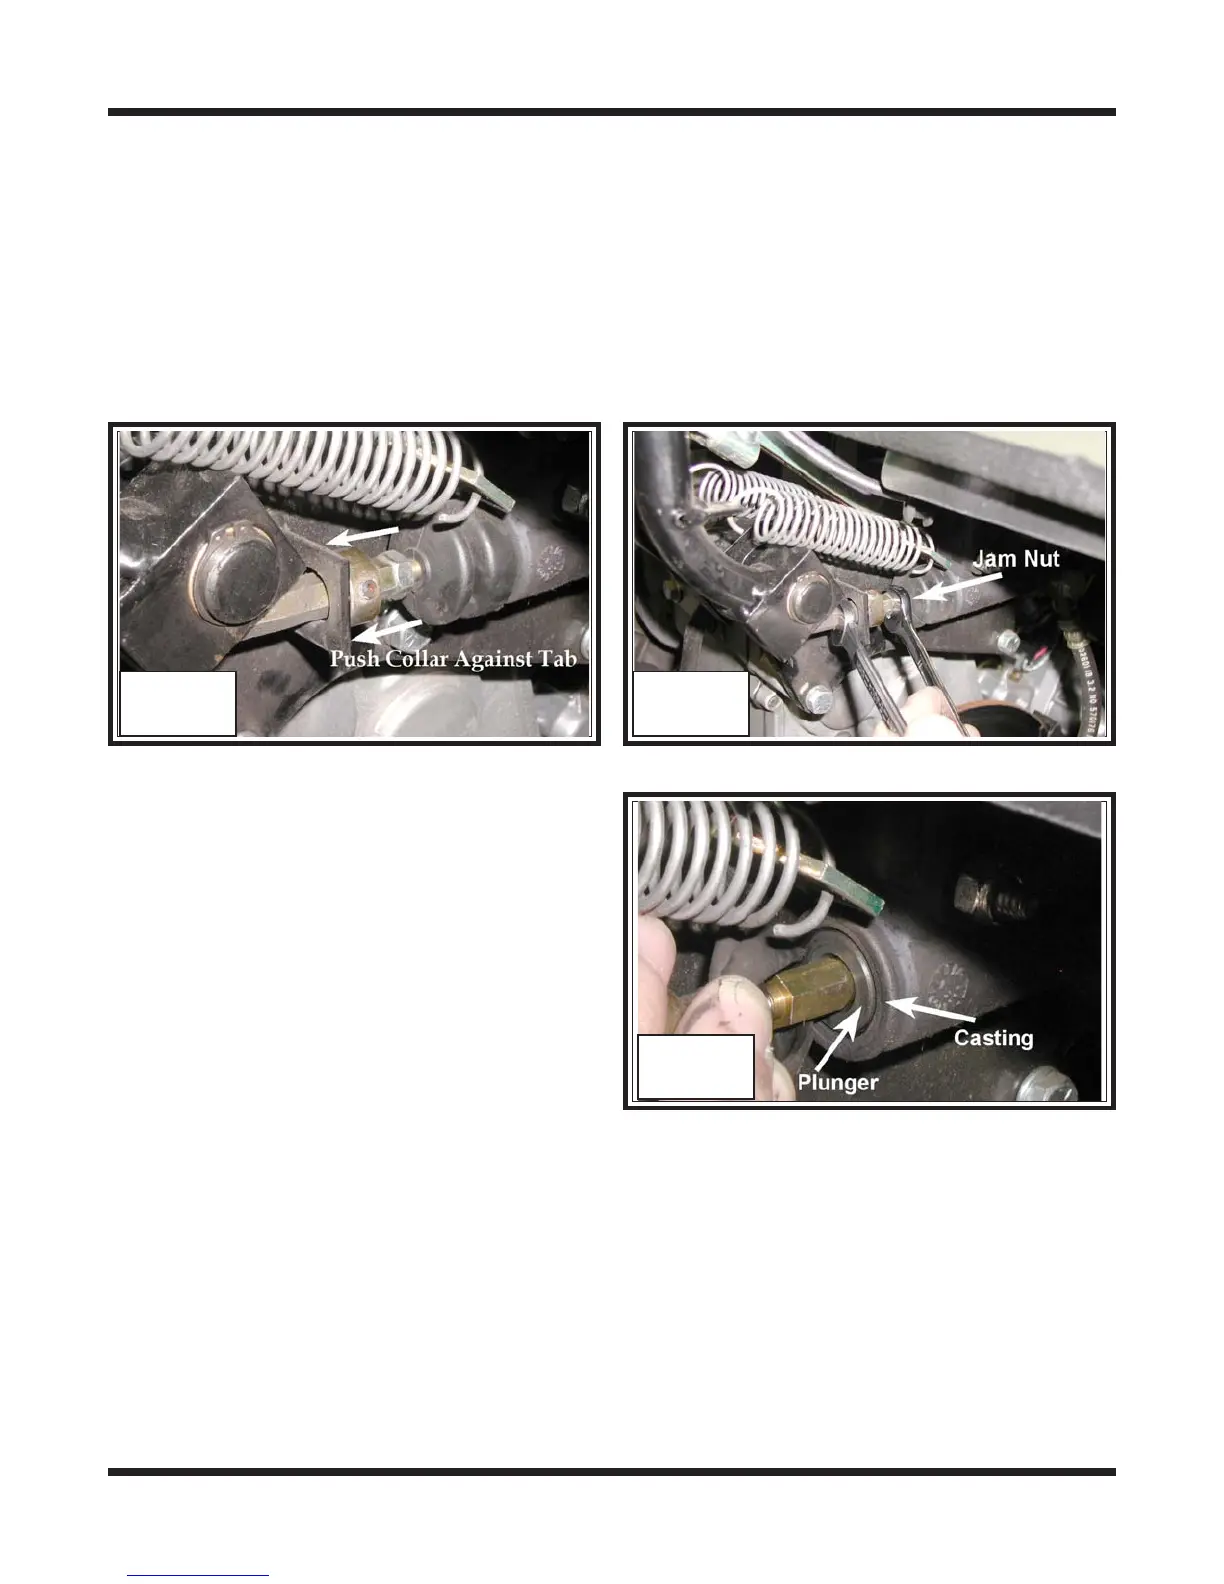
3. Push the collar up tightly against the tab stop of the steering bracket assembly and
re-tighten set screw(s). Apply Blue 242 LOCTITE to the threads of the set screw.
The 1/4" clearance between the dash block and engagement of the plunger pin is
now set. Photo BR-31
4. Locate and loosen the jam nut on the adjustable plunger pin. Photo BR-32
BR-31 BR-32
5. With the jam nut loosened, the plunger
pin may be threaded either in or out. In
any case the end result should have the
master cylinder piston flush with the
casting of master cylinder housing.
Photo BR-33 Check this adjustment
by using your finger, feeling the edge
of the master cylinder casting and the
top of the piston.
6. Secure the jam nut.
7. Remove your spacer at the steering assembly dash block.
8. Sit in the vehicle and pull back on both levers checking to make sure the levers have
the 1/4" clearance before engagement, and come back evenly.
BR-33