Argo Service Manual Wheels, Axles & Chains
Ontario Drive & Gear Limited www.odg.com
PH.(519)- 662-2840 FAX (519)- 662-2421
WA-19
WA-37 WA-38
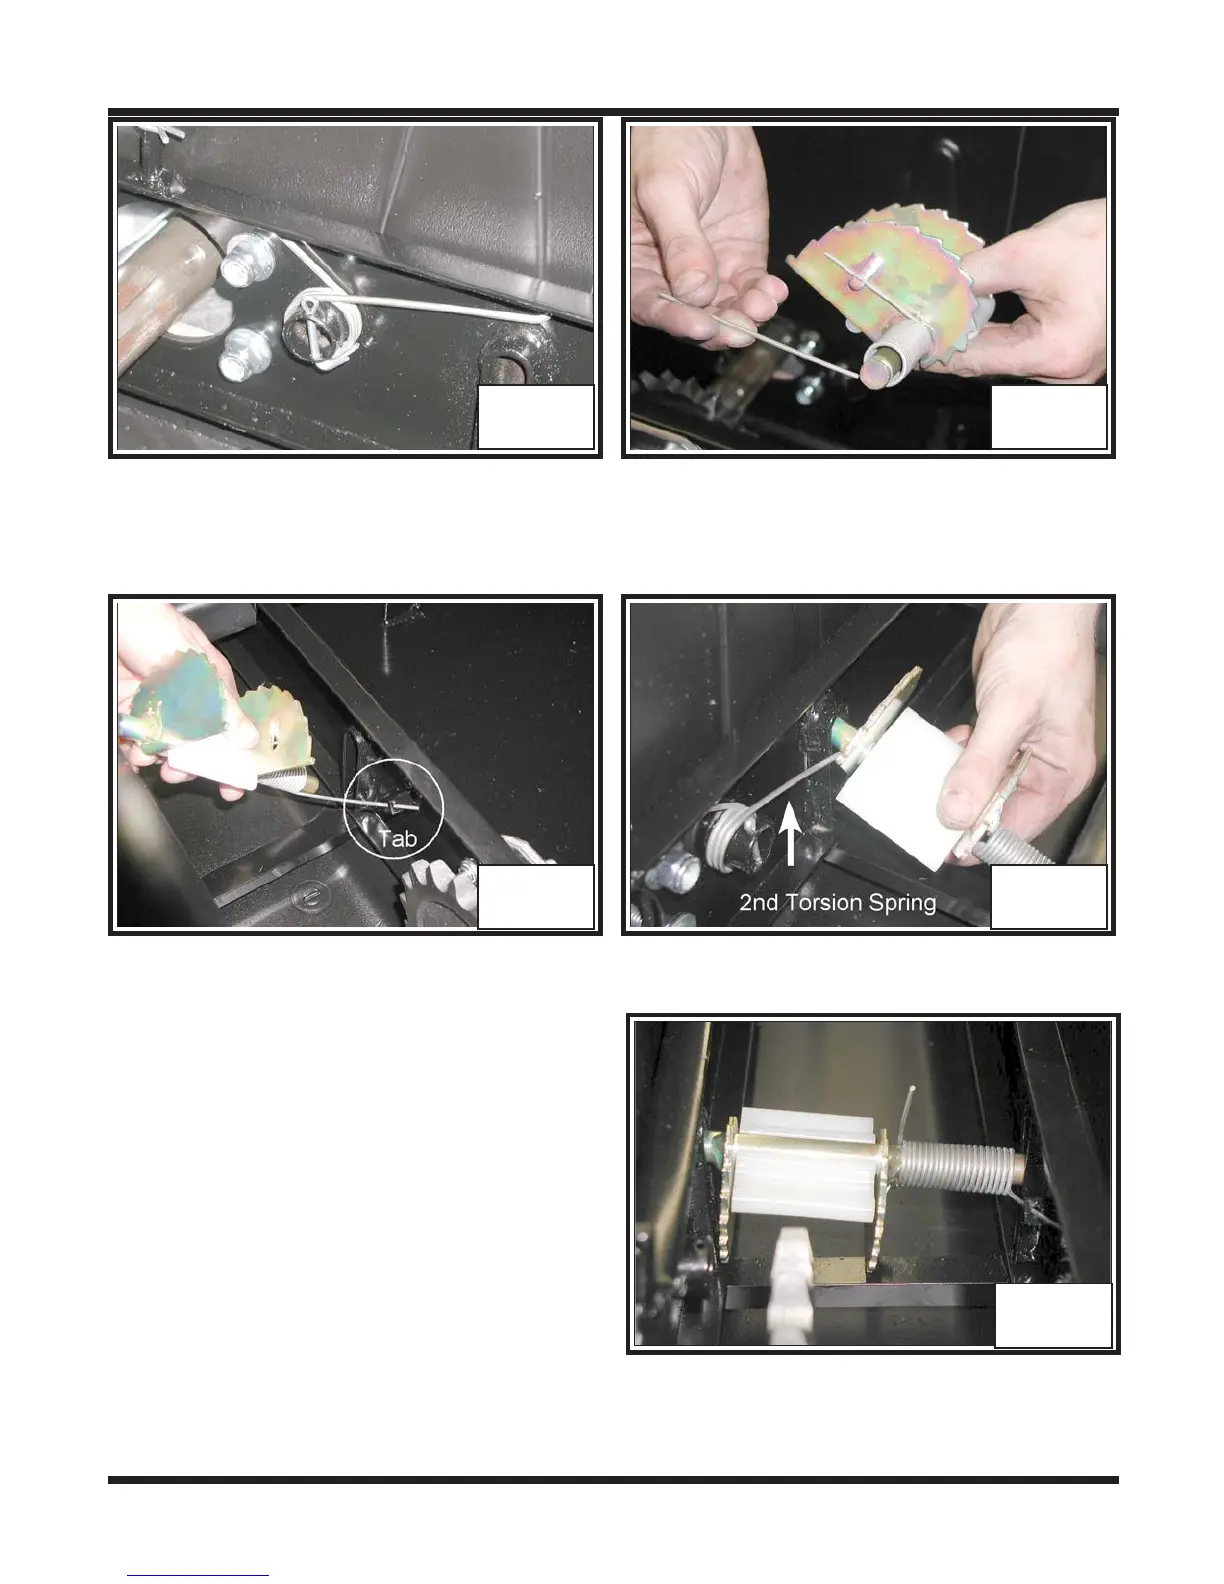
5. Insert the extended length of the torsion spring, assembled to the cam, into the hole
of the welded tab on the frame. Photo WA-39 At the same time, place the same
side of the cam's shaft into the tensioner systems guide.
WA-39 WA-40
6. Push the previously inserted side of the cam to the bottom of the guide and raise the
opposite side to insert over the extended
length of the second torsion spring on
the bushing side. Photo WA-40
WA-41
7. Allow the assembly to sit in the up
most position. Photo WA-41
8. Assemble the short stem of the torsion
spring, on the cam's shaft, into the tab
on the cam. Photo WA-42
9. Turn the cam assembly in the direction
which winds up the torsion spring and
push the assembly down as close as possible to the cam follower block across the
bottom of the frame channels. Clamp it in this position until the chains are rein-
stalled. Photo WA-43,44 & 45