Vehicle Body Argo Service Manual
Ontario Drive & Gear Limited www.odg.com
PH.(519)- 662-2840 FAX (519)- 662-2421
VB-6
On 6x6 Vanguards produced from S8131 and prior to S10769:
1. With the steering levers pulled back against the driver's seat, install the firewall into
the vehicle aligning the mounting holes of the firewall, with those in the lower frame
assembly.
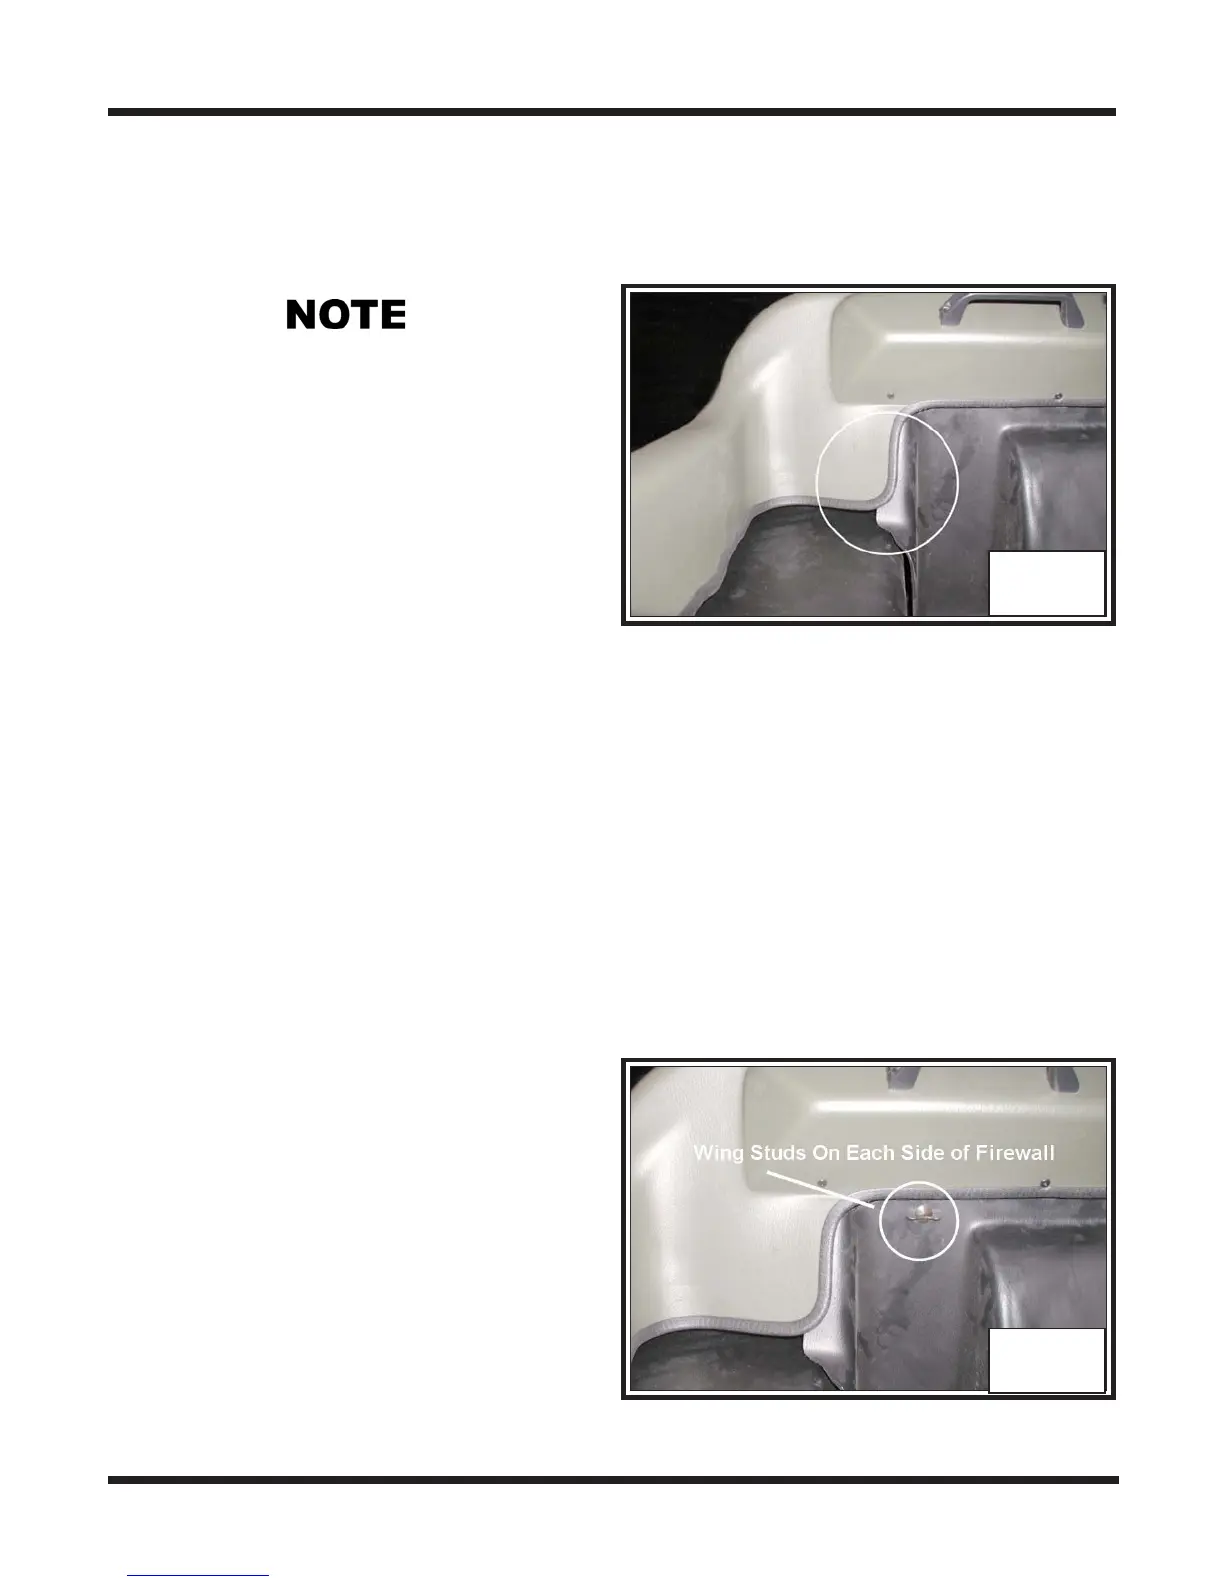
The top of the firewall should be slipped
between the upper body and metal dash brace
assembly, similar to the quick release
firewalls of other models. See Photo VB-5
on page VB-4. The outside edge of the
firewall is also inserted behind the upper
body plastic. Photo VB-6
2. Fasten the firewall at the lower frame
assembly. Refer to your lllustrated parts manual for the appropriate hardware and
location.
VB-6
3. Reconnect the steering levers at the brake cams and re-thread the nylon locknuts to
the steering rods.
5. Perform the servicing procedure, Steering Lever Adjustment, in section BR of this
service guide.
6. Install the shift knob.
7. Install the floor pan.
On 6x6 Vanguards produced from S10769:
1. Pull the steering levers back towards the
driver seat far enough to allow the
firewall to be slipped in behind.
4. Reinstall the twist grip assembly to the right hand steering lever.
2. Slip the firewall into position and clip
securely at the 2 wingstuds.
Photo VB-7 SEE ABOVE NOTE
VB-7
3. Perform the servicing procedure, Steer-
ing Lever Adjustment, in section BR
of this service guide.
4. Install the floor pan.