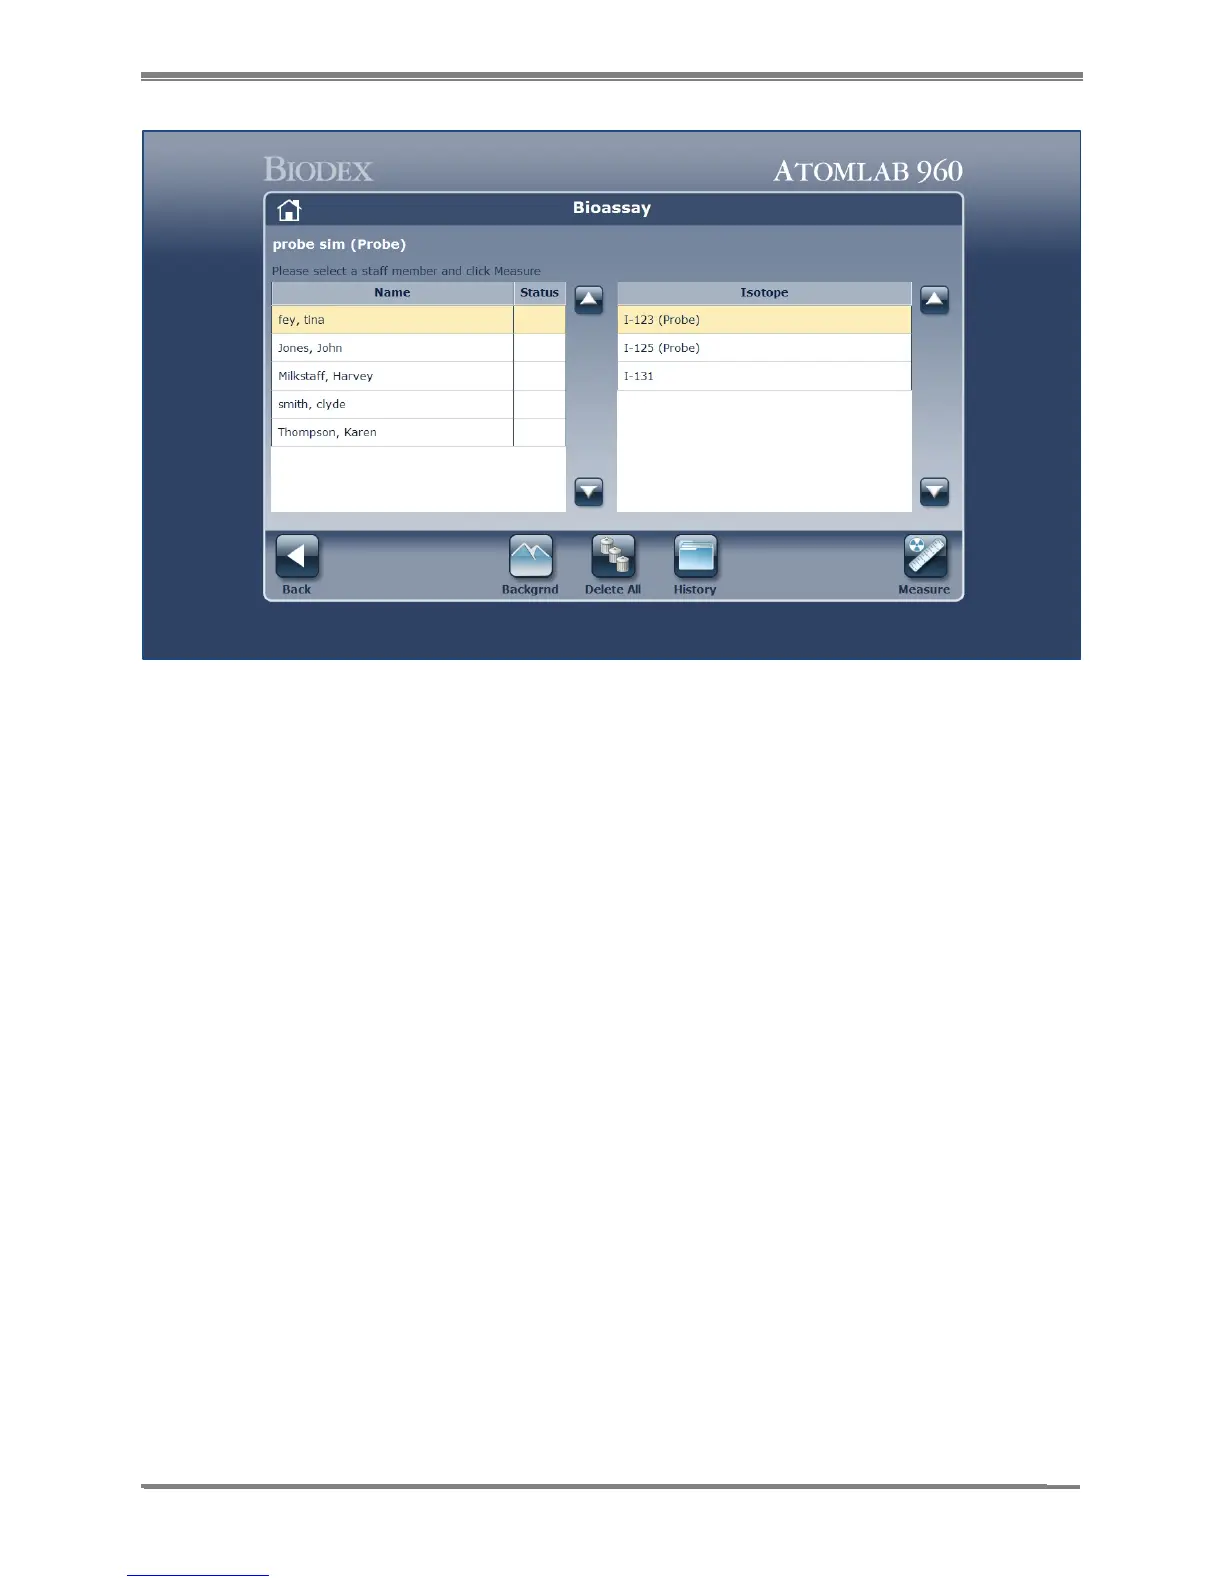
Figure 9.2. Staff Selection screen.
3. If you have not performed a Bioassay background today, select <Background>. Make sure
no sources are near the probe and select <Accept> to start the background count.
4. Once the background has been counted, the spectrum is displayed for the Bioassay
Background Count. The display shows the full spectrum counts. Select <Analysis> if you
wish to perform a spectrum analysis before proceeding, or select <Next> to advance to the
Background Results screen.
5. At the Background Results screen (See Figure 9.3.) the Isotopes section on the lower left
allows the user to select full spectrum, or any other isotope that has been made available.
Making a new selection changes the background results and the screen ROI to reflect the
background data for the specific isotope selected.
NOTE: You can see the Background results for each isotope by clicking on the isotope name.
6. Select <Accept> to save the background results currently displayed, or <Cancel> to return
to the Bioassay Test screen.
7. After saving the background, you can select the staff member you want to perform the
Bioassay for and then select <Measure>.