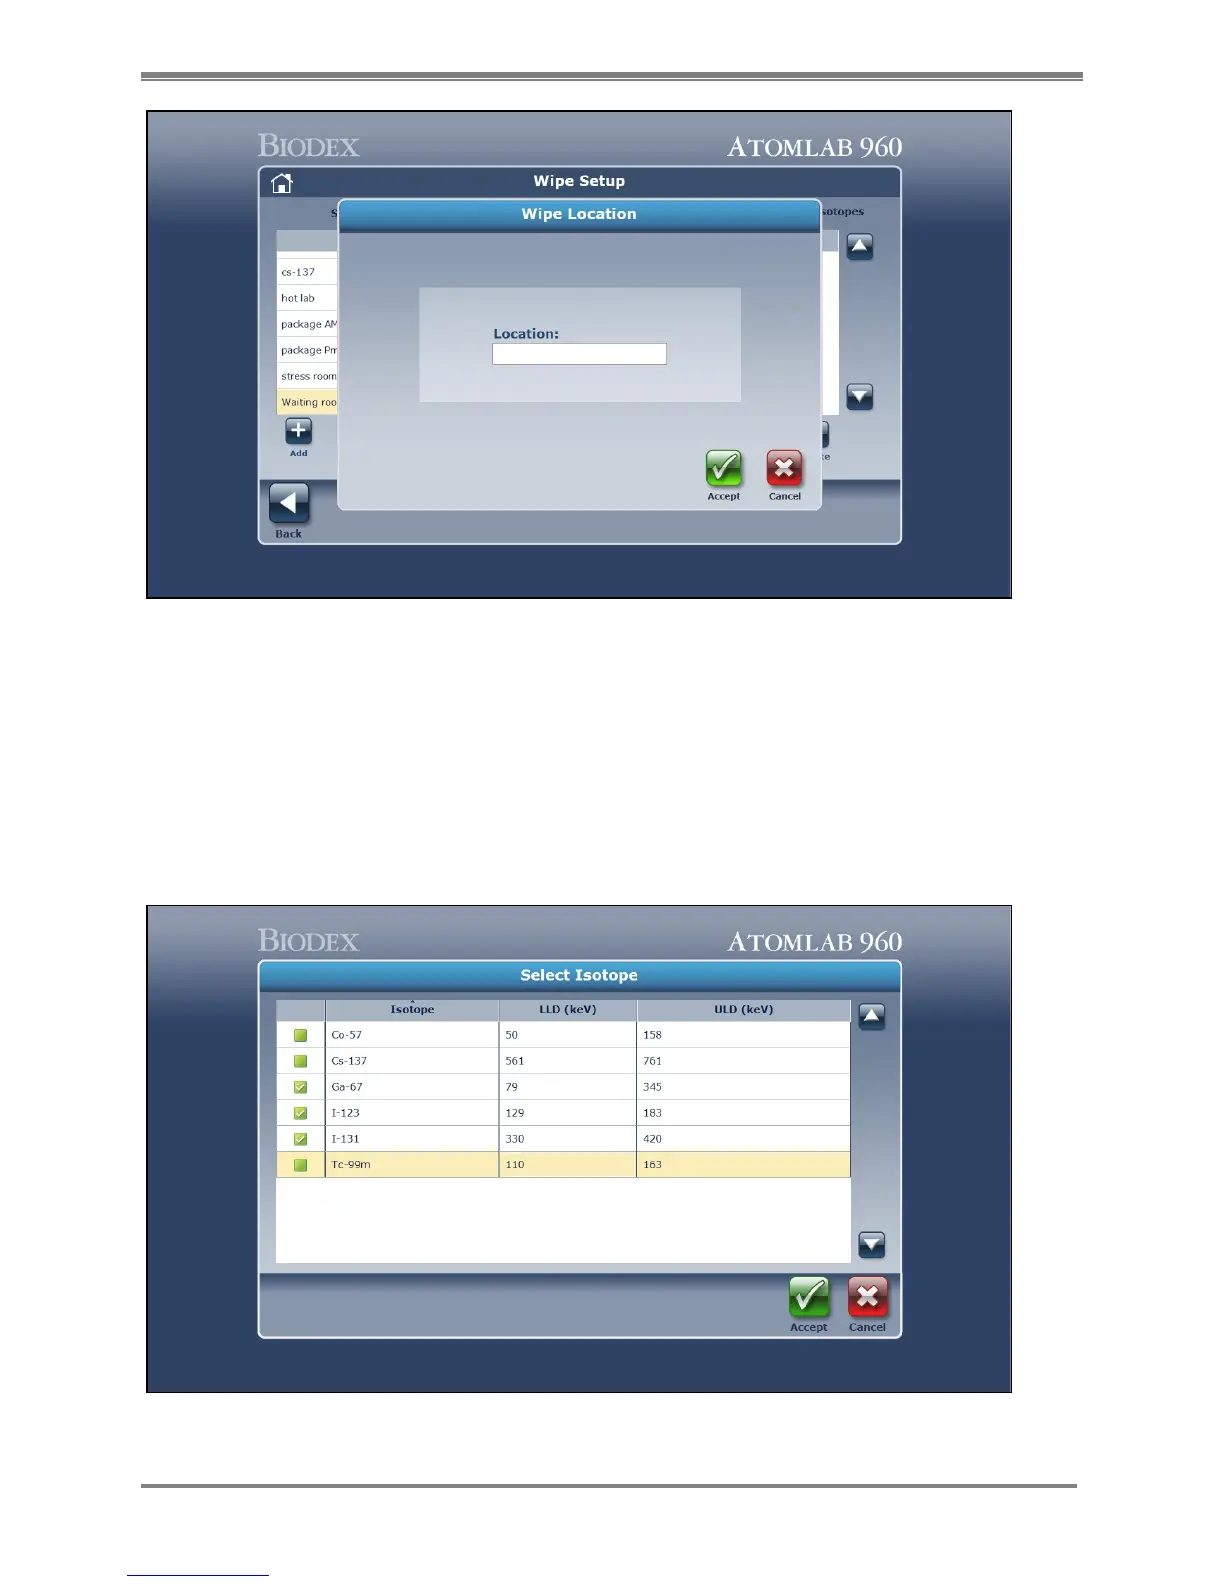
Figure 4.24. The Wipe Location Add screen.
6. Select <Isotopes> at the top right of the screen to access the Isotope list for the area.
Select <Add> to display a list of the available isotopes from which to choose to add to the
area.
7. Select each isotope and mark it with a checkmark denoting that the isotope will be added
to be used for that specific wipe area. Select <Accept> to confirm all the checked isotopes.
NOTE: To turn OFF any isotope so that it will not be available for a specific wipe area in the
isotope list, you must <Select> to highlight the isotope you want to not count for this area
and <Select> <Delete> to remove the highlighted isotope from this area.
Figure 4.25. The Select Isotope screen.