49
Adjusting the Recording
Level
The BR-80 is designed to let you record
a wide range of sounds. By adjusting the
recording level (volume) appropriately for
the source you’re recording, you’ll be able
to record with optimal quality.
The basic principle when adjusting the
level is to get the level as high as possible
without allowing distortion to occur.
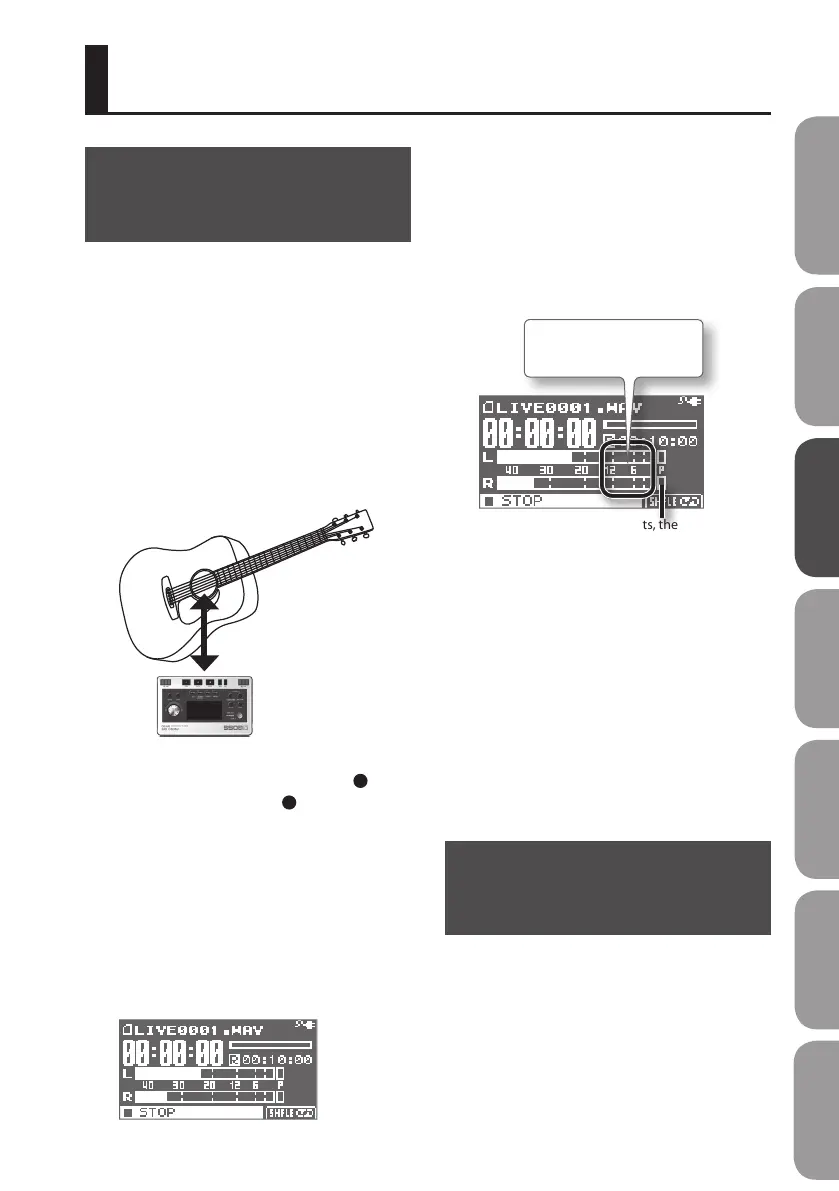
1. Point the BR-80’s built-in
microphones toward the source you’ll
be recording.
About 30 cm away
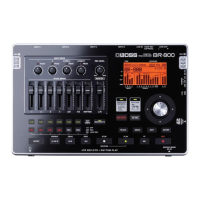
2. In the main screen, press the [ ]
(REC) button so the [ ] (REC) button
is blinking.
The BR-80 is in recording-standby mode.
3. On the audio source you’ll be
recording, play the sounds that you
actually intend to record.
The level meter will move according to the
loudness of the sound being input to the
BR-80.
If you’re going to record a musical
performance such as an instrument or
vocal, you should play the loudest passage
of the song.
4. While the sound plays, use the [REC
LEVEL] dial to adjust the recording
level a little at a time.
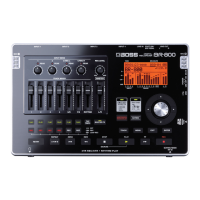
If the P (PEAK indicator) lights, the
sound will distort.
Adjust so the level meter
moves within this range.
The higher the level at which the sound
is being captured, the farther toward the
right the level meter will move. Use the
[REC LEVEL] dial to adjust the level so that
the sound is captured at as high a level as
possible.
However, don’t allow the PEAK indicator to
light; this indicates that the input volume is
excessive.
* When adjusting the recording level, you
might notice a little noise; this is normal
and does not indicate malfunction.
Setting the Record
Mode
The record mode you select will determine
the audio quality, the le size, and the
recordable time.
Choose the setting that’s appropriate
for your needs, according to whether
audio quality or recording time are more
important.
Other Functions
Quick Start Preparations LIVE REC Mode MTR Mode eBand Mode
Convenient Functions
Appendix