Basic Procedures 4-3
Inside the Editor window
Use these editing and navigation tools within the Editor window, shown in Figure
4-1, to create and to edit labels:
z The preview area
z The toolbar
z The rulers
z The scroll buttons
z The status bar
The preview area
When you create a label, you build it by adding objects to it. You view the objects
on the Editor window in the Preview area. The system displays the objects in the
Preview area, shown in Figure 4-1, as you work. The Preview area also reflects the
size of the tape supply you have installed, and color (if you have a color display) of
the tape you have in the machine.
After you add an object or change an object, the system returns you to the Editor
window.
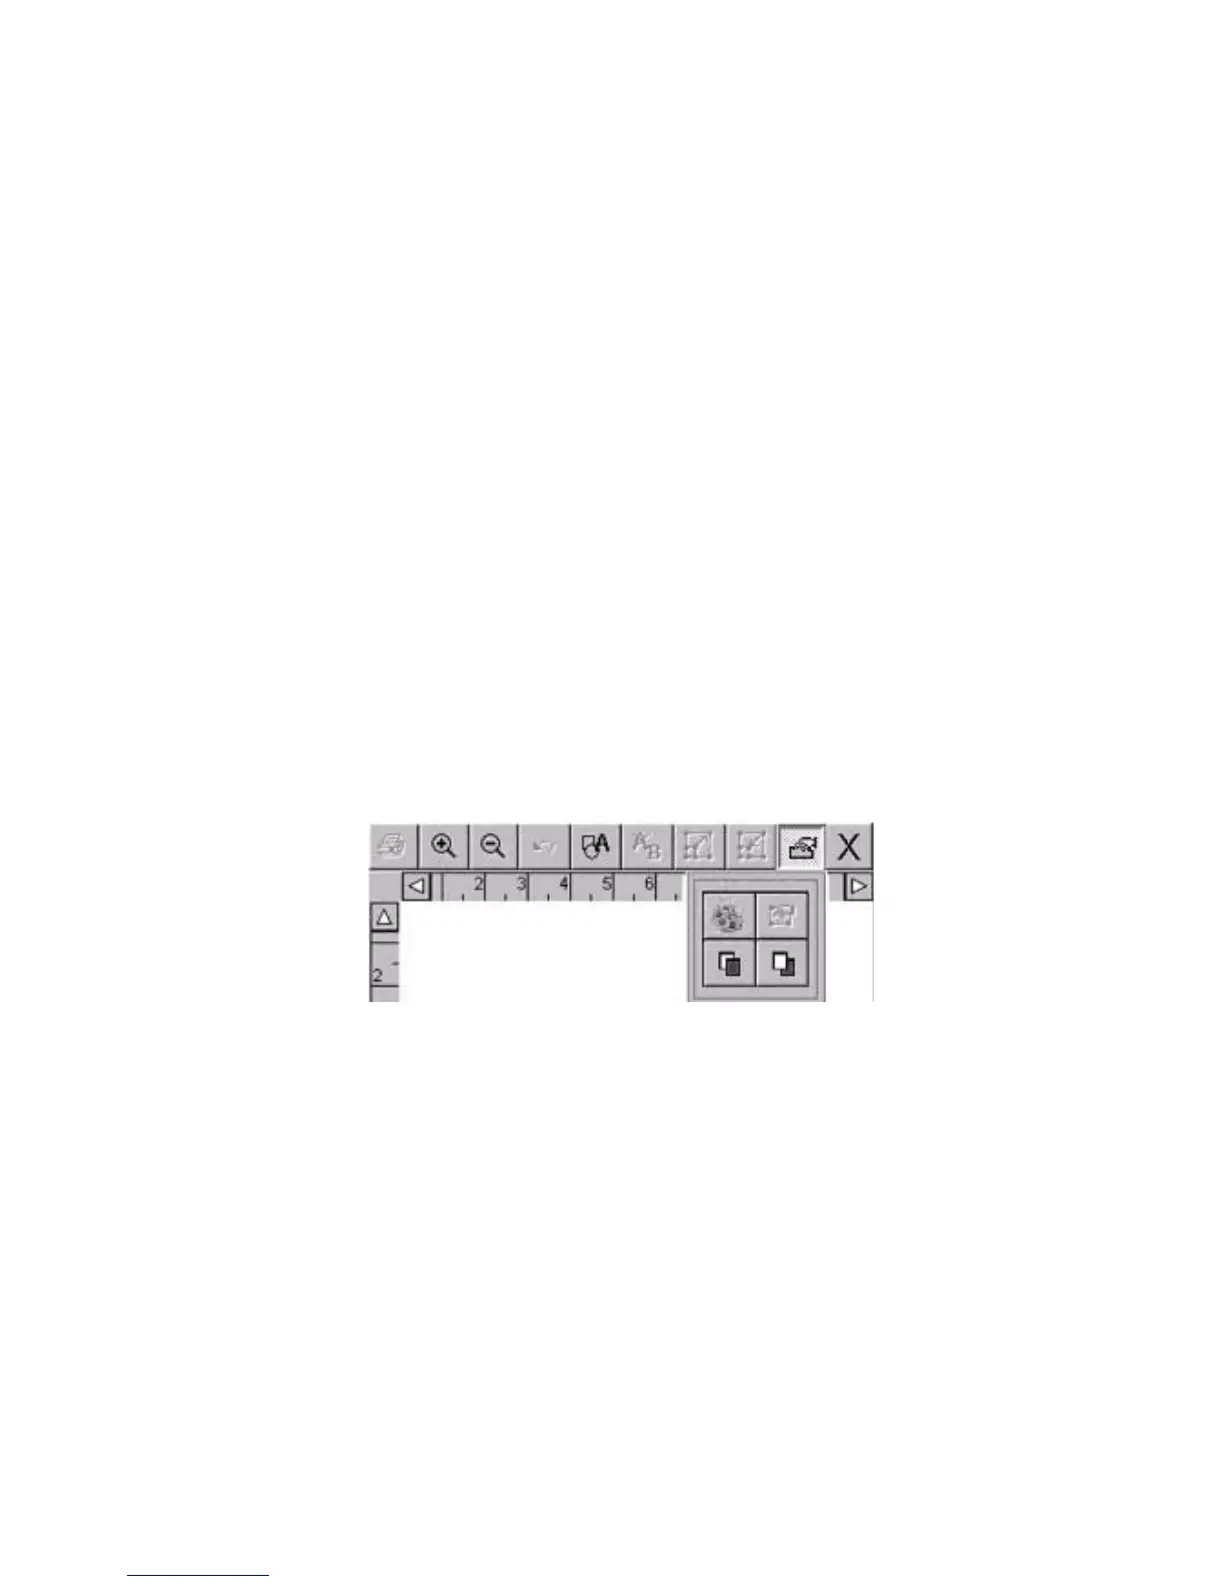
The Editor window toolbar
Figure 4-2. The standard Editor window toolbar
The standard Editor window toolbar appears at the top of the Editor window
(shown in Figure 4-1) and contains icons (or “buttons”) that represent the tools you
use to view, format, and print labels. You activate a tool using one of these
methods:
z Touch it on the screen.
z Move the cursor with the mouse, then click the left mouse button.
Some tools are active at all times, such as Zoom In and Zoom Out, and others
have no effect unless you have selected an object (such as Increase Size or
Decrease Size) or unless you have already performed some action (such as Undo).