Manual Operation
Current Shunt
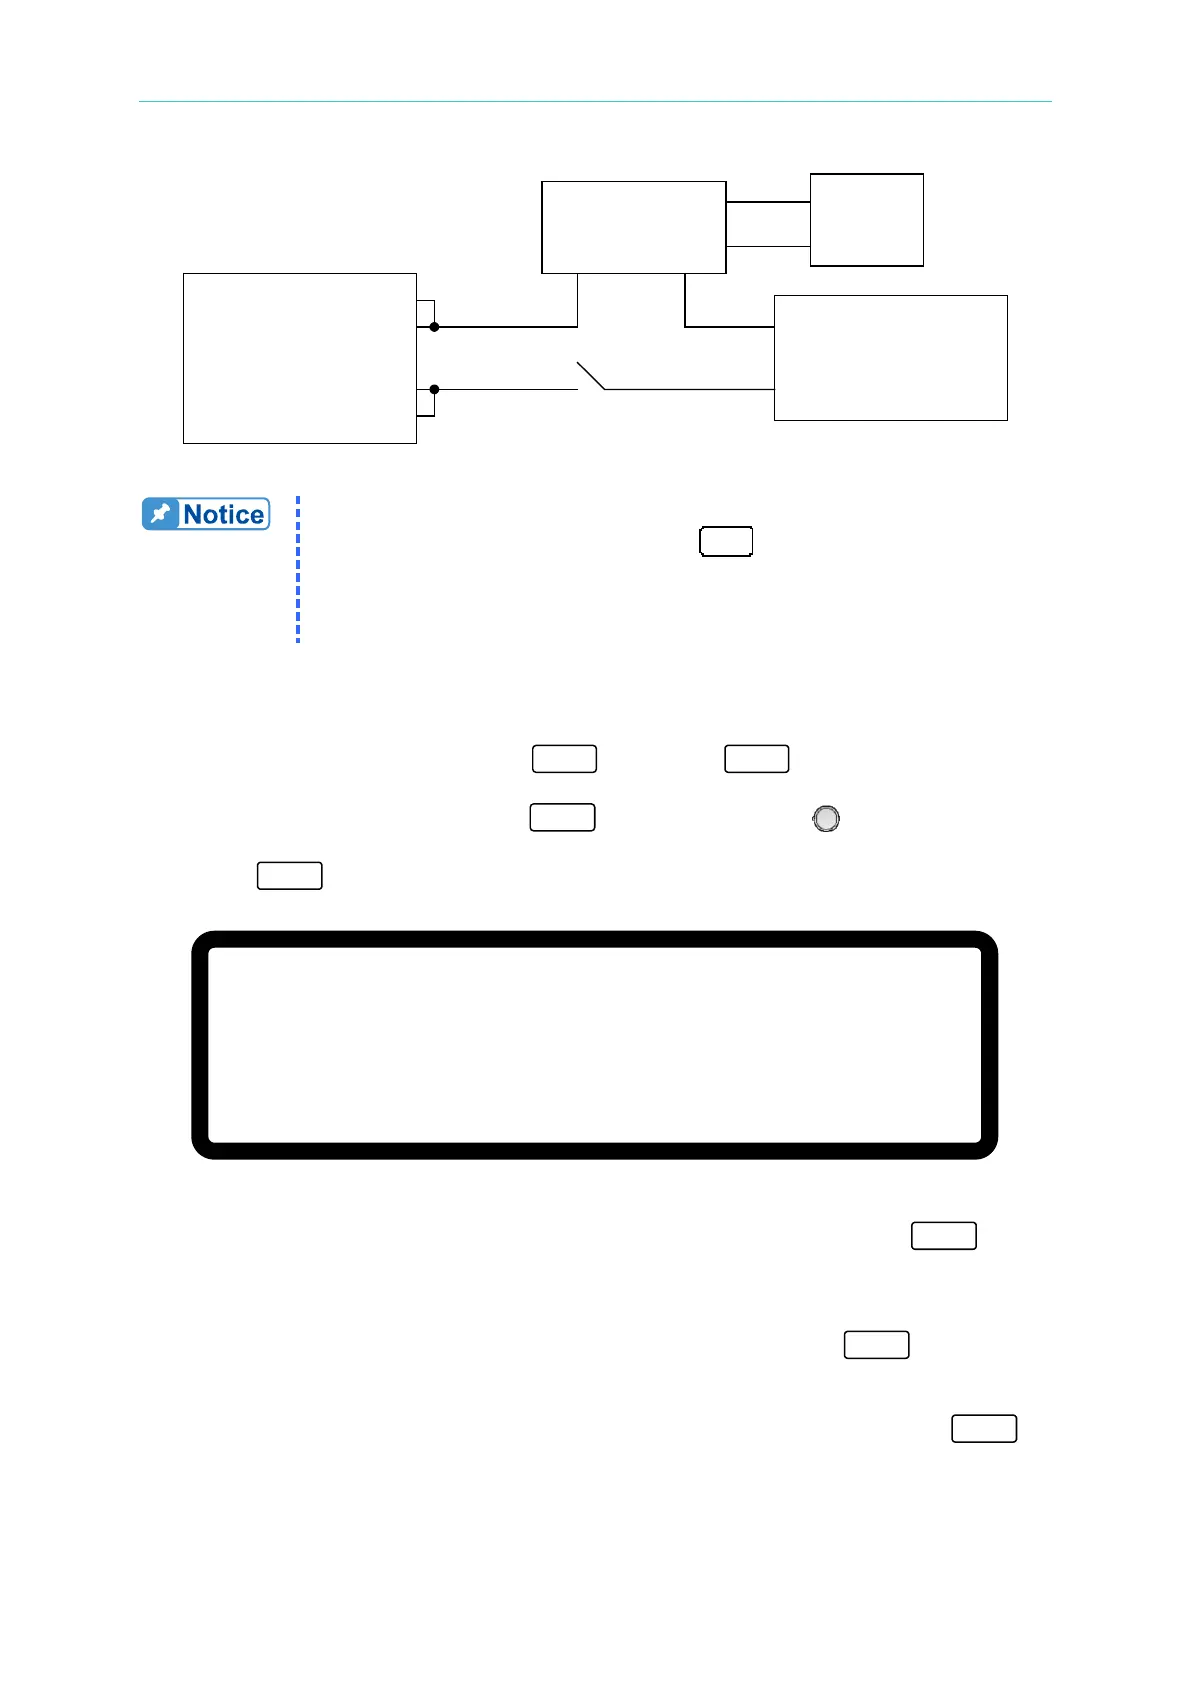
Electronic Load
Figure 3-110
1. Calibrate the offset voltage of the ULTRASTAB SATURN before using
it for the current calibration. Press “
” and the DVM panel digits
will reset and show “Math” for the current calibration.
2. Key in at least 5 digits for each calibration point to ensure the Power
Supply accuracy after calibration.
3.3.7.2.3 Calibration Procedure (Example: Model 62150H-600S)
1. In the CONFIG Setup page, press “ ” then press to enter the
CALIBRATION option (see section 3.3.7 above).
2. In the CALIBRATION page, press “ ” or turn the “Rotary” ( ) knob to set
CHOICE=2.
3. Press “ ” to display the current calibration options shown in Figure 3-111.
[ C U R R E N T M E A S C A L I B R A T I O N
]
R E M O V E A L L L O A D I N G F R O M O U T P U T T E R M I N A L
P R E S S
[
E N T E R
] W H E N R E A D Y
Figure 3-111
4. Open the Breaker to ensure the DC Power Supply has no load and press “ ” to
confirm.
5. It is important to reconnect the DC Power Supply to a current shunt whose rating is
closest to but still covers 2A. For the Prodigit 7550, use the 2A shunt directly.
6. The calibration option will display as shown in Figure 3-112. Press “ ”. The low
current range will be calibrated first. The system outputs a fixed voltage and then sets the
loading current of the Electronic LOAD to 1.5A. The cursor stops at position [1] as shown
in Figure 3-112. Enter the current read by the Current Shunt (DVM) and press “ ” to
confirm and wait for it to end.