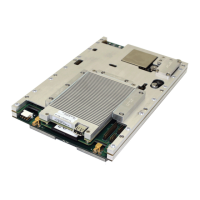
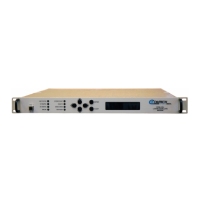
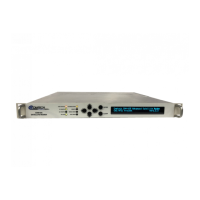
DMD1050TS Satellite Modem Board
Revision 1
Rear Panel Interface 4–6 MN-DMD1050TS
4.5.2 TX L-Band IF (J1)
The Transmit IF Output Port is a 50 Ohm SMA Female Connector that is used for L-Band IF.
The power level is programmable from 0 to -25 dBm, in 0.1 dBm steps.
The IF Frequency is programmable from 950 to 2050 MHz, in 1 Hz Steps.
4.5.3 RX L-Band IF (J2)
The Receive IF Input Port is a 50 Ohm SMA Female Connector that is used for L-Band IF.
The IF Frequency is programmable from 950 to 2050 MHz, in 1 Hz Steps.
4.5.4 ASYNC & Remote Port (J3) – 10-Pin Dual Row Header
This port supports both Asynchronous and Remote interfaces. The remote port supports RS485
or RS232. This port is a 10-pin dual row header.
• 10-Pin Dual Row
• Mfg (Samtec) P/N: TSW-1-05-7-G-D
Table 4-3. ASYNC & Remote Ports (J3)
4.5.5 Default/Shorting Plug (JP1 JP2) - 3 Pin Male Connector
If you are having difficulty opening the Web Browser or the Terminal Interface, you can
reset the M&C interface settings. Use the supplied default plug (CNRSHUNT). See
Figure 4-5.
1. Install the default plug across pins 1 and 2 of JP1 and JP2 connectors.
2. Cycle the power.
3. The interface default settings will reset.
Default jumper/shunts are with the supplied connector kit. The default jumper might be installed
between pins 2 and 3.
1. Reposition the jumper across pins 1 & 2.
2. After the default settings have been activated, remove the Jumpers.