Installation Manual: Standard 360a Model Y (360y) Label Applicator
7
INSTALLATION
When assembling your applicator, the following tools are needed:
• Crescent wrenches
• Allen wrenches
• Pump lift jack
• Level
Follow the steps below to correctly install the applicator:
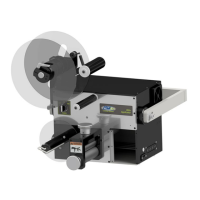
1. Attach the applicator to its mounting base using a crescent wrench. The applicator attaches via the U-arm.
2. Position the applicator in one of the four orientations:
• Nose Up/Nose Down [4A]
• Reels Up [4B]
• Upright and Above [4C]
• Bottom Up [4D]
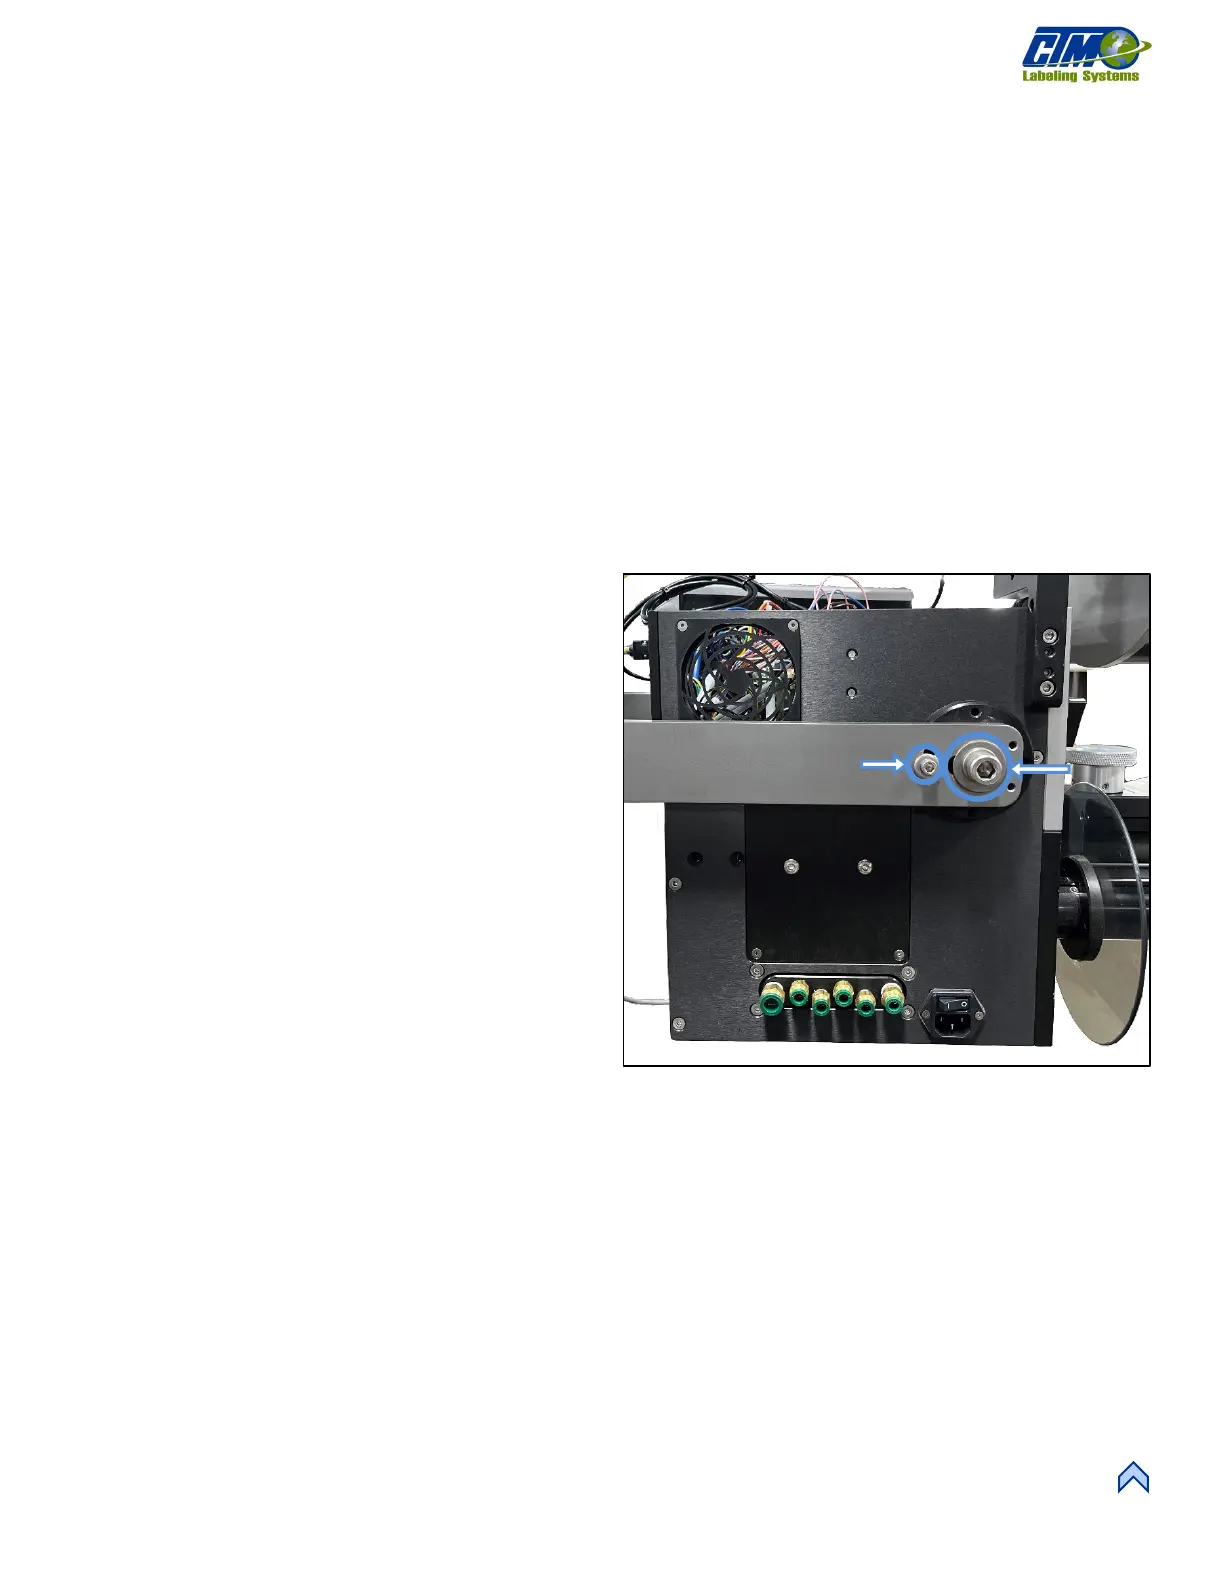
3. To change applicator orientations, loosen the larger bolt
[5A] but do not remove. This enables the U-arm to pivot
and rotate.
4. Remove the smaller bolt in the slot hole [5B] using allen
wrenches.
5. Repeat Steps 3 and 4 for both sides of the applicator.
Now the applicator can be adjusted to the correct
orientation.
6. Reinstall the smaller bolts [5B] and retighten the larger
bolts [5A] once the applicator is in the correct
orientation.
7. Use a level to ensure the applicator is square and make
any adjustments needed.
NOTE: An applicator out of alignment can cause
discrepancies within the labeling sequence.
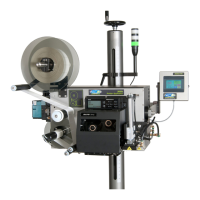
8. Mount HMI Display Unit to its permanent location:
either a column mount or U-arm mount.
9. When the applicator is in the correct orientation, cables
can be connected to their proper locations.
[5] Bolts to Adjust Orientation