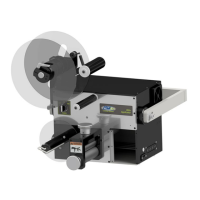
Operator’s Manual: Standard 360a Model Y (360y) Label Applicator
37
Incompatible DAT Options
When DAT applicator type is selected various options become incompatible. The following options cannot be enabled while the
application type is DAT:
• Loose Loop
• Imprinter
• Product Detect Queueing
• Foldover
• Multi-Label
• Powered Rewind
• Vacuum Off
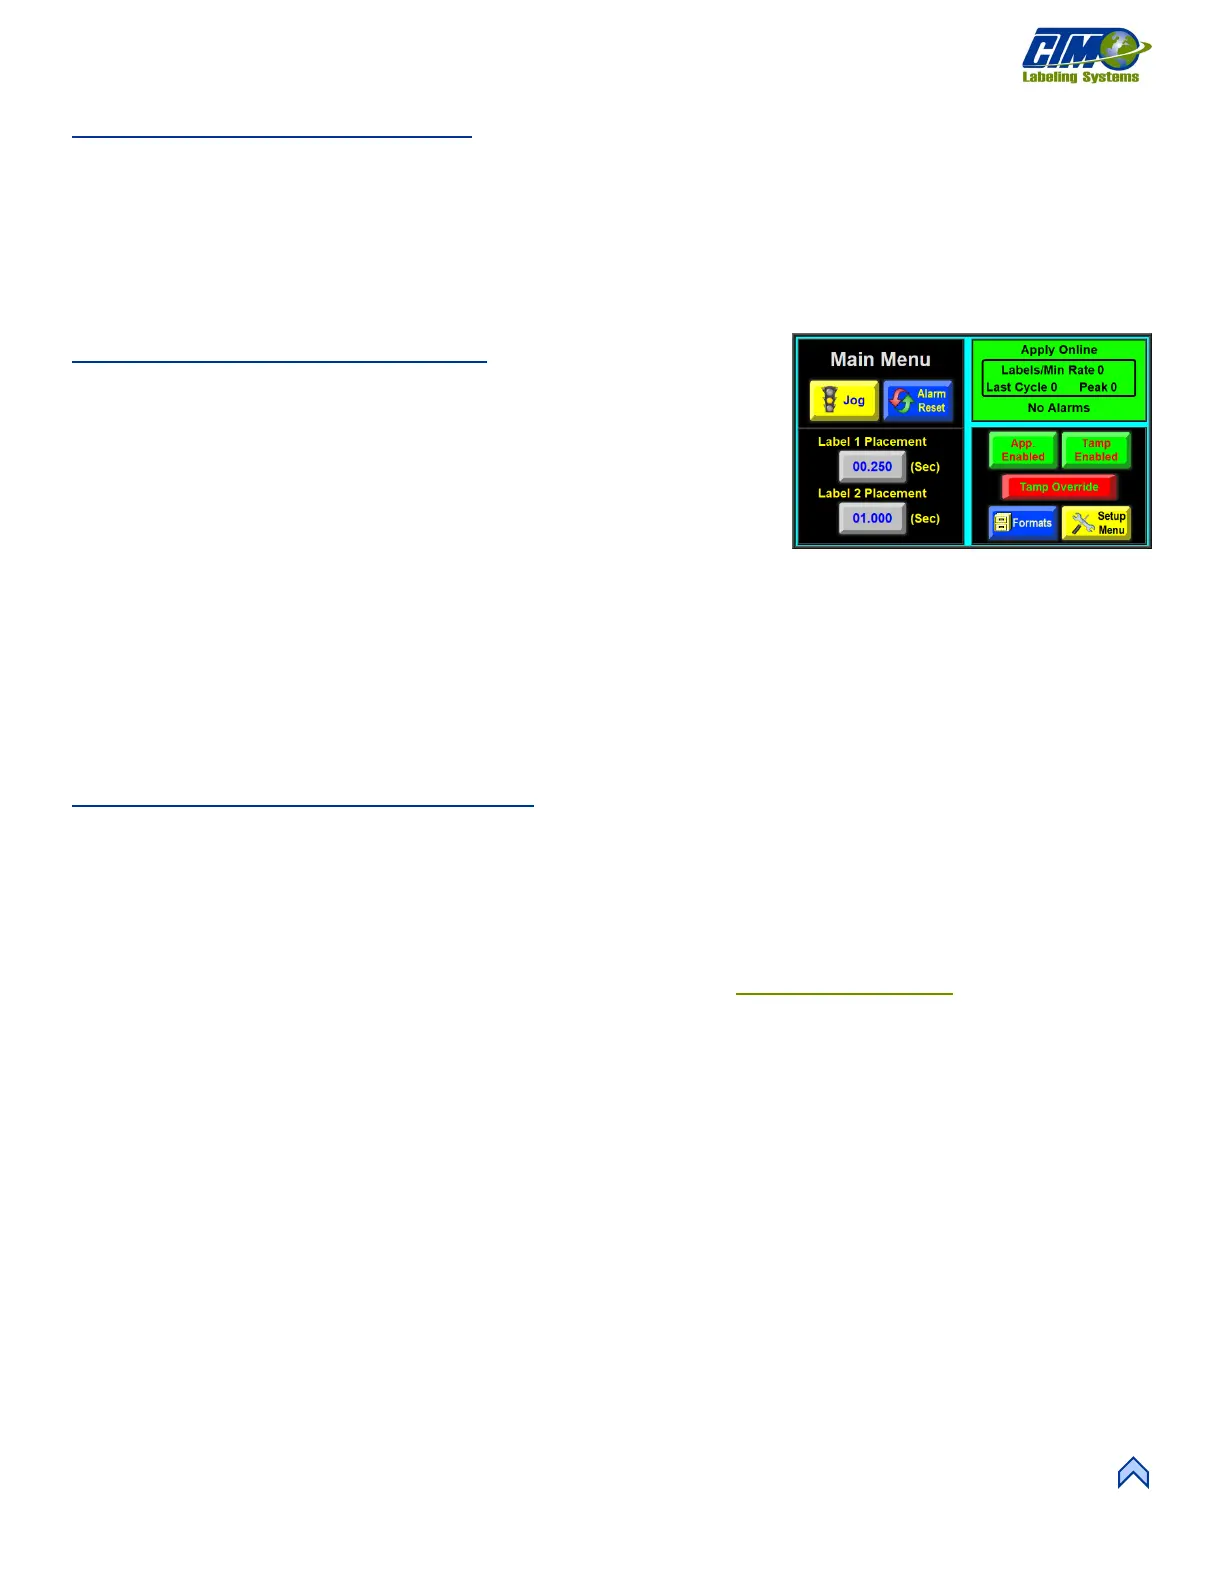
DAT Label Placement Setup
When the applicator is set to DAT, a second label placement value appears in the Main
Menu [89]. The first placement value corresponds to the first tamp action while the
second placement value corresponds to the second tamp action.
The allowed values are between 0 and 20 seconds or inches for the first and between 0
and 99 for the second label placement. A suggested lower range limit appears below
the second label placement value. Its value varies depending on the first label
placement and extend and retract values for the applicator.
NOTE: If the first part of the cycle is not completed by the time/distance of the second label placement has passed, the second label
is applied late, and a warning alarm is generated. To correct, shorten the cycle time of the first cycle or decrease product
speed.
Once the tamp or swing times are selected, both extend and retract timers are accessible for changing. The extend timers determine
how long the tamp or swing valves are on before the air blast occurs. The extend timers should be set long enough to ensure the label
pad is fully extended before the air blast occurs. The retract timers determine how long the valve will be off before a label is fed onto
the label pad. The retract timer values should be set long enough to ensure that the label pad is home before feeding a label.
DAT General Setup Procedures
1. Set the label stop to ensure the applicator works properly. Adjust the label stop value to the position the label at the peel edge
or slightly back from the peel edge.
2. Adjust the tamp height so the label feeds out in contact with the label pad.
a. If the pad is too high, the label will not land consistently on the pad.
b. If the pad is too low, the label will dispense into the back of the pad and jam.
Most of this adjustment is done with the peel edge and is discussed in the Tamp Applicator Setup
section of the manual.
3. Adjust the rotary actuator so the label pad is level with the applicator. The rotary actuator’s internal stops control 100%
of where the swing arm stops – the shocks act as a “buffer” only! See the DAT Rotary Actuator Stop Adjustment
Guidelines section below.
4. Ensure the label is aligned with the pad so there is no over-hang. To adjust, move the liner web in or out by adjusting the
guide collars and unwind disks.
5. Loosen the screw right next to the air assist tube to position it with the hole(s) centered on the label and pointing
approximately ¼ in. from the label pad edge.
6. Turn the knob above the Air Assist valve on the valve bank to set the air pressure at 20-30 PSI and press the Jog button to
dispense a label. If the label does not feed against the label pad or the vacuum does not capture it, increase the air pressure,
and continue until the vacuum captures the label.
NOTE: There are other factors that can keep the label from staying on label pad. You may need more vacuum, increased,
or decreased label dive, or the air assist tube may need to be rotated.
Air pressure for the tamp slide and rotary actuator should start at 40 psi, the air blast at 40-60 psi, and the vacuum pump at 20
psi.
7. Set the Air Blow time to be long enough to apply a label firmly to the product. Starting at the Main Menu tap Setup Menus
> Setup Passcode > Application Setup Menu > Air Blow variable to change. Setting the time too high results in
fewer labels/min. A value to start at is 0.06 seconds. The air blow time applies to both the swing and tamp sequences.