Operator’s Manual: Standard 360a Model Y (360y) Label Applicator
28
Air Blow Applicator Setup
The Air Blow nose assembly [78] applies labels of different sizes without needing a
new pad or manifold. Products can also be labeled at a standstill without contact.
The blow box has two axial fans mounted in the top of the assembly that produces the
vacuum needed to hold the label. Inside the blow box are eighteen flexible jets that
provide air blasts to apply the label. These jets may be arranged in a variety of ways
to apply many shapes and sizes of labels.
The steps below detail how to set up the air blow nose to dispense labels properly:
1 Start at the Main Menu and tap Setup Menu > Setup Passcode >
Configuration Menu > Top Right-Hand Corner > Special Options
Passcode > Apply Mode. Tap the Up or Down arrow to choose Blow.
2 Go back one screen and tap Applicator Hand. Choose either Right or Left for the configuration, or dispensing direction.
a. If any options are turned on, they will be turned off when changing applicator types.
b. If the dispense direction (left or right) is changed and the Applicator Hand menu is exited, the applicator forces the
operator to cycle power to the applicator before any other changes can be made.
3. Position the applicator as close to the product as you can without hitting it by adjusting the upright stand, traverse, and/or
outrigger if used.
4. Turn on any additional options needed and ensure the labels are threaded and taught correctly. For more information about
setting up labels refer to the Label Setup
section of the manual.
Air Blow Peel Edge Alignment
1. Power-on the applicator and disable it.
2. Advance the web by hand by turning the drive roller and notice how the label feeds onto the grid.
a. Paper labels should deflect 5°-10° to the bottom surface of the label grid.
b. Stiffer labels should feed straight onto the grid.
3. Loosen the (2)
1
/
4
in. socket head screws on the peel edge faceplate to adjust it. Move the assembly to a position close to the
grid and allow enough room for the label and liner to pass between the peel edge and the grid.
NOTE: The top of the peel edge should be slightly higher than the bottom surface of the label grid. If a label on the grid
slides back onto the peel edge, the peel edge is too low.
4. Repeat Step 2 to check the label angle and re-adjust if needed.
Air Blow Label Stop
1. Enable the applicator and tap the Jog button a few times to advance a few labels and monitor the label stop position. The
label stop position should be set to stop the leading edge of the label
1
/
32
in. from the peel edge tip.
2. Tap Setup Menu > Label Setup to change the Label Stop value if needed and repeat.
Air Blow Grid Setup
1. Power-on the applicator and enable it.
2. Tap the Jog button to get a label onto the grid and tape the label to the grid.
3. Power-off the applicator and remove the blow box cover.
4. Arrange the air jets in a symmetrical pattern with most of the tubes in the center of the label and insert any unused tubes into
the Storage Block.
5. Select either the HIGH or LOW switch position to run the fans that generate the vacuum to hold the label in place.
a. In the LOW position, only one fan runs.
b. In the HIGH position, both fans run.
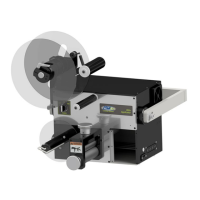
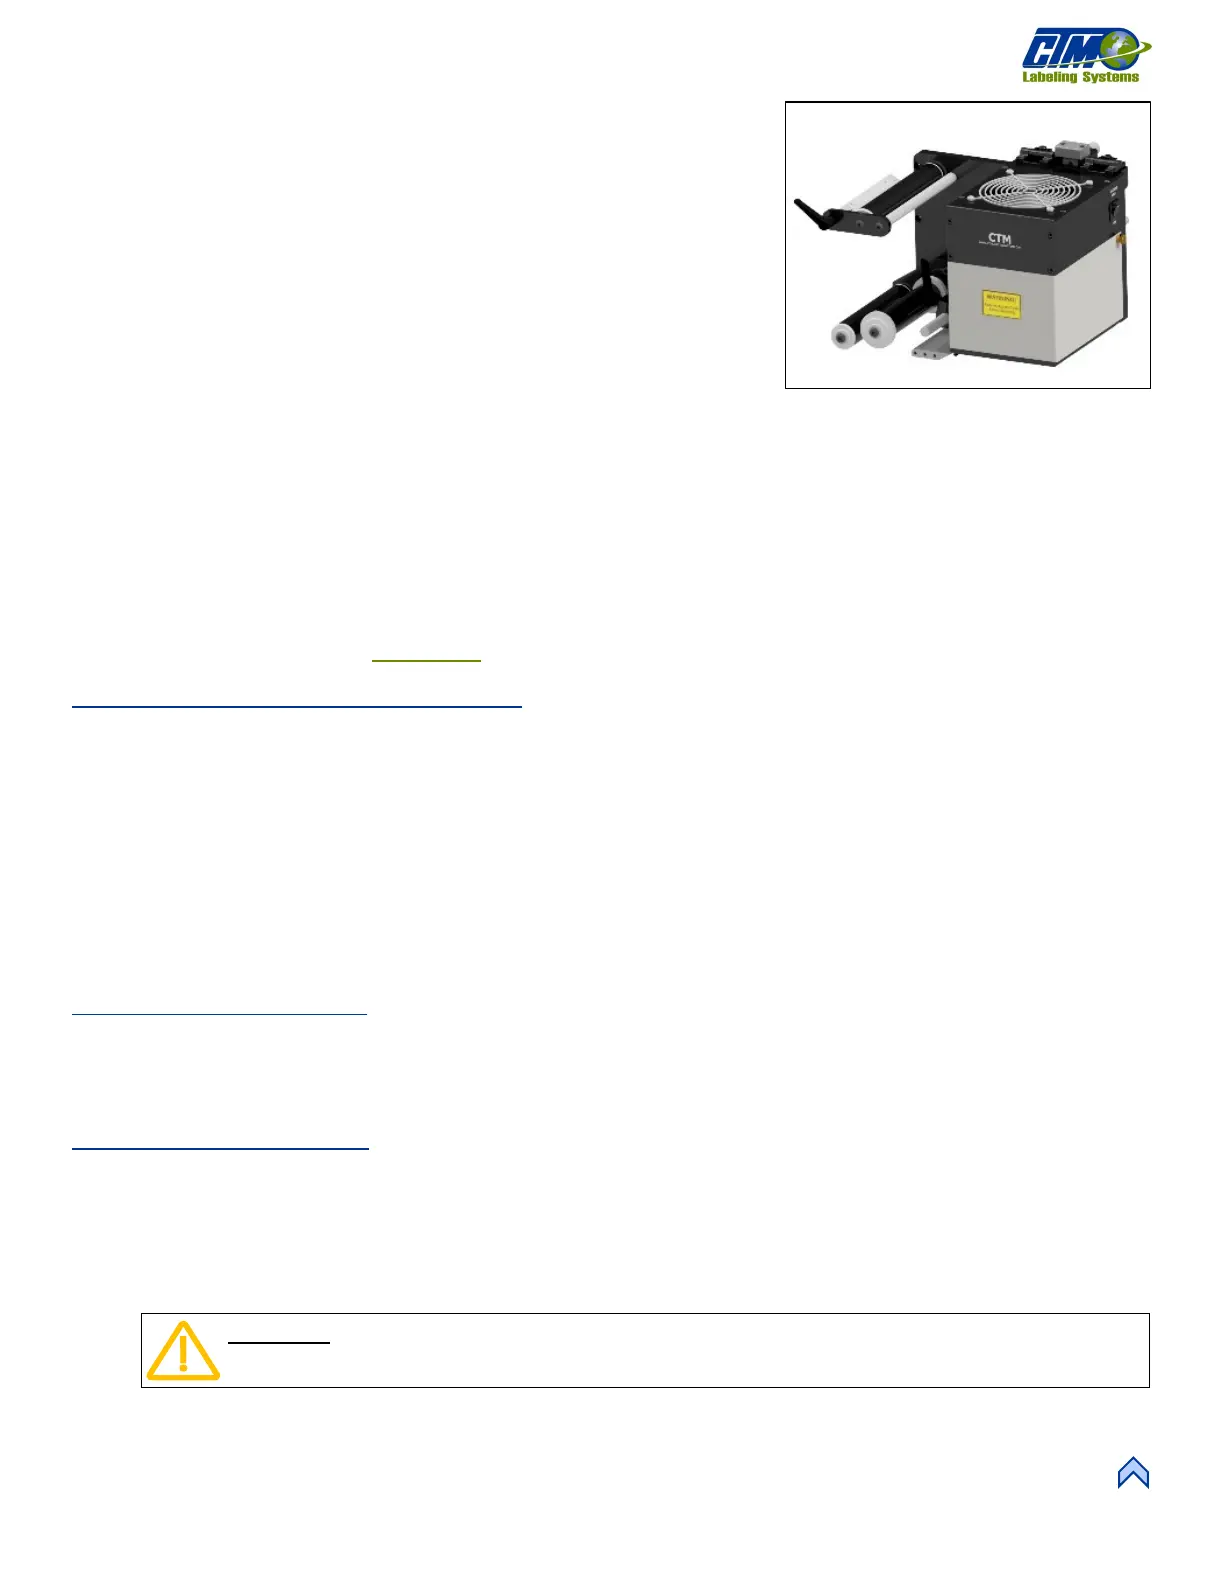
[78] Air Blow Nose Assembly (Right Hand)
CAUTION: Ensure the air jets are NOT in the axial fan.