67
Barcode Handy Terminal
3: CLONE: Cloning the backed up data
1. Select “3: CLONE” at the BACKUP menu and press the ENT key.
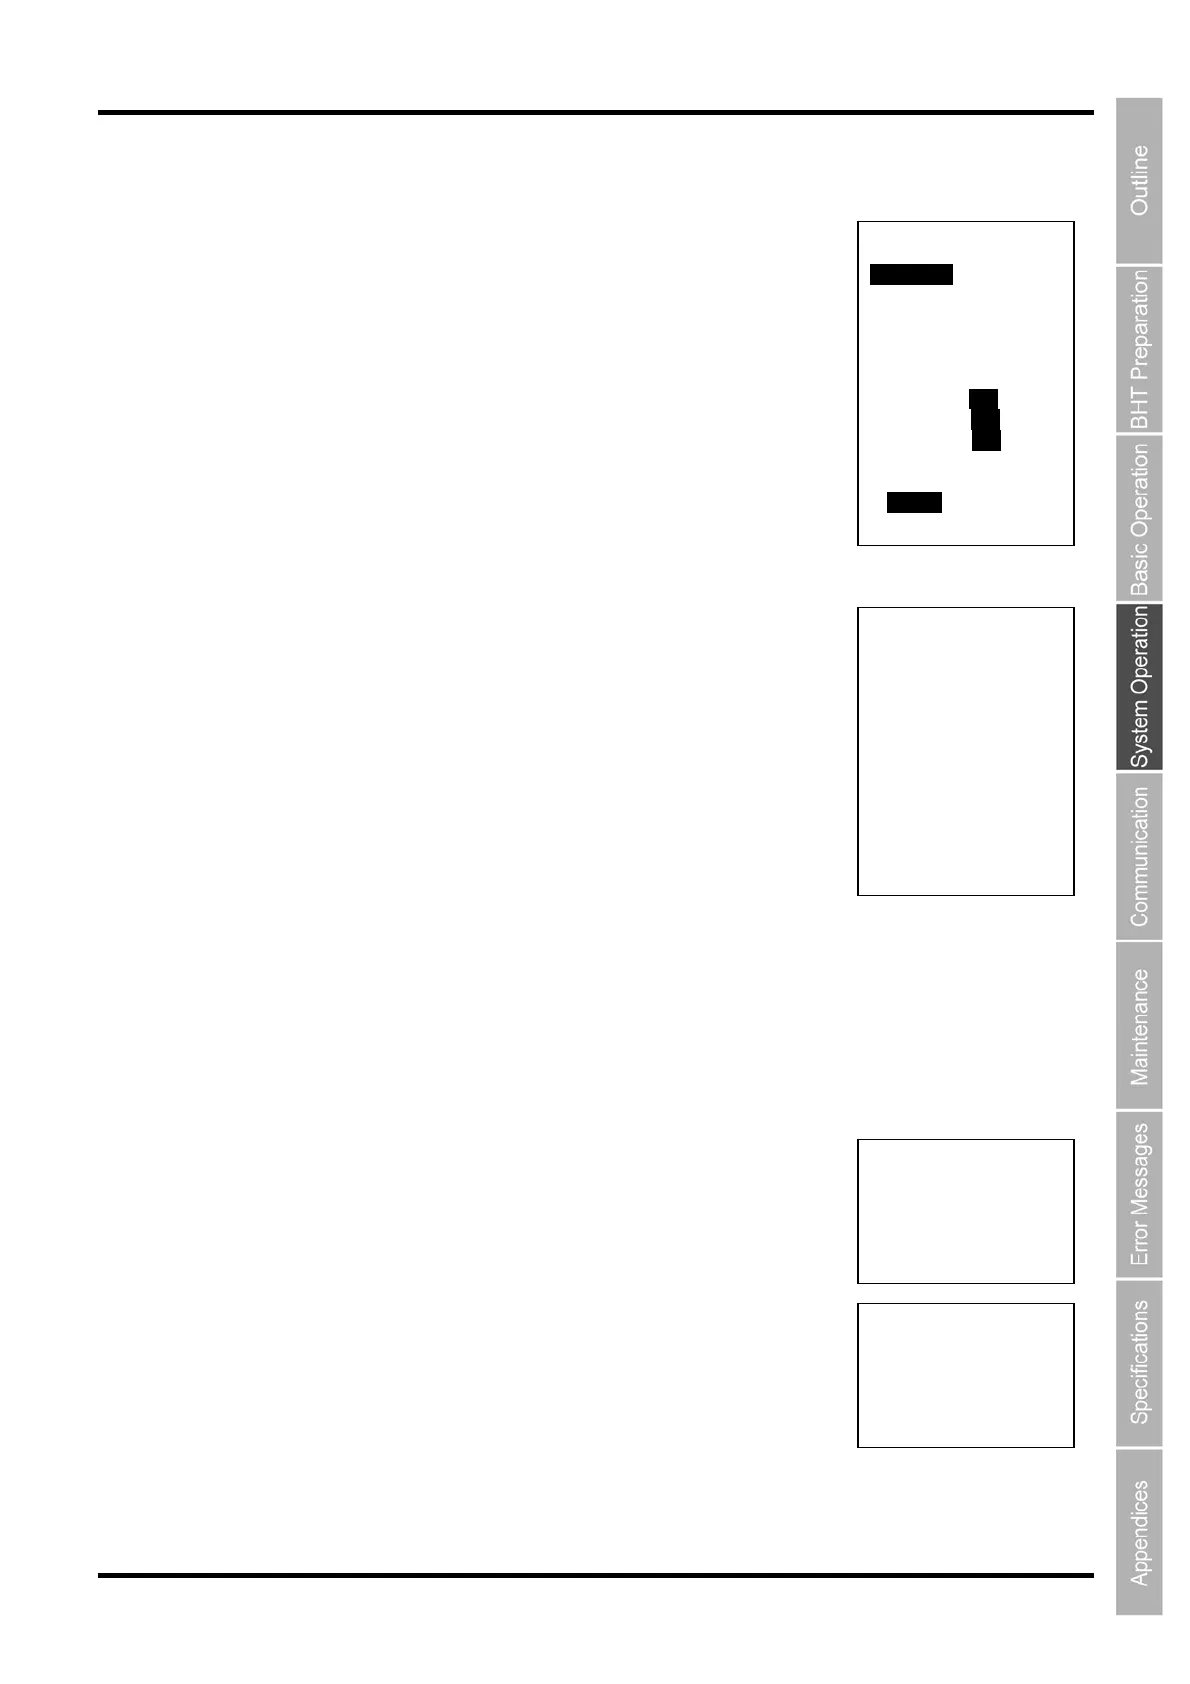
The following CLONE menu is displayed.
“1: EXECUTE”:
Clones the information specified by “2: BACKUP FOLDER”.
“2: BACKUP FOLDER”:
Selects the backed up information to be cloned.
“3: SW TO RESTORE”:
Selects the object to be cloned from the backup folder.
“4: FILE OPTION”:
Selects whether to remove the existing files at cloning.
2. Select “2: BACKUP FOLDER” at the CLONE menu and press the
ENT key.
The menu for the selection of clone informaiton is displayed. Use the
cursor keys ([▲] [▼]) to select the backup information to be cloned and
press the ENT key.
3. Select “3: S/W TO RESTORE” at the CLONE menu and press the
ENT key.
Use the cursor keys ([▲] [▼]) to highlight the item to be set, highlight the
setting value using the cursor keys ([◄] [►]) and press the ENT key.
“OS”: Selects whether or not to clone the OS.
“PARAM”: Selects whether or not to clone the OS settings.
“FILE”: Selects whether or not to clone the files.
4. Select “4: FILE OPTION” at the CLONE menu and press the ENT key.
Use the cursor keys ([▲] [▼]) to highlight the desired setting value and press the ENT key.
“DELETE” Removes the existing files at cloning.
“NOT DELETE” Does not remove the existing files at cloning.
5. Select “1: EXECUTE” at the CLONE menu and press the ENT key.
The screen on the right is displayed and cloning the information specified
by “2: BACKUP FOLDER” is started.
6. When cloning is complete, the Buzzer beeps once and the screen
on the right is displayed.
CLONE
1:EXECUTE
2:BACKUP FOLDER
XXXXXXXXXXXXXXXX
3:SW TO RESTORE
OS YES NO
PARAM YES NO
FILE YES NO
4:FILE OPTION
DELETE NOT DELETE
CLONE
** Working **
CLONE
** Completed **
CLONE
BACKUP PATH:
D:∖HT_BKUP
SELECT FOLDER:
1/X
XXXXXXXXXXXXXXXX