EPSON AcuLaser C1100 Revision B
DISASSEMBLY AND ASSEMBLY MSI 322
4.3.12 ACTUATOR EMPTY
REMOVAL
1. Remove COVER ASSY RH. (p.301)
2. Remove COVER ASSY LH. (p.295)
3. Remove COVER MSI. (p.291)
4. Remove COVER FRONT L and COVER FRONT ASSY U. (p.292)
5. Remove FRAME ASSY-PH. (p.327)
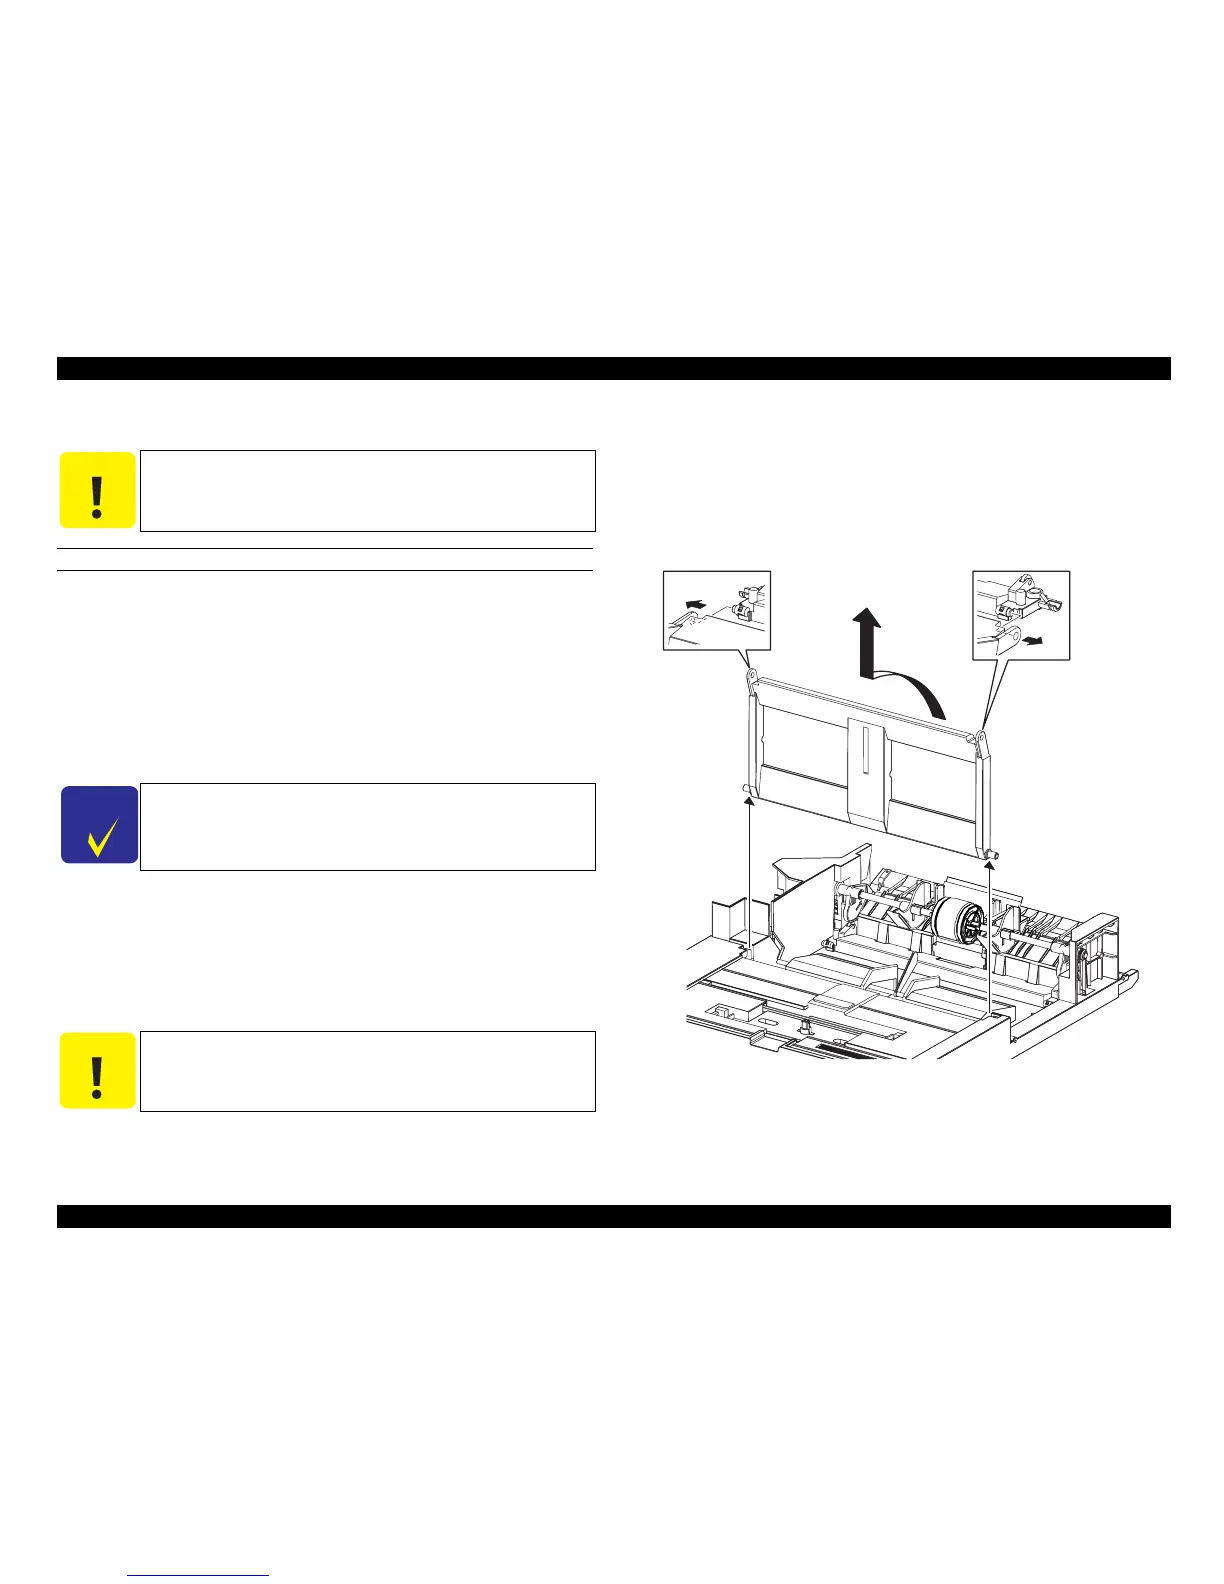
6. Remove MSI ASSY. (p.304)
7. Remove GUIDE SIDE L and GUIDE ASSY SIDE R. (p.310)
8. Remove SENSOR PAPER EMPTY. (p.321)
9. Remove the holes on PLATE BOTTOM 2 from the boss on PLATE BOTTOM
ASSY MSI while extending the attachment sections on the left and right of
PLATE BOTTOM 2.
10. Turn PLATE BOTTOM 2, remove the bosses on the left and right of PLATE
BOTTOM 2 from the notches of MSI ASSY, and remove PLATE BOTTOM 2.
11. Remove the groove on the left-side shaft on ACTUATOR EMPTY from the hook
on MSI ASSY, and draw out the right-side shaft on ACTUATOR EMPTY from
the hole on MSI ASSY.
12. Slide ACTUATOR EMPTY to the left, slide the shaft of ACTUATOR EMPTY
along the notch of MSI ASSY, and remove ACTUATOR EMPTY.
Figure 4-38. Removal of ACTUATOR EMPTY (1)
C A U T I O N
Step numbers with [ ] in the figure indicate the step of
reinstallation.
C H E C K
P O I N T
When performing the following work, connectors need not be
disconnected from SENSOR PAPER EMPTY.
C A U T I O N
When performing the following work, take care not to fold
ACTUATOR EMPTY.
Leg_Sec03_052FB
9)
9)
10)