EPSON AcuLaser C1100 Revision B
DISASSEMBLY AND ASSEMBLY PH ASSY 327
4.4.4 FRAME ASSY-PH
REMOVAL
1. In the case of the DUPLEX specification, remove DUPLEX ASSY. (p.412)
2. In the case of the standard specification, remove COVER-PH. (p.324)
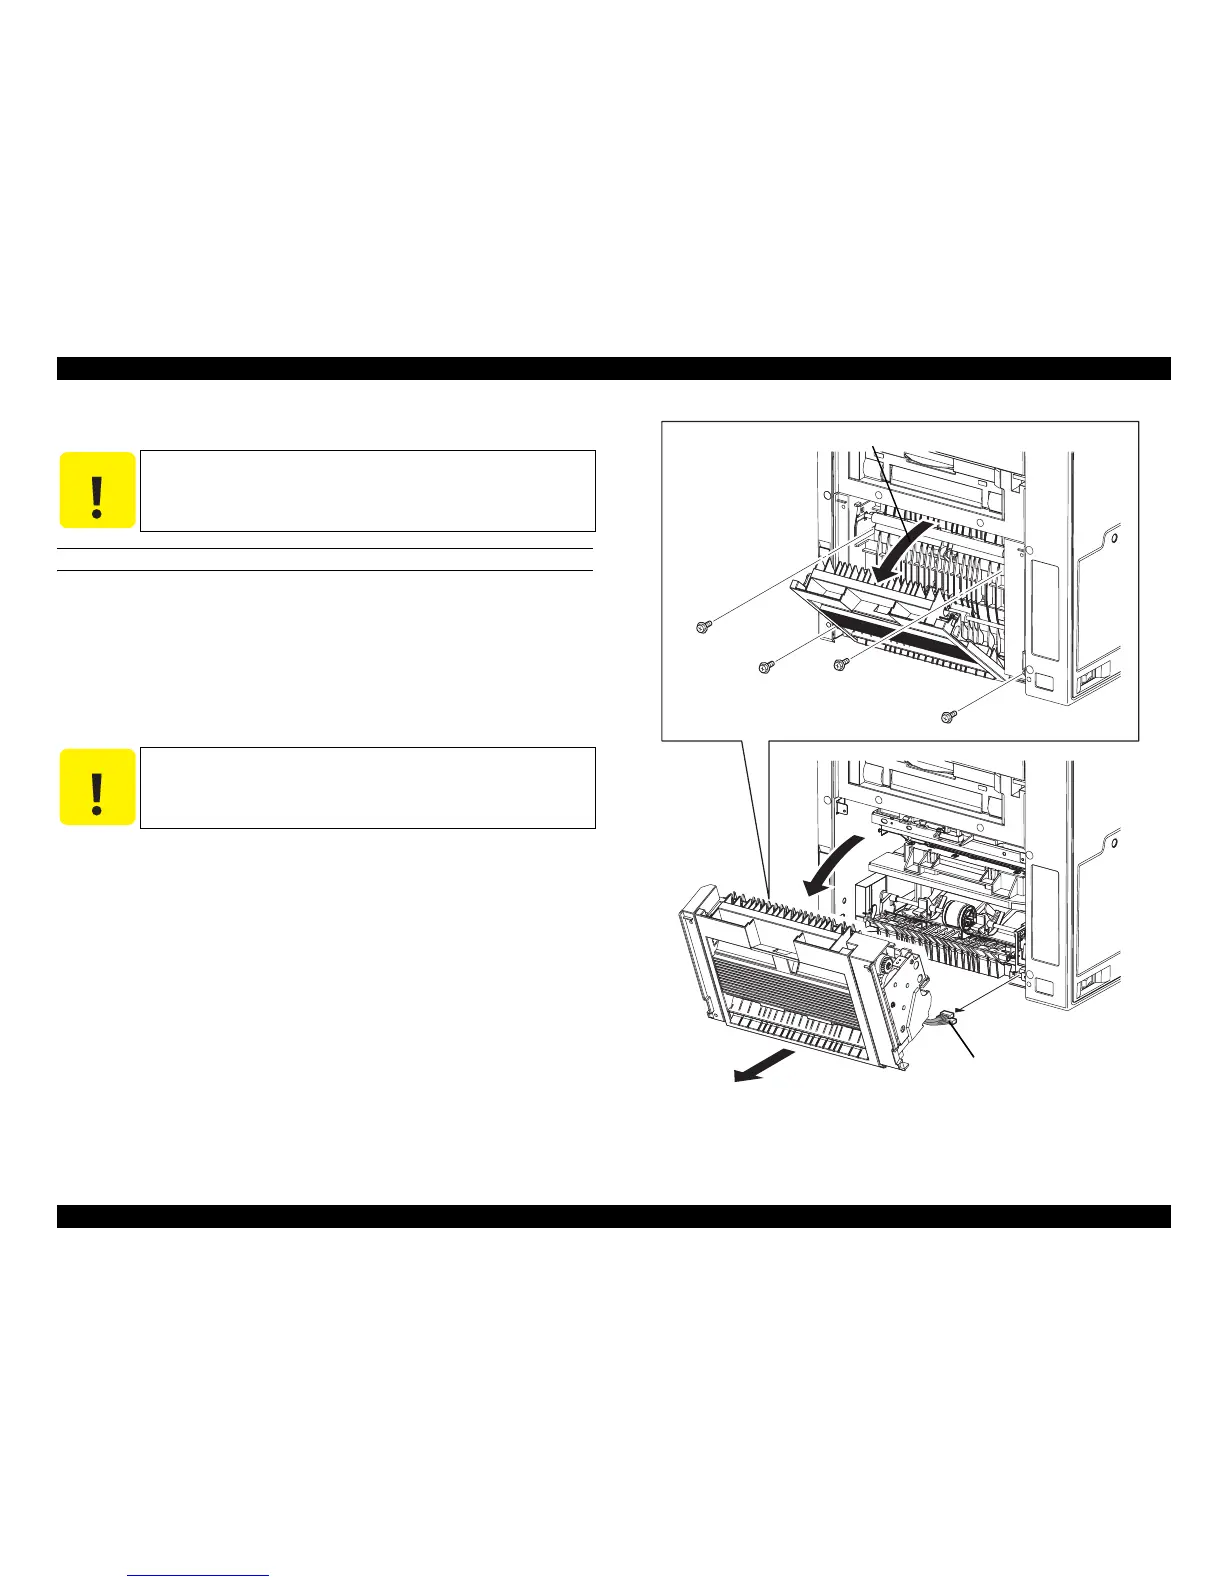
3. Open CHUTE ASSY-REAR.
4. Remove the 4 screws (silver, with flange, 8 mm) fastening FRAME ASSY-PH to
the main unit.
5. Close CHUTE ASSY-REAR.
6. Slightly remove FRAME ASSY-PH together with CHUTE ASSY-REAR from the
main unit.
7. Disconnect connector (P/J603) and connector (P/J604) connected to the main unit,
and remove FRAME ASSY-PH together with CHUTE ASSY-REAR.
8. Remove CHUTE ASSY-REAR. (p.325)
Figure 4-43. Removal of FRAME ASSY-PH
C A U T I O N
Step numbers with [ ] in the figure indicate the step of
reinstallation.
C A U T I O N
When performing the following work, take care not to remove
FRAME ASSY-PH too far as it is connected by a harness.
Leg_Sec03_057EA
3)
4)
4)
4)
4)
6)
8)
7)

 Loading...


