EasyManuals Logo

GBC AdvancedPunch User Manual

GBC AdvancedPunch
244 pages
To Next Page IconTo Next Page
To Previous Page IconTo Previous Page
Page #68 background imageLoading...
Page #68 background image
Section 4
4-10 © Copyright 2009 GBC. All rights reserved. Advanced Punch Service Manual
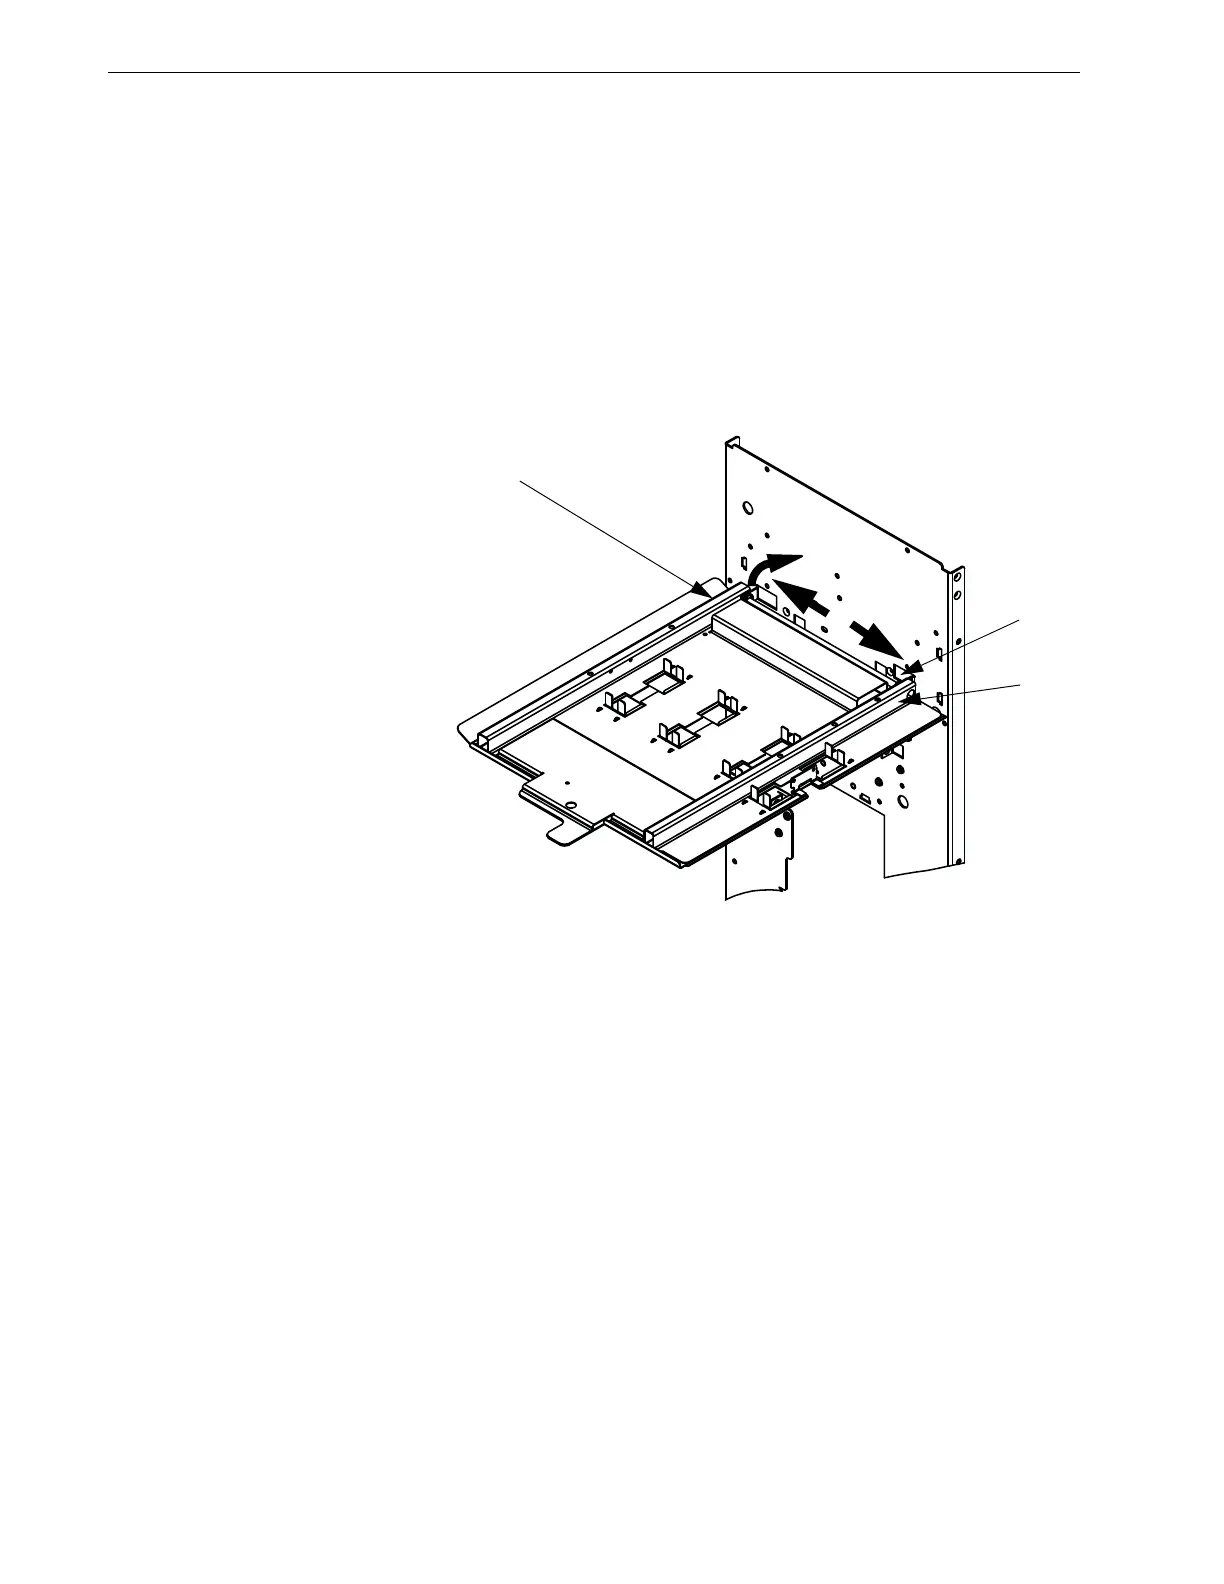
5. From the side of the punch, slide the shaft towards the end of the shaft [1]
without the E-Ring [2] until the other end of the shaft clears the nylon bushing
and bracket.
6. Lift the opposite end of the shaft [3] and slide it out of the Bypass panel in the
opposite direction of the removed E-Ring [4].
Installation Note: Make sure the nylon bushing is installed so that it protrudes
through the mounting bracket of the rear frame into the Bypass panel [5].
Figure 4.11 Bypass Panel, Shaft, and Rear Frame.
[5]
[2]
[5]
[4]
[1]
[3]

Table of Contents

Questions and Answers:

Question and Answer IconNeed help?

Do you have a question about the GBC AdvancedPunch and is the answer not in the manual?

GBC AdvancedPunch Specifications

General IconGeneral
BrandGBC
ModelAdvancedPunch
CategoryPaper Cutters
LanguageEnglish

Related product manuals