Safety belt--Front safety belt
Change
Hint:
When assembling, please work by the sequence that is reverse with disassembling sequence,
if necessary, assembling instruction could be got.
Changing procedure for left side and right side is same.
Refer to subassembly drawing of front safety belt on page 273.
1. Disassemble cathode wire of battery.
2. Disassemble left front safety belt locker assembly [68010040].
(a) Disassemble driver seat assembly (referring to page 349).
(b) Disassemble safety belt locker assembly in side of driver seat gasket (referring to page 349).
(c) Only driver side: disassemble fixed clamp from gasket bracket of driver seat.
(d) Disassemble the bolts and safety belt locker assembly in side of front seat.
3. Disassemble trim board of pedal of left front door [68010020].
4. Disassemble trim board of pedal of left rear door [68010022].
274
5. Disassemble sealed part of doorframe of left front
door [68010055].
6. Disassemble sealed part of doorframe of left rear
door [68010059].
7. Disassemble lower inner trim board of left middle
column [68010018].
8. Disassemble left front safety belt crimper assembly
[68010044].
(a) Use right-angled screwdriver to disassemble trim cover of
upper fixed bolt of safety belt.
Hint: use adhesive tape to twist its top end before using.
(b) Disassemble the bolts and crimper assembly.
(c) Use right-angled screwdriver to disassemble trim cover of
upper fixed bolt of safety belt.
Hint: use adhesive tape to twist its top end before using.
(d) Disassemble the bolts and lower fixed bolts of floor safety belt.
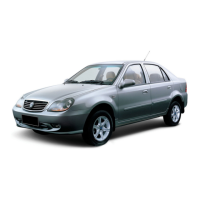
(e) Disconnect the joint of crimper liking that shown in figure.
Note: when disassembling the safety belt, it is necessary to turn the ignition switch to LOCK
position, and disconnect the cathode of battery for 90 seconds, then it could start to work.
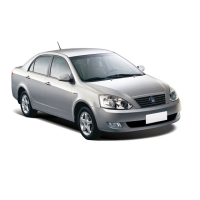
(f) Disassemble the bolts and crimper.
9. Assemble left front safety belt crimper assembly.
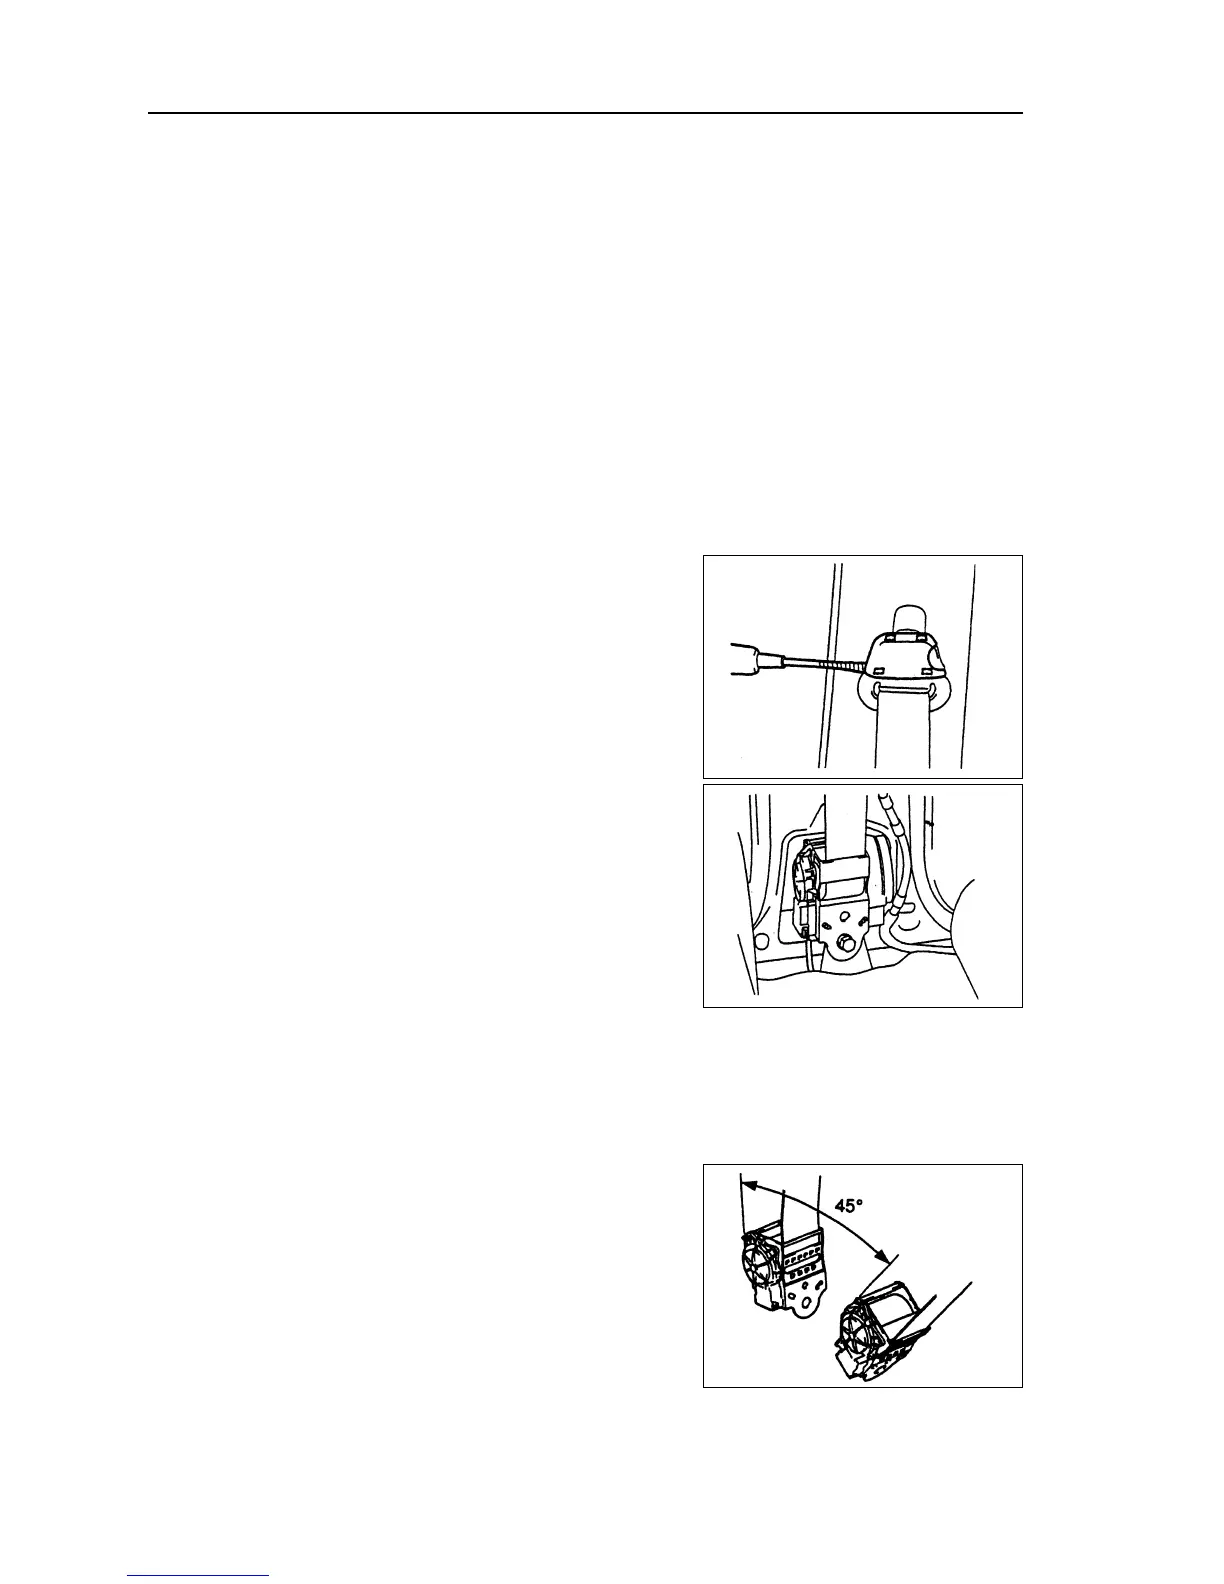
(a) Check the inclining angle when ELR starts to lock.
(1) Confirm whether safety belt could be pulled out if the angle exceeds 45°.
Note: do not disassemble the crimper.
(b) Use the bolts to assemble crimper.
Torque: 41 N·m
(c) Use two bolts to assemble fixed seat of side shoulder belt
and safety belt.
Torque: 41 N·m
(d) Check the lock of ELR.
(e) After safety belt is assembled on automobile, check whether
the safety belt could be locked when it is pulled out quickly.
10. Assemble left front inside safety belt clamp.
Torque: 41 N·m