Engine cover/automobile door--Front automobile door
Overhaul
Hint:
z When assembling, please work by the sequence which is opposite with disassembling
sequence; but when it has items that need to pay special attention, it will add special
specification.
z Overhaul procedure for right side is same as the left side.
z Please refer to subassembly figure of front door on page 360.
1. Disassemble left front door control panel assembly [68000142]
(a) Disassemble the screw.
(b) Use screw driver to disassemble left front door control panel assembly.
Hint: before using screw driver, it is necessary to wrap its needled top with adhesive tape.
(c) Disassemble the joint.
2. Disassemble left front door inner defending board assembly [68010049]
(a) Disassemble the screw.
(b) Without equipping with door control light: use screw driver to disassemble door inner defending board
assembly.
(c) Equipping with door control light: use screw driver to disassemble door inner defending board assembly,
then disassemble the joint again.
(d) Equipping with door control light: use screw driver to disassemble door control light.
3. Disassemble left door inner handle assembly [68010051]
(a) Disassemble inner handle, and disassemble two pull cables from inner handle.
4. Disassemble repairing hole cover of left front door
5. Disassemble left front small loudhail cover assembly [67000131]
369
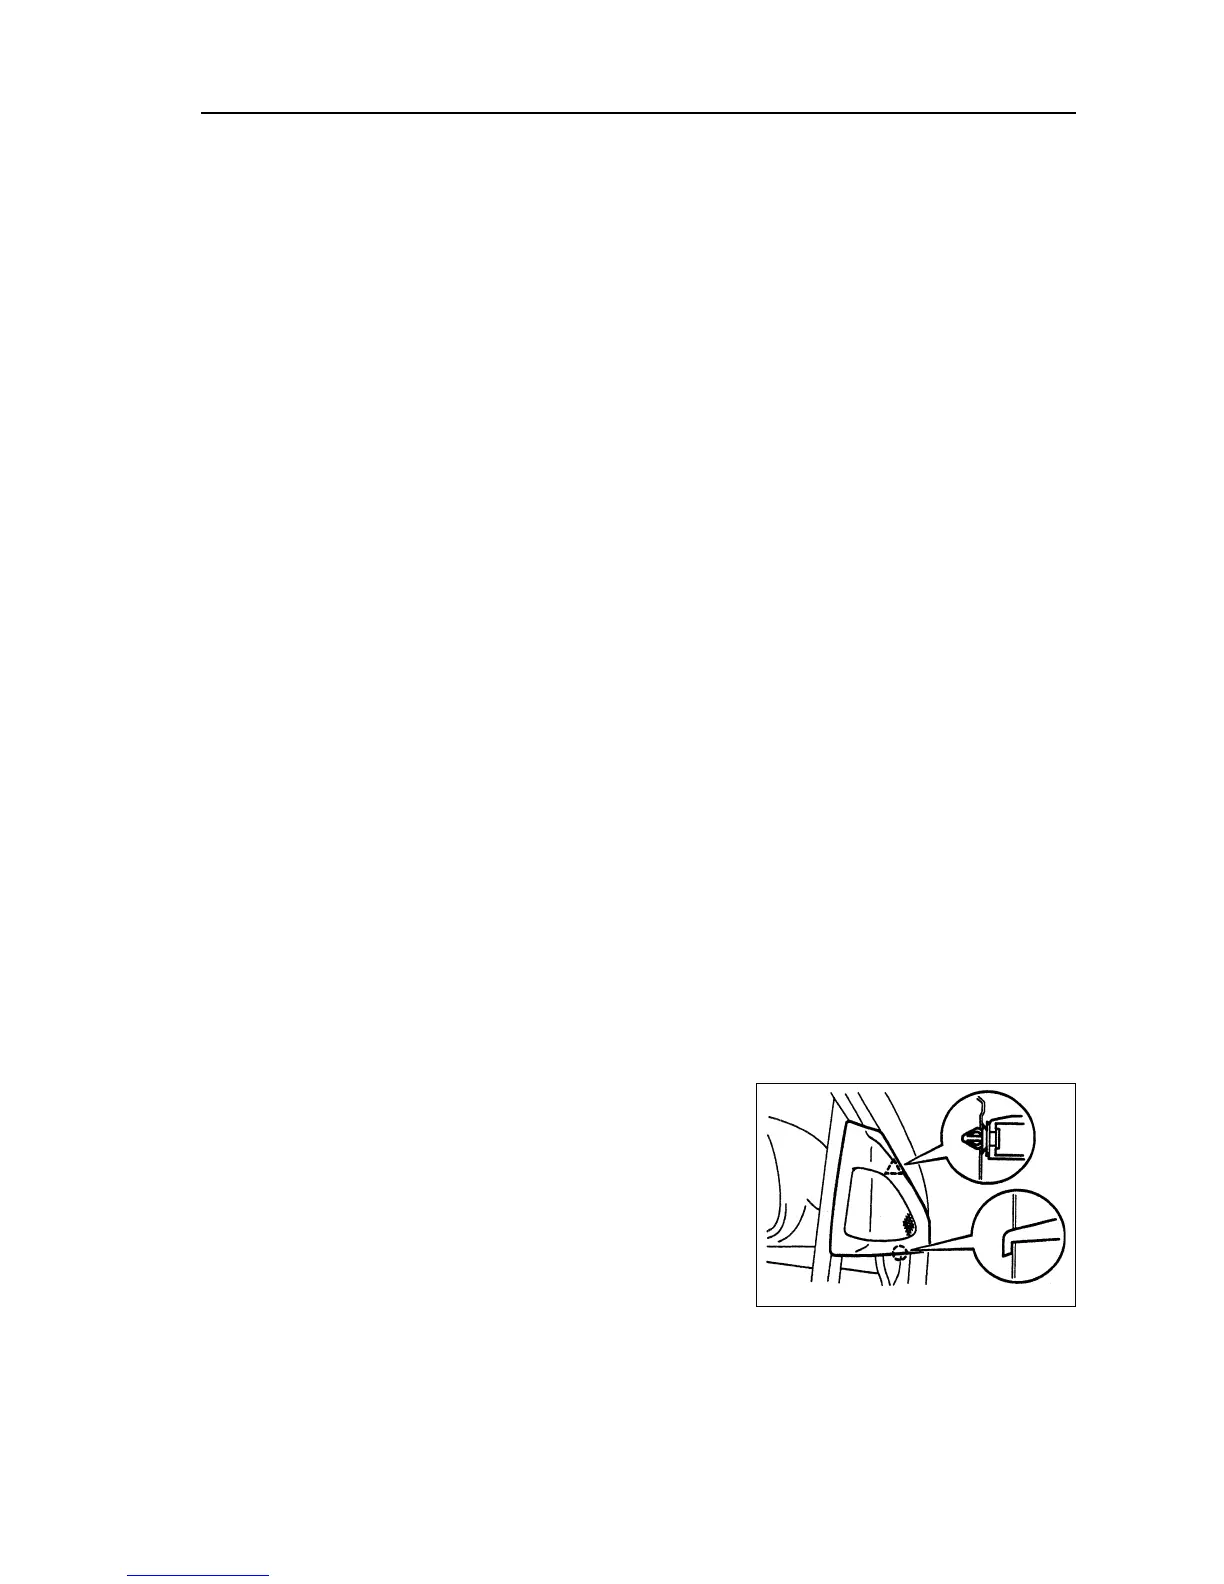
6. Disassemble left exterior electric rearview mirror
assembly [67000155]
(a) Disassemble the joint.
(b) Disassemble three screw caps and left exterior electric
rearview mirror.
7. Disassemble exterior seal tape of left front door glass
[68000158]