2-41
2.12
Running Cutting Tests
Test cutting can be performed after making the tool, speed, force, acceleration, and perforation pattern settings to
ensure that the selected cutting conditions actually produce the desired cutting results. Check how far the blade
cuts into the media and how the corners are being cut. If the cutting results are not satisfactory, adjust the various
settings and repeat the test cutting until the optimal settings are achieved.
Cutting Test
Here, you can either cut one test pattern based on the current values.
Operation
1 Load the media for test cutting in the plotter.
Supplement
Please choose from Condition No.2 to
Condition No.8 under "Selecting the Tool
Condition". For more information, see "2.10
Selecting Tool Condition"
P. 2-2 9
.
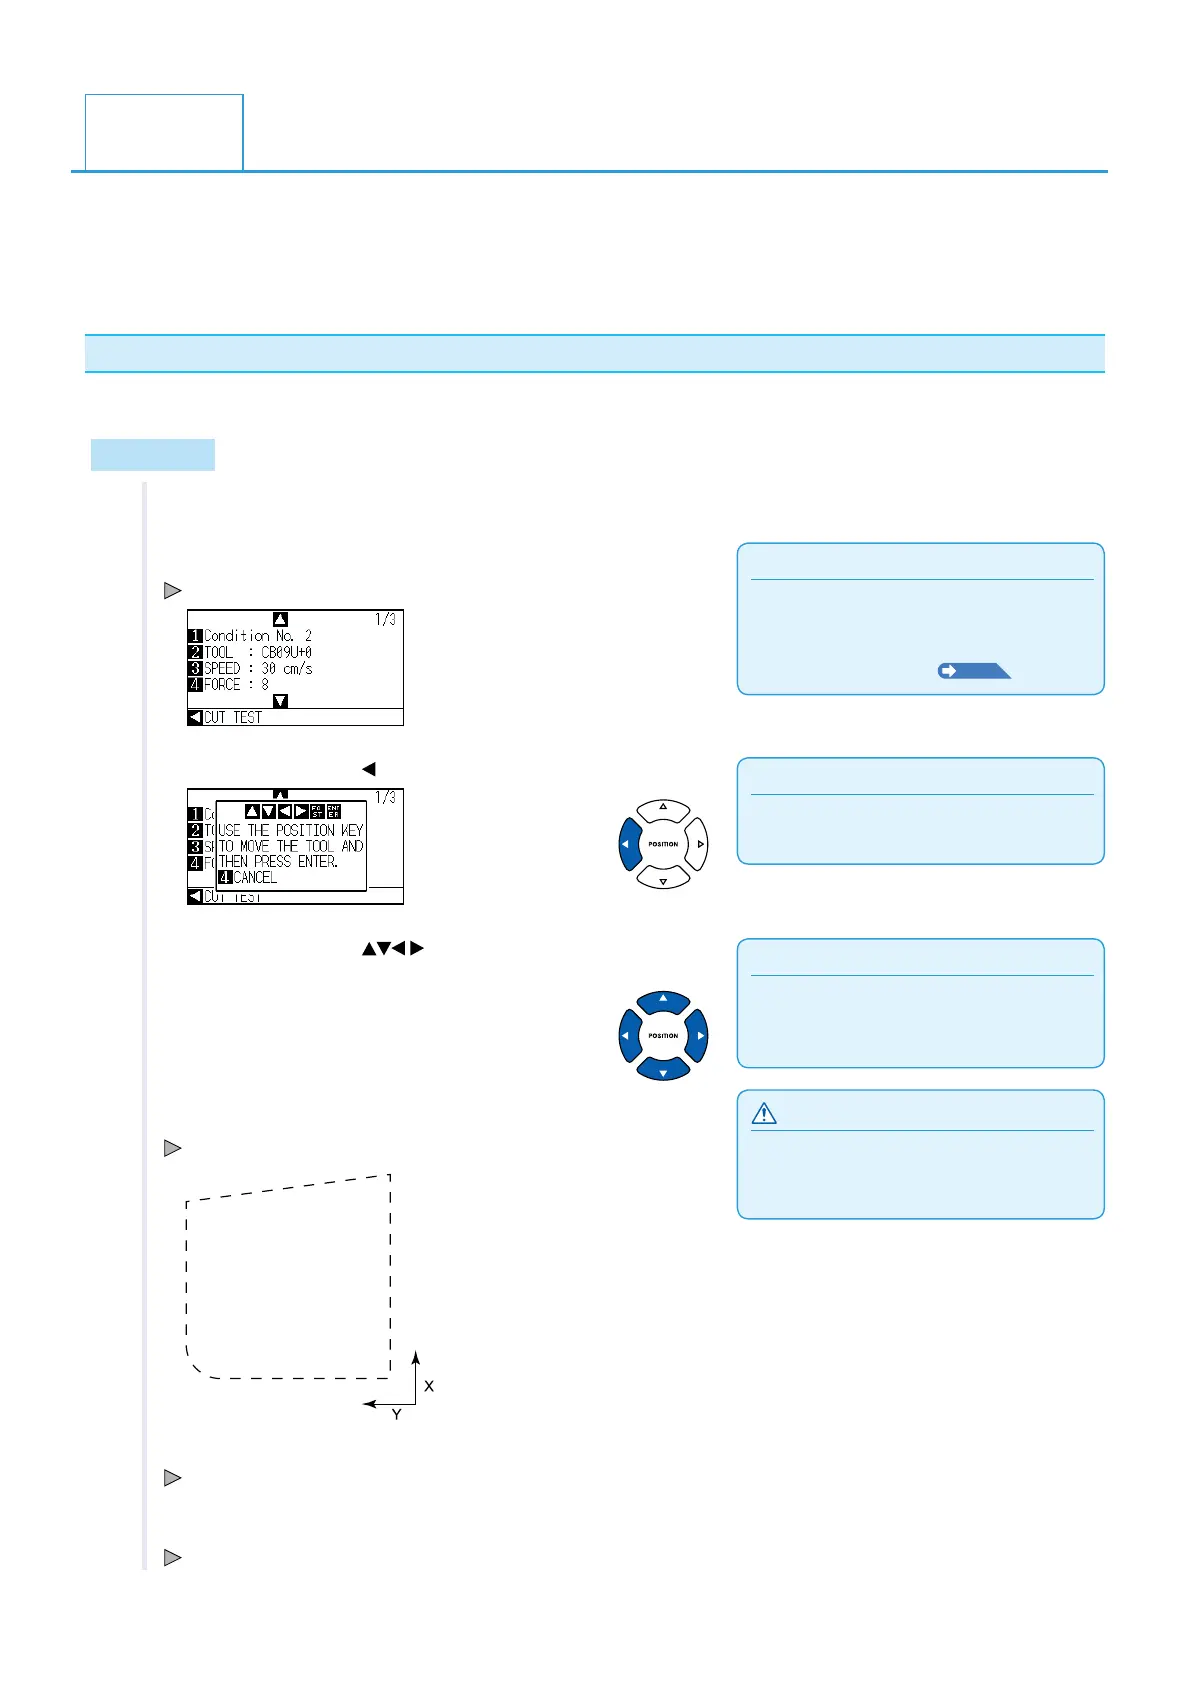
2 Press the [COND/TEST] key in the default screen.
In Normal mode, CONDITION screen (1/3) is displayed.
Supplement
It will return to CONDITION screen by pressing
the [4] key (CANCEL).
3 Press the POSITION ( ) key (CUT TEST).
Supplement
Pushing the [POSITION] and [FAST] keys
simultaneously will move the tool carriage
faster.
4 Press the POSITION (
) key the tool carriage to the
location you wish to perform the test cutting.
CAUTION
When the [ENTER] key is pressed, the tool
carriage will start moving, so take care not to
cut your fingers.
5 Press the [ENTER] key.
1 cut test pattern is cut.
6 Press the [ENTER] key after completion.
CONDITION screen is displayed.
7 Press the [COND/TEST] key.
It will return to default screen.