96-8100 1-15-96
102
MECHANICAL SERVICE
HAAS AUTOMATION, INC.
SERVICE
MANUAL
VF-SERIES
4. Put the replacement sliding panel in place, making certain that the tongue on the panel pushes on the end of the
spring.
5. Tighten the two rear screws completely and install the two front screws.
6. Ensure the sliding panel moves freely.
NOTE: If the sliding door is bent, determine the cause before resuming normal operation.
12.7 SHUTTLE MOTOR REMOVAL-
1. Turn the VMC off.
2. Remove the cover from the tool carriage casting.
3. Remove the hex bolt that attaches the cam follower to the slip clutch (see Fig. 12-2).
4. Push the tool changer in as far as it will go.
5. Loosen the set screw that secures the slip clutch assembly to the shuttle motor (see Fig. 12-3).
6. Using a small two-jaw puller, pull the slip clutch assembly (see Fig. 12-3) off the shuttle motor shaft.
7. Remove the SHCS attaching the cover to the holding arm casting on the tool changer.
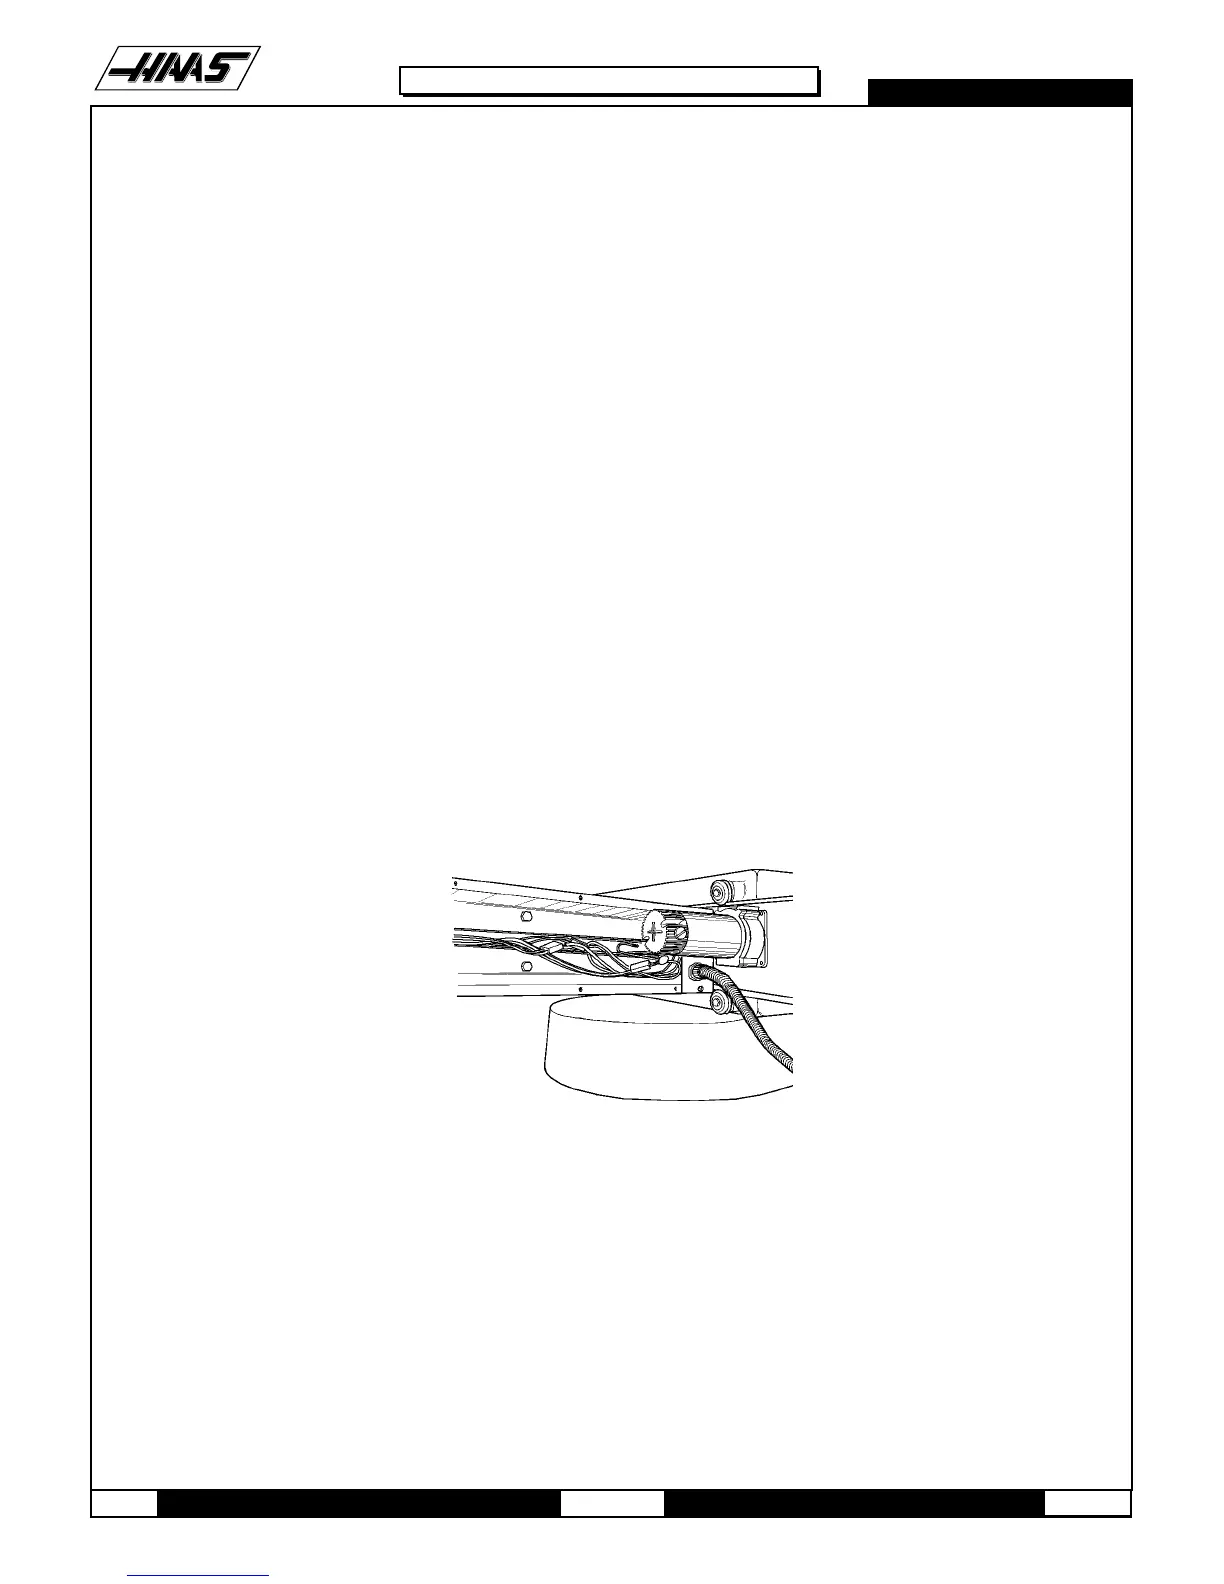
8. Remove the cover from the wire channel inside the holding arm casting and unplug the shuttle motor from the
wiring harness.
Fig. 12-4 Wiring harness for shuttle motor.
9. Remove the four FHCS attaching the shuttle motor to the holding plate on the tool changer. The FHCS are visible
from the front of the VMC. Do not remove the HHB's holding the shuttle motor gear box together.
12.8 SHUTTLE MOTOR INSTALLATION -
1. Install the new motor on the tool changer holding plate using the four 10-32 x ¾" FHCS. Before inserting the FHCS,
place a drop of blue Loctite® on each screw.
2. Reattach the shuttle motor connection to the wiring harness in the holding arm casting.

 Loading...


