96-8100 1-15-96
118
ELECTRICAL SERVICE
SERVICE
MANUAL
VF-SERIES
HA AS AUTOMATION, INC.
1. SOLENOIDS
PLEASE READ THIS SECTION IN ITS ENTIRETY BEFORE ATTEMPTING TO REPLACE ANY SOLENOID ASSEM-
BLIES.
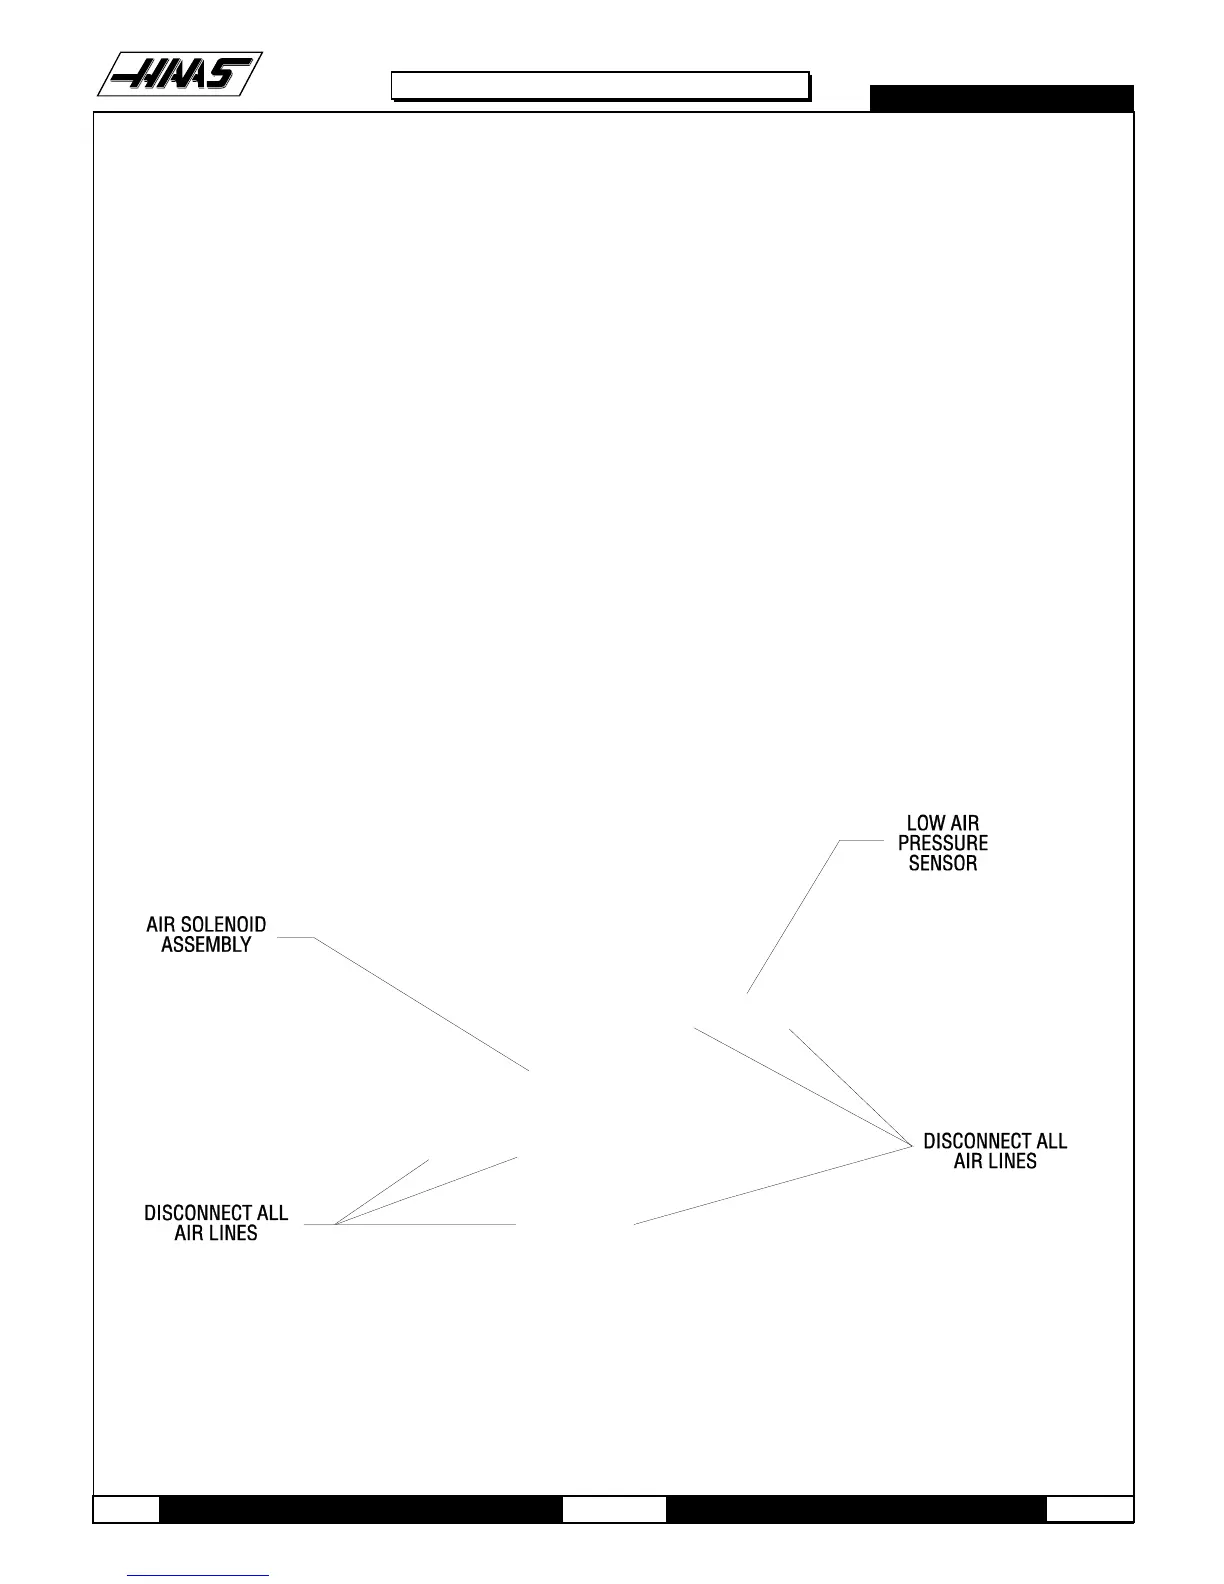
1.1 AIR SOLENOID ASSEMBLY
REMOVAL:
1. Turn machine power on and raise spindle head to uppermost position. Turn power off.
2. Remove spindle head covers (Mechanical Service).
3. Remove air supply from machine.
4. Disconnect all air lines going to and from the air solenoid assembly on the bottom
rear of the solenoid bracket. Do not remove the fittings --- remove the lines from the fittings.
5. Disconnect the two leads to the low air pressure sensor.
6. Unplug the wiring leading to the plug marked on the solenoid bracket as "880 FROM I/O PCB TO SOLENOID
VALVES" and the plug marked "SPARE".
Fig. 1-1 Air solenoid assembly.
7. Remove the SHCS holding the assembly to the bracket and remove the assembly.

 Loading...


