4. Grasp the replacement fan tray with the correct direction of FAN logo. Make sure that the
fan tray is plain with the outside edge of the fan slot. Press the unlocking button and slide
the fan tray into the slot till you feel resistant.
Notes: To prevent over-heating, you should install the replacement fan tray within
one minute after the existing fan tray is removed. If system detects over-heating, it
will automatically switch off the power supply. You are suggested to buy a backup
fan tray firstly before maintaining the cooling system.
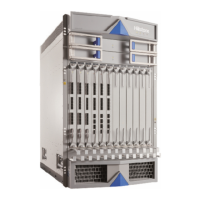
Replacing a Fan Tray of SG-6000-X9180
Replacing a Fan Tray on the Front Panel
To replace a fan tray on the front panel, take the following steps:
1. Wear an electrostatic discharge (ESD) strap around your bare wrist and connect the strap to
an ESD point on the chassis. See ESD Prevention.
2. Use a cross screwdriver to loosen two screws of the dustproof net on the right side counter-
clockwise until they pop out. Remove the dustproof net.
201
Chapter 5 Hardware Maintenance and
Replacement
 Loading...