5. Put the new dustproof net into the front panel. Use a cross screwdriver to tighten three
screws of the dustproof net.
6. Hold the front panel, and make sure that the two panel is plain with the outside edge of the
slot. Slide the front panel to the light till it is fully seated in the chassis slot.
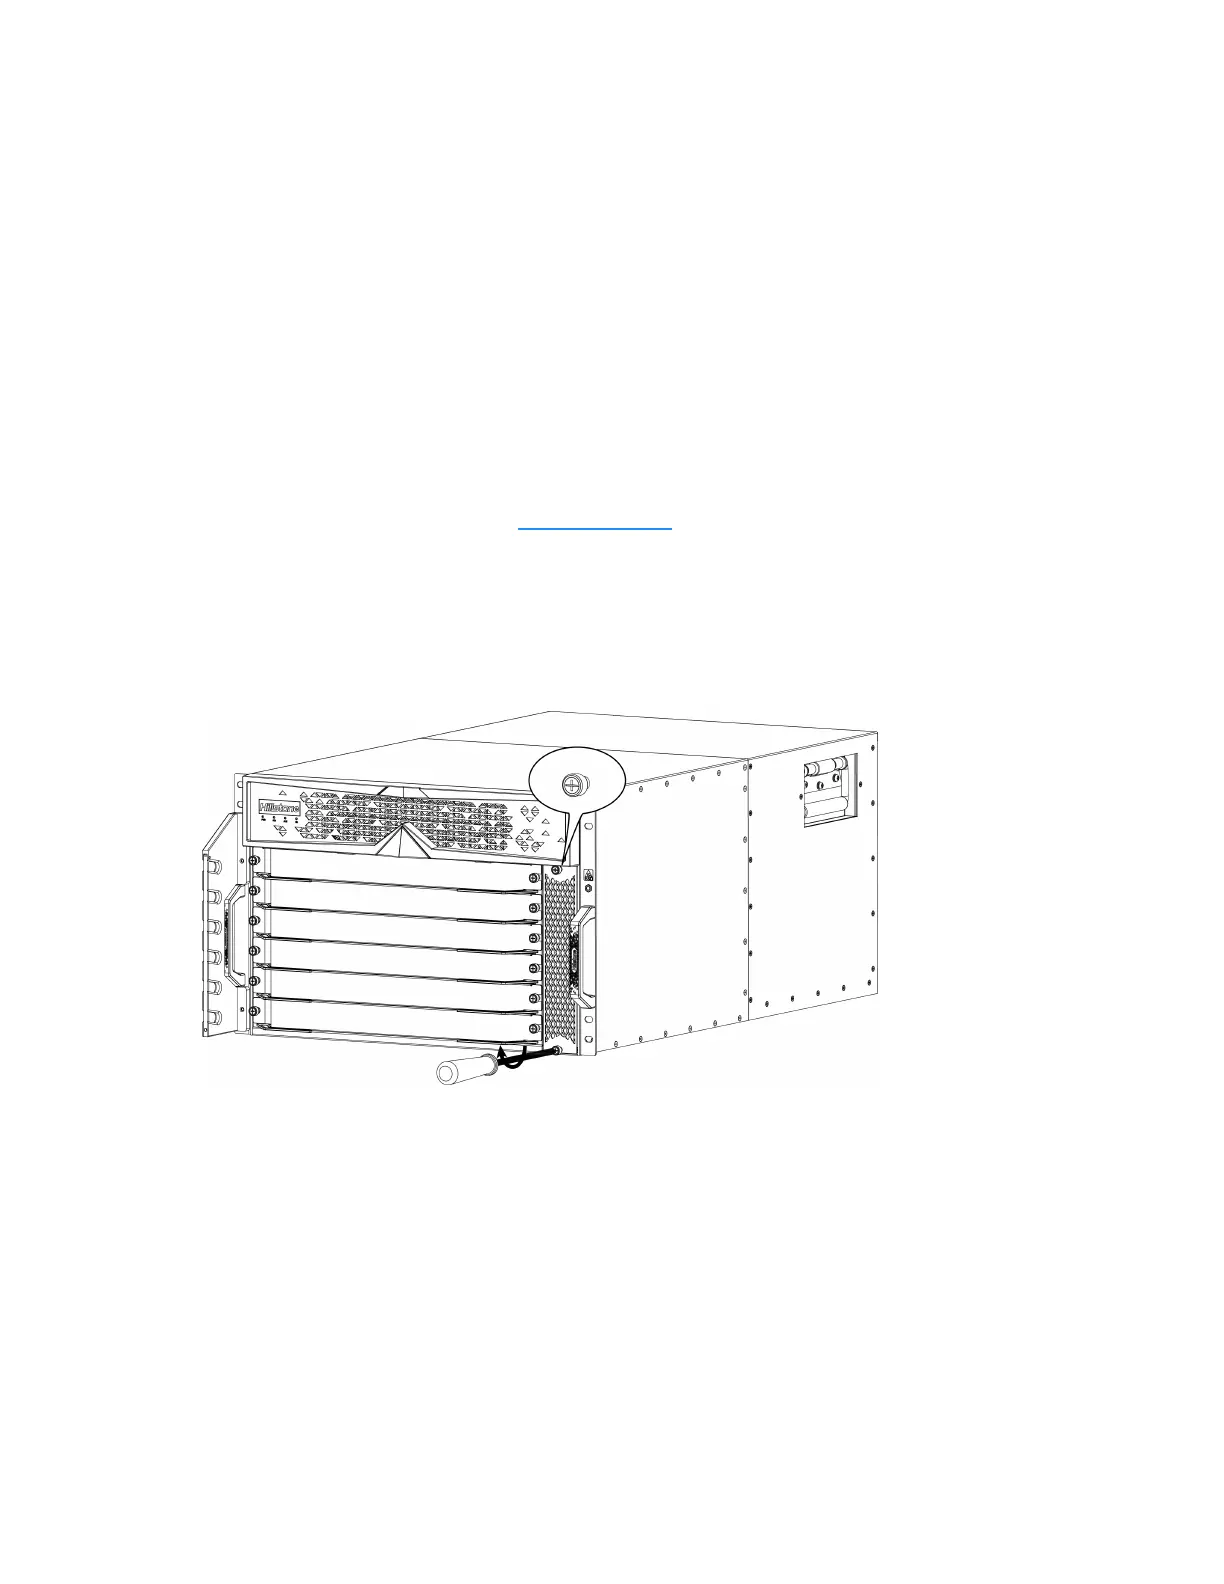
Replacing a Dustproof Net of the Fan Tray
To replace the dustproof net of fan tray, take the following steps:
1. Wear an electrostatic discharge (ESD) strap around your bare wrist and connect the strap to
an ESD point on the chassis. See ESD Prevention.
2. Face the front panel of the chassis.
3. Use a cross screwdriver to loosen two screws of the dustproof net on the right side counter-
clockwise until they pop out.
4. Remove the dustproof net from the fan tray.
5. Put the cleaned or new dustproof net on the fan tray. Use a cross screwdriver to tighten two
screws of the dustproof net.
Chapter 5 Hardware Maintenance and
Replacement
210
 Loading...